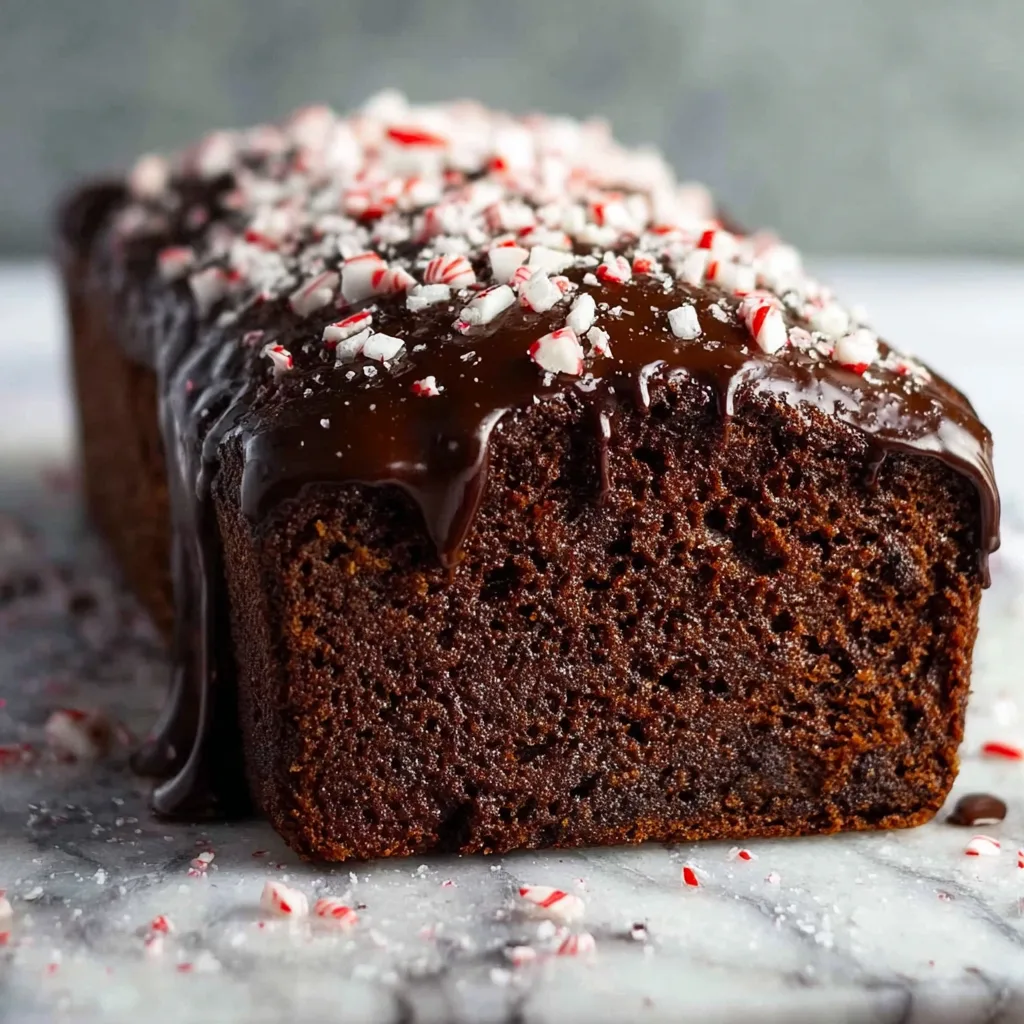
Chocolate Peppermint Bread: The Ultimate Holiday Comfort Treat
There’s something magical about the combination of rich chocolate and refreshing peppermint that instantly transports you to cozy winter evenings and festive holiday gatherings. This chocolate peppermint bread is the perfect embodiment of seasonal comfort baking, offering a delightfully moist chocolate base infused with cool peppermint flavor and topped with a glossy chocolate glaze. Whether you’re planning a holiday brunch, searching for the perfect homemade gift, or simply craving a decadent treat to enjoy with your morning coffee, this recipe delivers exceptional results with minimal effort required.
The beauty of this chocolate peppermint bread lies in its versatility and forgiving nature, making it an ideal choice for both novice bakers and experienced home cooks. Unlike complex layer cakes or finicky pastries, this loaf comes together using simple mixing techniques and common pantry ingredients, yet produces bakery-quality results that will impress family and friends. The rich chocolate flavor develops beautifully during baking, while the peppermint adds a sophisticated twist that elevates this bread from ordinary to extraordinary.
The Perfect Balance of Flavors and Textures
Creating the ideal chocolate peppermint bread requires understanding how these complementary flavors work together harmoniously. The deep, earthy notes of cocoa powder and chocolate chips provide a rich foundation that pairs beautifully with the bright, cooling sensation of peppermint extract. This flavor combination has been beloved for generations, appearing in everything from holiday candies to gourmet desserts, and for good reason – the contrast creates a complex taste experience that satisfies multiple palate preferences simultaneously.
The texture of this bread is equally important to its overall appeal. The crumb should be tender and moist, with a fine grain that allows the flavors to meld seamlessly. Achieving this perfect texture involves careful attention to ingredient ratios and mixing techniques. Overmixing can result in a tough, dense loaf, while undermixing may leave pockets of flour or uneven distribution of ingredients. The key lies in mixing just until the ingredients are combined, allowing the gluten to develop minimally for maximum tenderness.
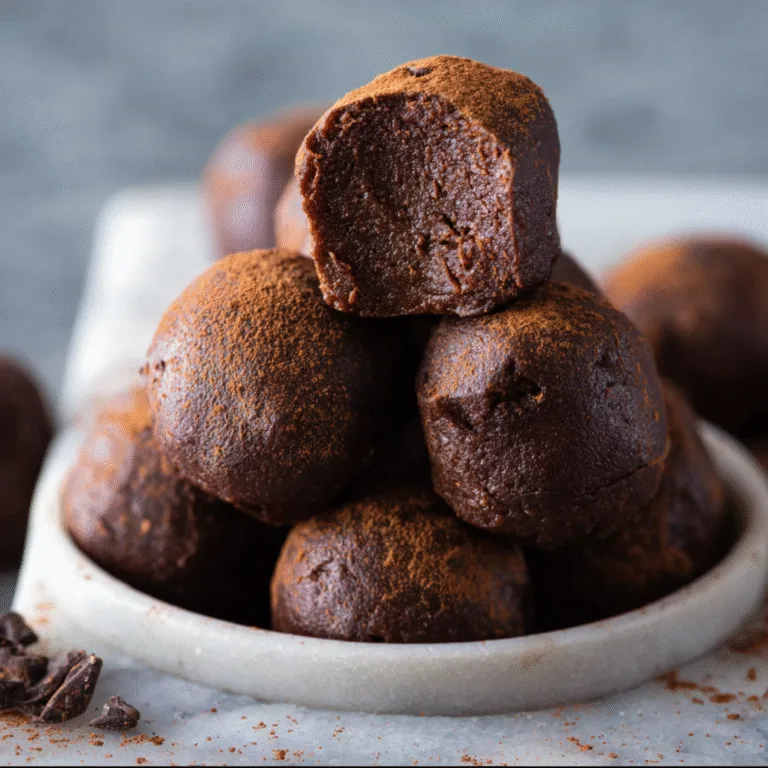
The addition of crushed peppermint candies throughout the batter provides delightful textural contrast and bursts of intense peppermint flavor. These candy pieces soften slightly during baking but maintain enough structure to create interesting pockets of sweetness and crunch. When selecting peppermint candies for this recipe, choose high-quality options with intense flavor, as they’ll distribute their taste more effectively throughout the finished bread.
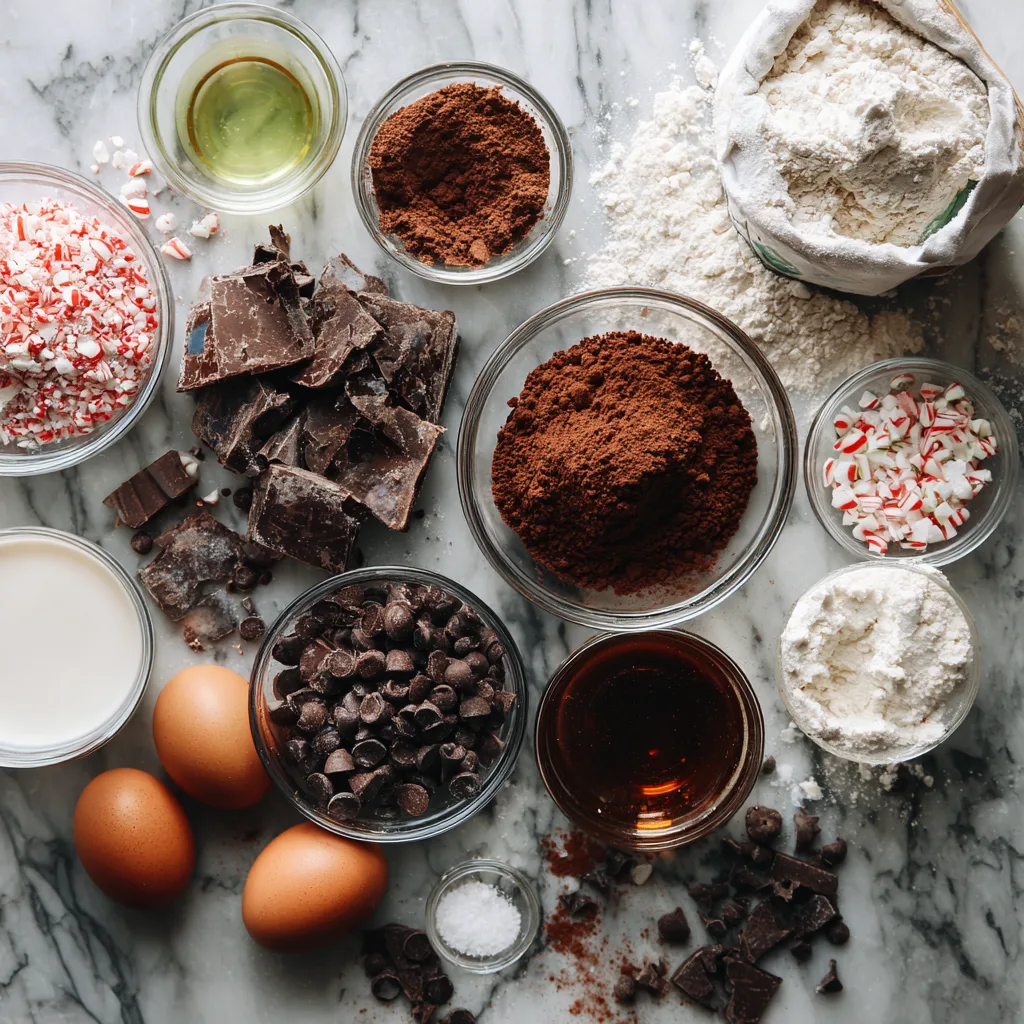
Essential Ingredients for Success
The foundation of exceptional chocolate peppermint bread begins with selecting premium ingredients that work synergistically to create the desired flavor profile and texture. All-purpose flour provides the structural backbone, while cocoa powder contributes deep chocolate flavor and that characteristic dark color. Using high-quality cocoa powder makes a noticeable difference in the final product – Dutch-processed cocoa offers a smoother, less acidic flavor that pairs beautifully with peppermint.
Eggs serve multiple functions in this recipe, acting as both a binding agent and contributing to the bread’s tender crumb structure. Room temperature eggs incorporate more easily into the batter, creating a smoother mixture that bakes more evenly. The fat content, provided by butter or oil, ensures moistness and helps carry flavors throughout each bite. Buttermilk or sour cream adds tanginess that balances the sweetness while contributing to the bread’s tender texture through its acidic properties.
Sugar not only sweetens the bread but also contributes to its moist texture and helps develop the beautiful golden-brown exterior during baking. Brown sugar can be substituted for part of the white sugar to add subtle caramel notes that complement the chocolate beautifully. The leavening agents – baking soda and baking powder – work together to create the proper rise and light texture characteristic of quick breads.
Ingredients
- 2 cups all-purpose flour
- 3/4 cup unsweetened cocoa powder
- 1 cup granulated sugar
- 1/2 cup brown sugar, packed
- 1 1/2 teaspoons baking soda
- 1 teaspoon baking powder
- 1 teaspoon salt
- 2 large eggs, room temperature
- 1 cup buttermilk
- 1/2 cup vegetable oil
- 2 teaspoons vanilla extract
- 1 teaspoon peppermint extract
- 1 cup mini chocolate chips
- 1/2 cup crushed peppermint candies
- 1/2 cup hot coffee or hot water
- 4 ounces dark chocolate, chopped
- 1/4 cup heavy cream
- Additional crushed peppermint candies for topping
Instructions
- Preheat your oven to 350°F (175°C) and grease a 9×5-inch loaf pan with butter or cooking spray. Line the bottom with parchment paper for easy removal.
- In a large mixing bowl, whisk together flour, cocoa powder, granulated sugar, brown sugar, baking soda, baking powder, and salt until well combined and no lumps remain.
- In a separate bowl, beat eggs lightly, then whisk in buttermilk, vegetable oil, vanilla extract, and peppermint extract until smooth and well blended.
- Pour the wet ingredients into the dry ingredients and stir gently until just combined. Do not overmix – the batter should be thick but pourable.
- Gradually stir in the hot coffee or water, which will thin the batter slightly and intensify the chocolate flavor. Fold in chocolate chips and half of the crushed peppermint candies.
- Pour batter into the prepared loaf pan and smooth the top with a spatula. Bake for 60-70 minutes, or until a toothpick inserted in the center comes out with just a few moist crumbs.
- Cool the bread in the pan for 10 minutes, then turn out onto a wire rack to cool completely before glazing.
- For the glaze, heat heavy cream until just simmering, then pour over chopped chocolate. Let sit for 2 minutes, then stir until smooth and glossy.
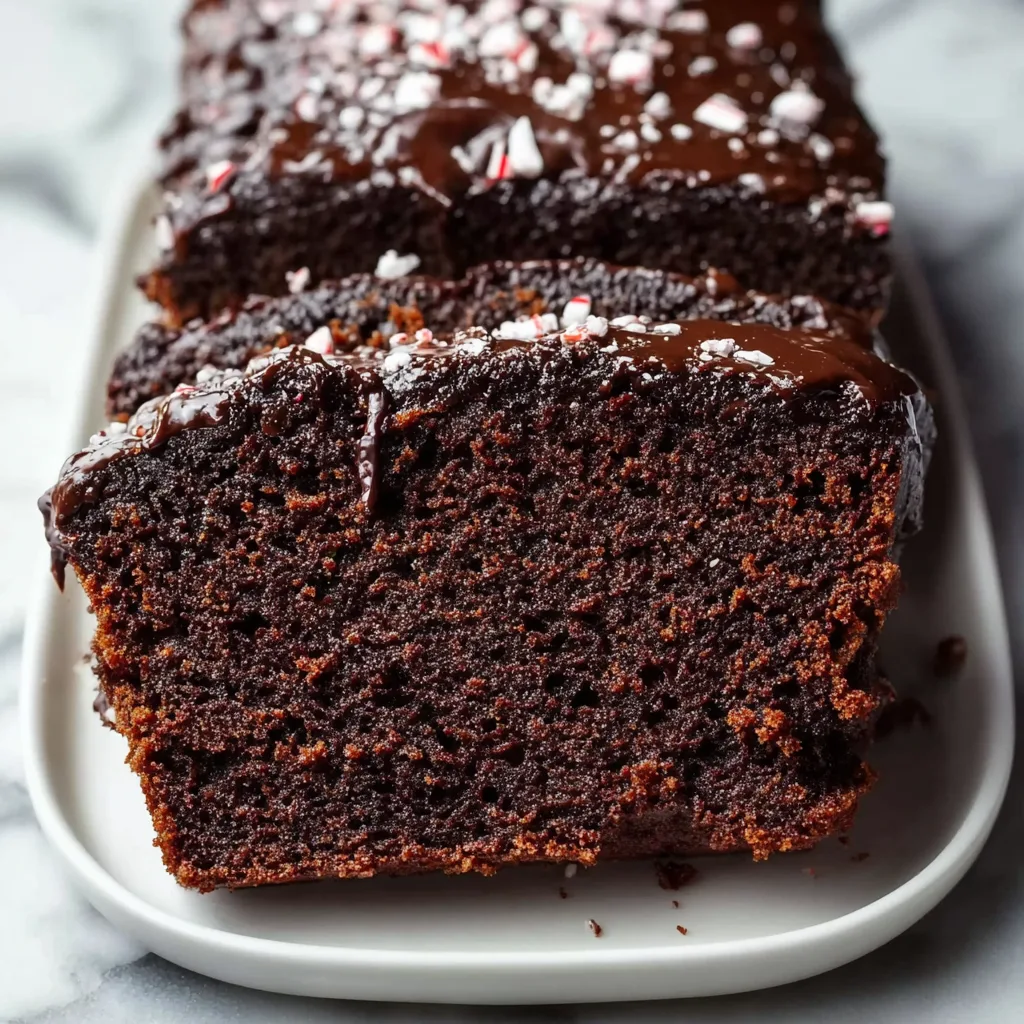
- Drizzle the chocolate glaze over the cooled bread and immediately sprinkle with remaining crushed peppermint candies. Allow glaze to set for 15 minutes before slicing.
Mastering the Baking Technique
Success with chocolate peppermint bread depends heavily on proper baking techniques and attention to timing. The oven should be fully preheated before the bread goes in, ensuring even heat distribution from the start. Positioning the loaf pan in the center of the oven promotes uniform baking, while using the correct pan size prevents overflow and ensures proper cooking times.
Temperature control is crucial throughout the baking process. Most ovens have hot spots or temperature variations, so rotating the pan halfway through baking can help achieve even browning. The bread is properly baked when a toothpick inserted in the center comes out with just a few moist crumbs clinging to it. Overbaking results in dry, crumbly texture, while underbaking leaves the center gummy and unpleasant.
Cooling the bread properly is just as important as baking it correctly. Allowing the loaf to rest in the pan for ten minutes helps it maintain its shape when removed, while complete cooling on a wire rack prevents the bottom from becoming soggy from trapped steam. Patience during this cooling phase pays dividends in both texture and slicing ease.
Chocolate Peppermint Bread
Ingredients
Equipment
Method
- Preheat oven to 350°F (175°C). Grease a 9×5-inch loaf pan and line with parchment paper.
- In a large bowl, whisk together flour, cocoa powder, both sugars, baking soda, baking powder, and salt.
- In separate bowl, beat eggs, then whisk in buttermilk, oil, vanilla, and peppermint extract until smooth.
- Pour wet ingredients into dry ingredients and stir gently until just combined. Do not overmix.
- Gradually stir in hot coffee, then fold in chocolate chips and half the crushed peppermint candies.
- Pour batter into prepared pan and bake 60-70 minutes until toothpick comes out with few moist crumbs.
- Cool in pan 10 minutes, then turn out onto wire rack to cool completely.
- Heat cream until simmering, pour over chopped chocolate, let sit 2 minutes, then stir until smooth.
- Drizzle glaze over cooled bread and immediately sprinkle with remaining peppermint candies. Let set 15 minutes before slicing.
Notes
Creative Variations and Customizations
This basic chocolate peppermint bread recipe serves as an excellent foundation for numerous creative variations that can suit different tastes and dietary preferences. For those who prefer less intense peppermint flavor, reducing the extract by half and using fewer candy pieces creates a more subtle mint presence. Conversely, peppermint lovers can increase both elements for a more pronounced cooling sensation.
Texture variations can be achieved by substituting different mix-ins for the chocolate chips and peppermint candies. White chocolate chips create visual interest and add creamy sweetness, while chopped walnuts or pecans contribute pleasant crunch. Dried cherries or cranberries offer tartness that balances the rich chocolate beautifully.
For special dietary needs, several substitutions work well without compromising flavor or texture significantly. Gluten-free flour blends can replace all-purpose flour, though the texture may be slightly denser. Dairy-free alternatives like coconut milk or almond milk can substitute for buttermilk, while coconut oil replaces butter effectively for vegan versions.
Storage and Serving Suggestions
Proper storage ensures your chocolate peppermint bread maintains its optimal flavor and texture for several days. Wrapped tightly in plastic wrap or stored in an airtight container at room temperature, the bread stays fresh for up to five days. For longer storage, individual slices can be wrapped and frozen for up to three months, making this recipe perfect for advance holiday preparation.
Serving options for this versatile bread are nearly limitless. Thick slices make an elegant dessert when served with vanilla ice cream or whipped cream. For breakfast or brunch, lighter slices pair beautifully with coffee or hot chocolate. The bread also makes an excellent base for bread pudding or French toast when it begins to lose its peak freshness.
Conclusion: A Holiday Tradition Worth Creating
This chocolate peppermint bread represents more than just another recipe – it’s an opportunity to create lasting memories and establish new family traditions. The combination of rich chocolate and refreshing peppermint captures the essence of holiday celebration while remaining accessible enough for year-round enjoyment. Whether shared with loved ones during festive gatherings or savored quietly with a warm beverage, this bread brings comfort and joy to any occasion.
The forgiving nature of this recipe makes it perfect for involving children in holiday baking activities, teaching valuable kitchen skills while creating treasured moments together. As the aroma of chocolate and peppermint fills your kitchen during baking, you’ll understand why this simple loaf has the power to transform an ordinary day into something special and memorable.