Sheet Pan Caramel Apples: The Ultimate Fall Dessert That’ll Have Everyone Begging for Your Recipe
There’s something absolutely magical about biting into a perfectly coated caramel apple – that satisfying crunch of fresh apple followed by the rich, buttery sweetness of homemade caramel. But let’s be honest, making caramel apples one at a time can be tedious and time-consuming, especially when you’re preparing treats for a crowd. That’s where this game-changing sheet pan method comes in, revolutionizing the way you’ll make caramel apples forever.
Why Sheet Pan Caramel Apples Are Taking Over Fall Kitchens Everywhere
Traditional caramel apple making involves dipping each apple individually into hot caramel, then finding a place to set them while trying to prevent pooling at the base. It’s messy, inefficient, and often results in uneven coating. The sheet pan method eliminates all these frustrations by allowing you to prepare multiple apples simultaneously, ensuring consistent coating and professional-looking results every single time.
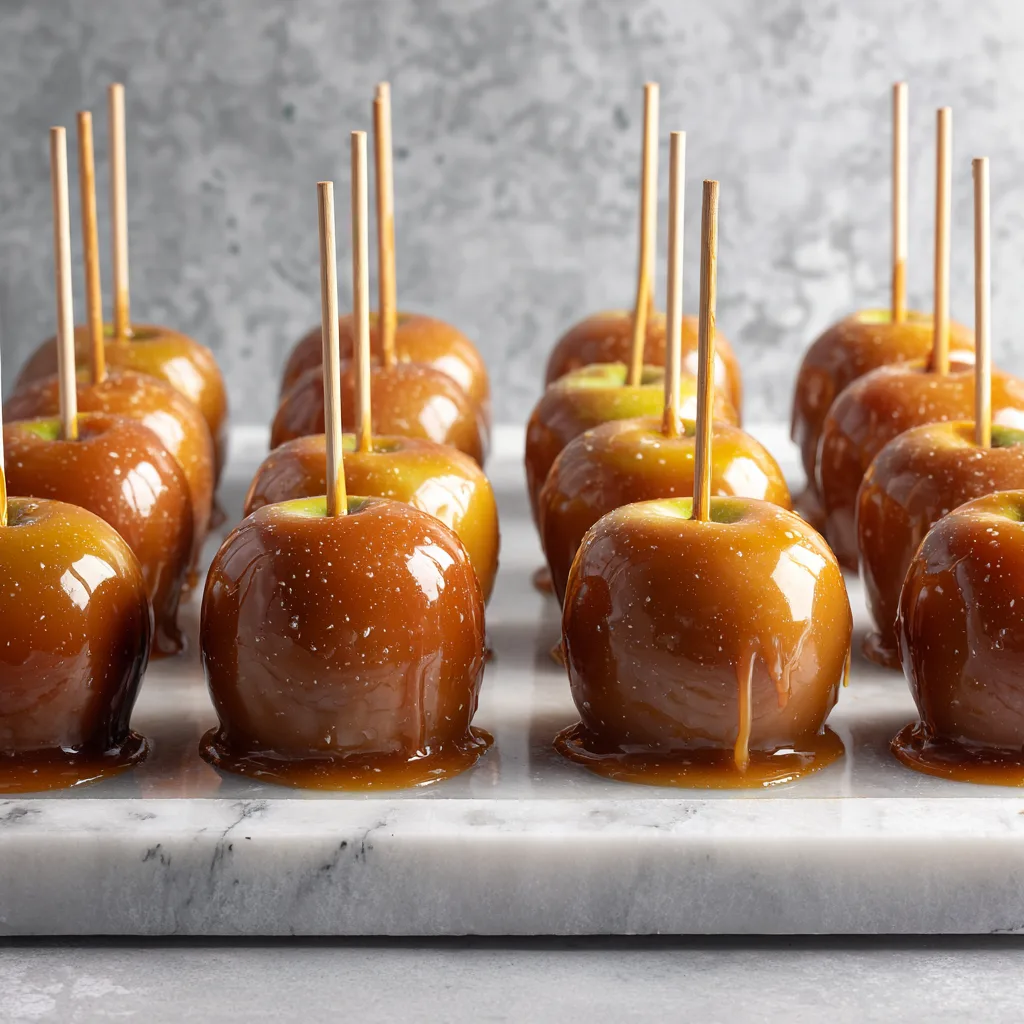
This innovative approach has become increasingly popular among home bakers and party planners who need to produce large quantities of caramel apples without spending hours in the kitchen. The beauty of this method lies in its simplicity – by arranging your apples on a sheet pan and working with them all at once, you maintain better temperature control of your caramel, achieve more uniform coating, and significantly reduce the overall preparation time.
The Secret Science Behind Perfect Caramel Every Time
Understanding the chemistry of caramel is crucial for achieving that ideal texture that’s neither too hard nor too soft. When sugar molecules heat up and break down, they undergo a complex transformation called caramelization, creating hundreds of new compounds that give caramel its distinctive flavor and color. The temperature at which you cook your caramel directly determines its final texture – too low and it remains sticky and won’t set properly, too high and it becomes brittle and prone to cracking.
The optimal temperature for caramel apple coating falls between 245°F and 250°F, known as the firm-ball stage in candy making. At this temperature, the caramel will be fluid enough to coat the apples smoothly but firm enough to set into a glossy, chewy coating that won’t slide off. Using a reliable candy thermometer is absolutely essential for achieving consistent results, as even a five-degree difference can dramatically affect the final texture.
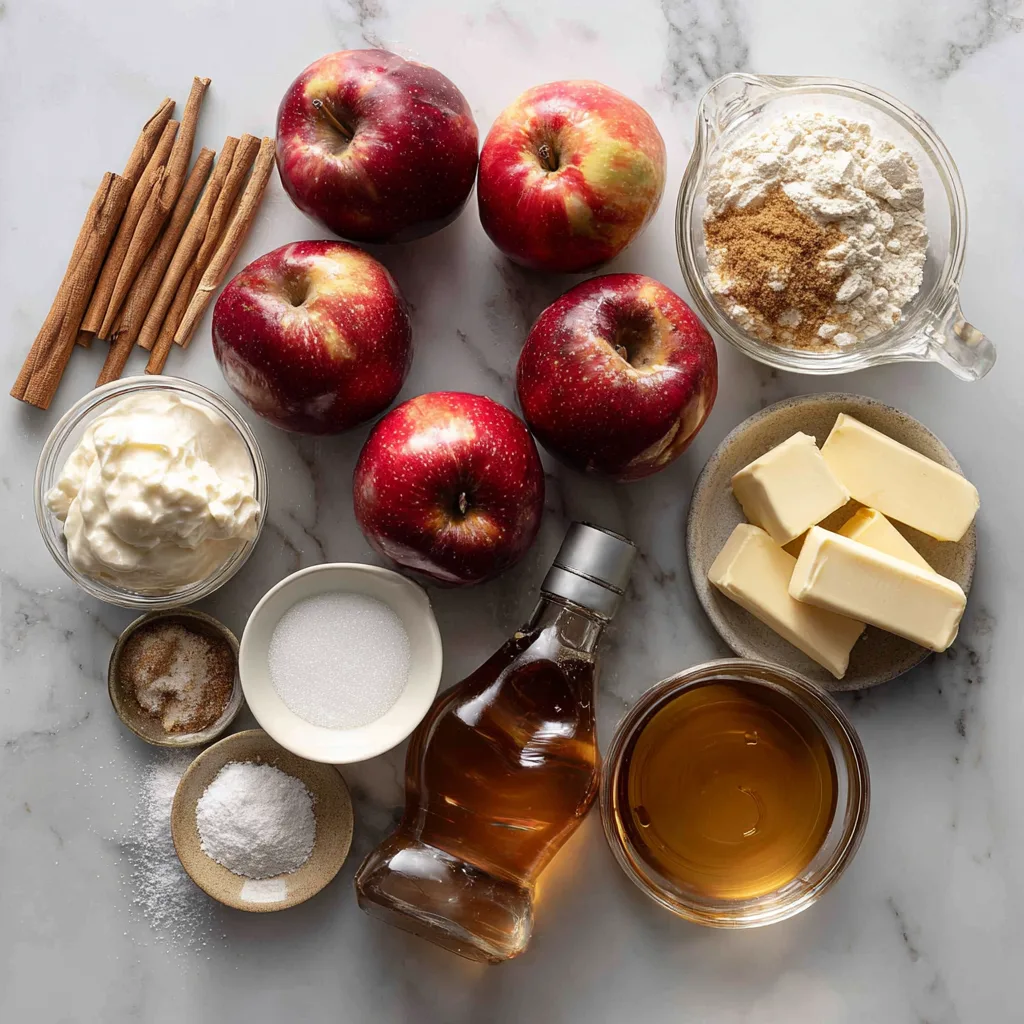
Ingredients:
- 12 medium Granny Smith or Honeycrisp apples
- 12 wooden craft sticks or lollipop sticks
- 2 cups granulated sugar
- 1/2 cup light corn syrup
- 1/2 cup heavy cream
- 1/2 cup unsalted butter
- 1 teaspoon pure vanilla extract
- 1/2 teaspoon fine sea salt
- Optional toppings: chopped nuts, mini chocolate chips, crushed cookies, sprinkles
Instructions:
- Begin by thoroughly washing and drying your apples, removing any wax coating by briefly dipping them in boiling water and wiping with a clean towel. This step is crucial for ensuring the caramel adheres properly to the apple surface.
- Insert wooden sticks firmly into the center of each apple, pushing about halfway through. Arrange the apples on a large sheet pan lined with parchment paper or a silicone mat, leaving adequate space between each apple.
- In a heavy-bottomed saucepan, combine sugar, corn syrup, cream, and butter over medium heat, stirring constantly until the butter melts and sugar dissolves completely.
- Attach a candy thermometer to the side of your pan, ensuring the tip doesn’t touch the bottom. Increase heat to medium-high and bring the mixture to a boil without stirring.
- Continue cooking until the caramel reaches exactly 248°F, which typically takes 15-20 minutes. The mixture will bubble vigorously and darken to a rich amber color.
- Remove from heat immediately and carefully stir in vanilla extract and salt. The mixture will bubble up briefly, so use caution.
- Allow the caramel to cool for 2-3 minutes until it stops bubbling actively but remains fluid enough for coating.
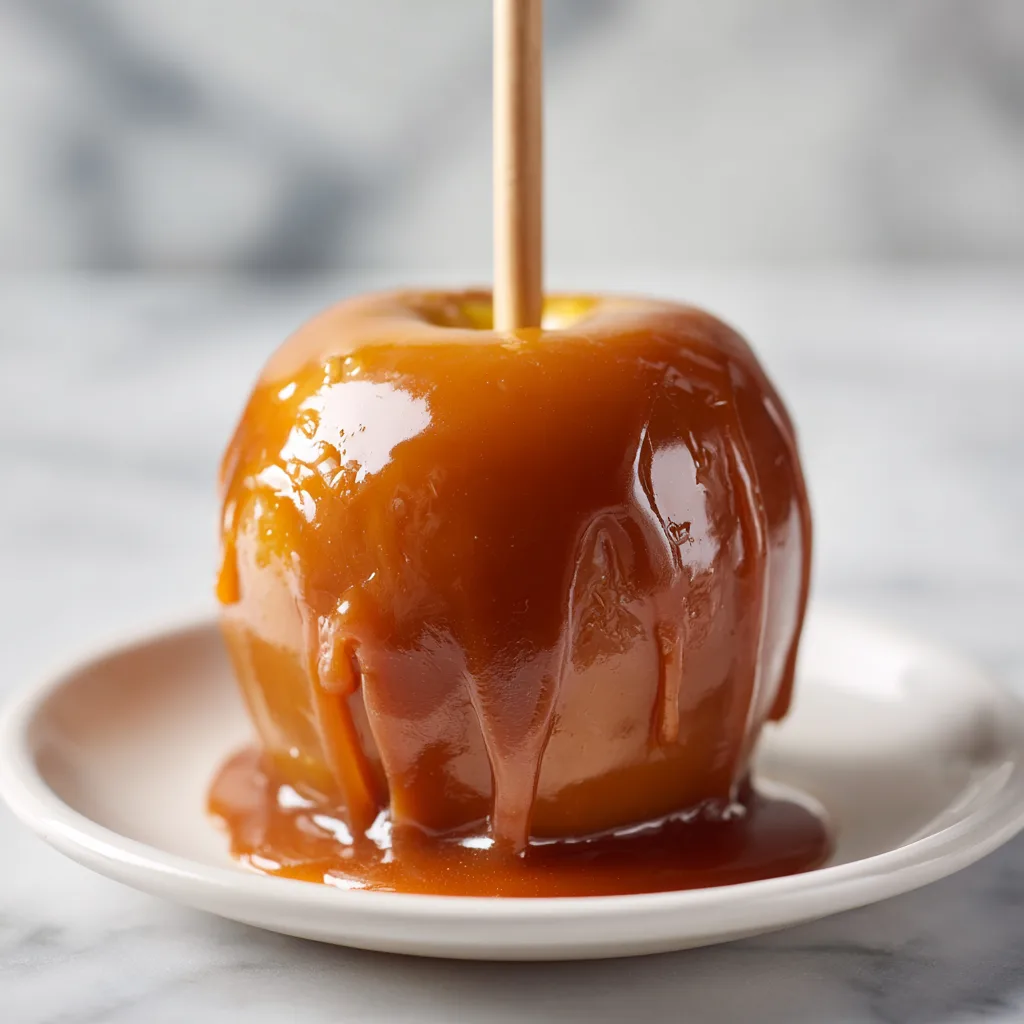
- Working quickly but carefully, tilt the saucepan and dip each apple into the caramel, rotating to ensure even coverage. Allow excess caramel to drip back into the pan.
- Return each coated apple to the sheet pan, twirling slightly as you set it down to prevent pooling at the base.
- If adding toppings, roll or sprinkle them on immediately while the caramel is still warm and tacky.
- Let the apples cool completely at room temperature for at least 30 minutes before serving or packaging.
Sheet Pan Caramel Apples
Ingredients
Equipment
Method
- Wash and thoroughly dry apples, removing wax coating. Insert sticks and arrange on parchment-lined sheet pan.
- Combine sugar, corn syrup, cream, and butter in heavy saucepan over medium heat until butter melts.
- Attach candy thermometer and bring to boil without stirring. Cook to 248°F (firm-ball stage).
- Remove from heat and stir in vanilla and salt carefully.
- Let caramel cool 2-3 minutes until bubbling subsides slightly.
- Dip each apple in caramel, rotating for even coverage, allowing excess to drip off.
- Place coated apples on sheet pan, add toppings if desired while caramel is warm.
- Cool completely at room temperature for 30 minutes before serving or wrapping.
Notes
Choosing the Right Apples: Your Foundation for Success
Not all apples are created equal when it comes to caramel coating. The ideal caramel apple starts with a firm, tart apple that can stand up to the sweet caramel without becoming mushy. Granny Smith apples remain the gold standard due to their crisp texture and bright acidity that perfectly balances the rich caramel. Honeycrisp apples offer another excellent option, providing exceptional crunch and a slightly sweeter flavor profile that appeals to those who find Granny Smiths too tart.
The size of your apples matters more than you might think. Medium-sized apples work best because they’re easier to handle and eat, while maintaining a good apple-to-caramel ratio. Avoid very large apples as they become unwieldy and difficult to bite into, and skip small apples as they tend to have too much caramel relative to fruit. Room temperature apples accept caramel coating better than cold ones, so remove them from the refrigerator at least an hour before you plan to start cooking.
Troubleshooting Common Caramel Apple Catastrophes
Even experienced candy makers occasionally encounter problems with caramel apples, but understanding the causes helps prevent future failures. If your caramel slides off the apples, the likely culprit is residual wax on the apple surface or caramel that’s too thin. Always remove the wax coating thoroughly and ensure your caramel reaches the proper temperature for optimal adhesion.
Grainy or crystallized caramel usually results from stirring the mixture after it begins boiling or from sugar crystals forming on the sides of the pan. Once your caramel starts boiling, resist the urge to stir, and use a wet pastry brush to wash down any sugar crystals that form on the pan sides. If your caramel becomes too thick while dipping, briefly return it to low heat, stirring gently to restore the proper consistency without overcooking.
Creative Coating Variations That’ll Make Your Apples Instagram-Famous
While classic caramel apples are undeniably delicious, adding creative toppings and variations can transform them into show-stopping desserts. Consider creating a topping bar where guests can customize their apples with crushed Oreos, graham crackers, pretzel pieces, or colorful sprinkles. For a gourmet touch, drizzle cooled caramel apples with melted chocolate, creating beautiful contrast and additional flavor complexity.
Seasonal variations keep your caramel apples exciting throughout autumn. Add cinnamon and nutmeg to your caramel for a spiced version reminiscent of apple pie, or incorporate maple syrup for a distinctly fall flavor. During October, create Halloween-themed apples with orange-tinted caramel and spooky decorations, or make elegant Thanksgiving versions with gold dust and chopped pecans.
Storage Solutions and Make-Ahead Magic
Proper storage ensures your caramel apples maintain their quality and appearance for maximum enjoyment. Once completely cooled and set, wrap each apple individually in cellophane or wax paper to prevent sticking and maintain freshness. Store them in the refrigerator for up to one week, though they’re best enjoyed within 3-4 days for optimal texture and flavor.
When planning for parties or events, you can prepare the caramel sauce up to one week in advance, storing it in an airtight container in the refrigerator. Simply reheat gently when ready to use, adding a tablespoon of cream if needed to restore the proper consistency. The apples themselves can be washed, dried, and sticked the day before, saving valuable time on the day of preparation.
Conclusion: Your New Favorite Fall Tradition Awaits
Sheet pan caramel apples represent the perfect intersection of tradition and innovation, maintaining all the nostalgic charm of this classic fall treat while streamlining the process for modern home cooks. Whether you’re preparing treats for a school bake sale, planning a memorable Halloween party, or simply craving that perfect combination of tart apple and buttery caramel, this method delivers consistent, professional results that will have everyone asking for your secret.
The journey from basic ingredients to glossy, perfectly coated caramel apples might seem daunting at first, but with the right technique and a bit of practice, you’ll find yourself confidently creating batch after batch of these irresistible treats. Remember that candy making is as much about patience and precision as it is about creativity, so take your time, trust your thermometer, and don’t be afraid to experiment with different toppings and flavor combinations. Before long, sheet pan caramel apples will become your signature fall dessert, requested at every gathering and cherished as part of your family’s autumn traditions.