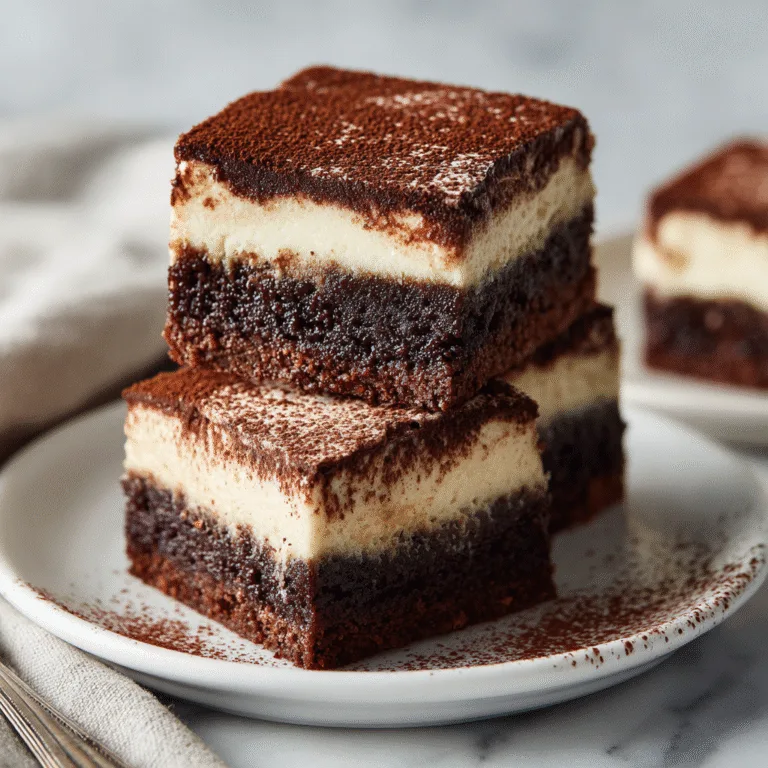
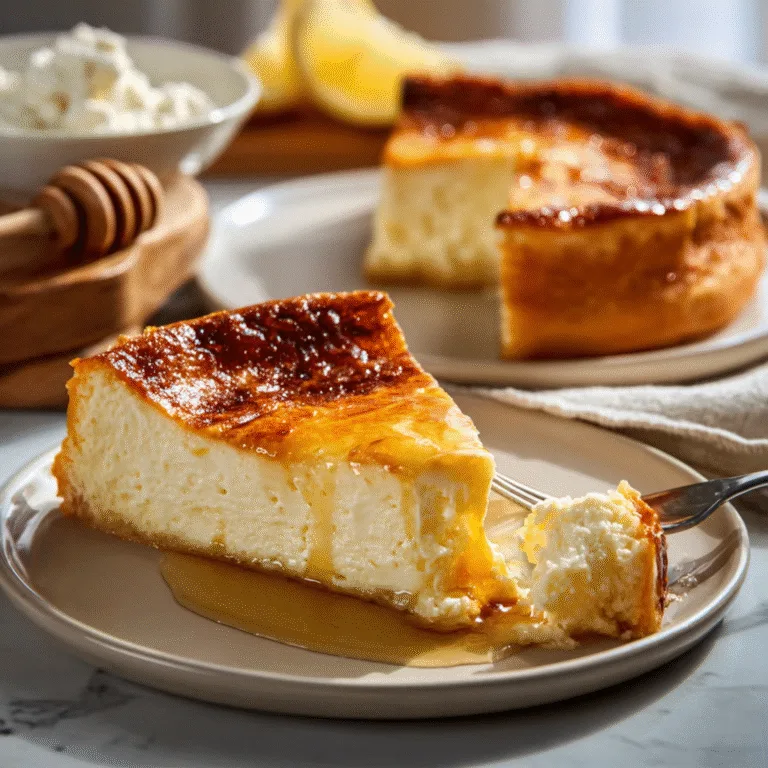
Strawberry Crumble Cheesecake: The Ultimate Homemade Dessert Recipe
There’s something magical about combining the creamy richness of classic cheesecake with the sweet-tart burst of fresh strawberries and the buttery crunch of a golden crumble topping. This Strawberry Crumble Cheesecake brings together three beloved dessert elements into one show-stopping creation that’s perfect for any occasion. Whether you’re hosting a summer barbecue, celebrating a birthday, or simply craving something spectacular, this recipe delivers both impressive presentation and unforgettable flavor. The beauty of this dessert lies in its perfect balance – the smooth, velvety cheesecake filling provides a luxurious base, while the vibrant strawberry layer adds fruity brightness, and the crumbly topping introduces an irresistible textural contrast that keeps everyone coming back for another slice.

What makes this Strawberry Crumble Cheesecake truly special is how it transforms simple ingredients into an elegant dessert that looks like it came straight from a fancy bakery. The graham cracker crust provides a sturdy, slightly sweet foundation that complements rather than competes with the rich cream cheese filling. Meanwhile, the strawberry topping – whether you use fresh berries, strawberry preserves, or a combination – adds a gorgeous pop of color and a refreshing fruity element that cuts through the richness of the cheesecake. The crumble topping, reminiscent of classic fruit crumbles and crisps, adds that perfect finishing touch with its buttery, slightly crunchy texture that makes each bite interesting and satisfying. This recipe proves that you don’t need professional pastry skills to create a dessert that will have everyone asking for the recipe.
Why This Strawberry Crumble Cheesecake Will Become Your Go-To Dessert
The versatility of this Strawberry Crumble Cheesecake makes it an invaluable addition to your dessert repertoire. Unlike some cheesecakes that require water baths, complex techniques, or hours of preparation, this version simplifies the process while maintaining that signature creamy texture and rich flavor we all love. The recipe works beautifully for both novice bakers taking their first steps into cheesecake territory and experienced home cooks looking for a reliable crowd-pleaser. The straightforward method ensures consistent results every time, while the component approach – crust, filling, topping, and crumble – allows you to prepare different elements ahead of time, making it perfect for busy schedules or when entertaining.
Another reason this cheesecake deserves a permanent spot in your recipe collection is its adaptability to different seasons and occasions. During summer months, you can showcase fresh, ripe strawberries at their peak sweetness, letting their natural flavor shine through. In the off-season, high-quality strawberry preserves or frozen strawberries work beautifully, ensuring you can enjoy this dessert year-round. The presentation is naturally festive, making it ideal for holiday gatherings, birthday celebrations, potlucks, or even elegant dinner parties. Plus, the make-ahead nature of cheesecake means you can prepare it a day or two in advance, allowing the flavors to meld and develop while freeing up your time on the day of your event.
The contrast of textures in this dessert creates an eating experience that’s truly memorable. Each forkful delivers the crumbly graham cracker base, the smooth and creamy cheesecake center, the fruity strawberry layer with its slight tartness, and the buttery crumble topping that adds just enough crunch. This textural variety keeps your palate engaged and prevents the richness of the cheesecake from becoming overwhelming. The strawberries provide not just flavor but also a visual appeal that makes this dessert photograph beautifully – perfect for those who love sharing their culinary creations on social media or simply want to present something stunning to their guests.
Mastering the Perfect Cheesecake Base and Filling
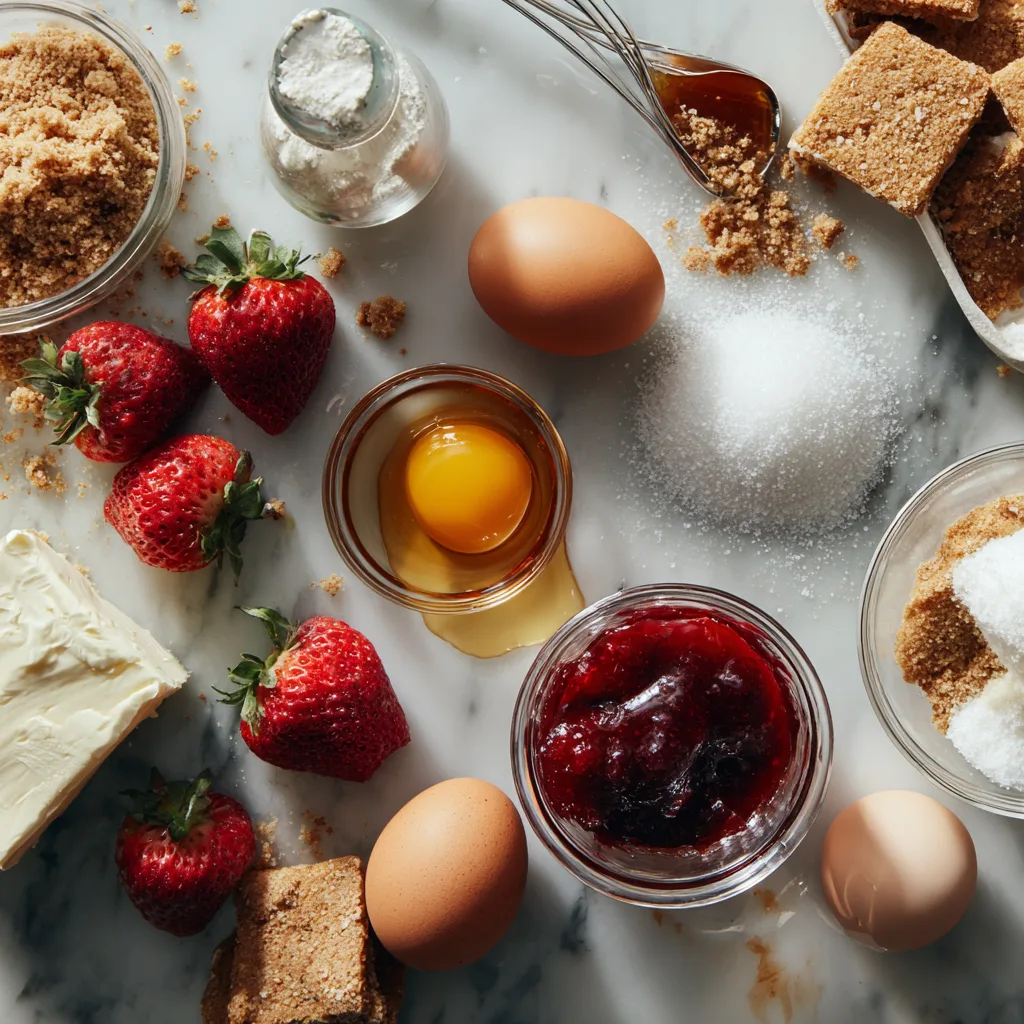
The foundation of any great cheesecake starts with the crust, and this recipe uses classic graham crackers combined with melted butter and a touch of sugar to create that essential base layer. The key to a perfect crust lies in achieving the right texture – not too loose and crumbly, but also not overly compacted. When you press the graham cracker mixture into your springform pan, you want to create an even layer that holds together when cut but still maintains some of that characteristic sandy texture. The slight sweetness and subtle honey notes from graham crackers provide the ideal complement to the tangy cream cheese filling without overwhelming it.

For the cheesecake filling, quality ingredients make all the difference. Full-fat cream cheese at room temperature is essential for achieving that signature smooth, creamy texture without lumps. The softened cream cheese blends more easily with sugar and eggs, creating a homogeneous mixture that bakes into a velvety, luxurious filling. Room temperature eggs also incorporate more smoothly, reducing the risk of overmixing, which can introduce too much air and lead to cracks on the surface. While some recipes call for sour cream or heavy cream in the filling, this version focuses on highlighting the pure, tangy cream cheese flavor that serves as the perfect canvas for the sweet strawberry topping.
The baking process for cheesecake requires patience and gentle heat. Unlike cakes that rise and develop a golden crust, cheesecakes need a more delicate approach to prevent cracking and maintain that creamy texture throughout. Baking at a moderate temperature allows the filling to set gradually and evenly, creating that perfect consistency that’s firm enough to slice cleanly but still soft and creamy on the palate. The center should have a slight jiggle when you gently shake the pan – it will continue to set as it cools. Allowing the cheesecake to cool gradually, first in the turned-off oven with the door slightly ajar, then at room temperature, and finally in the refrigerator, prevents sudden temperature changes that can cause cracking or texture issues.
Creating the Strawberry Layer and Irresistible Crumble Topping
The strawberry component of this cheesecake offers flexibility based on your preferences and what’s available. Fresh strawberries at their peak ripeness provide the most vibrant flavor and beautiful appearance, especially if you slice them and arrange them artistically across the cheesecake surface before adding the glaze. Strawberry preserves or jam create a more concentrated, intensely sweet-tart flavor and provide that gorgeous glossy finish that makes the cheesecake look professionally made. Many bakers prefer combining both approaches – using preserves as a base layer for guaranteed sweetness and moisture, then arranging fresh strawberry slices on top for visual appeal and fresh berry flavor in every bite.
If you’re making your own strawberry topping from fresh berries, a simple technique involves macerating the strawberries with sugar, which draws out their natural juices and creates a sauce-like consistency. You can thicken this mixture with a small amount of cornstarch to achieve that perfect glossy, spoonable texture that stays put on the cheesecake rather than running off the sides. The slight tartness of strawberries balances beautifully with the rich, tangy cheesecake, creating a flavor combination that’s neither too sweet nor too heavy. The vibrant red color also provides stunning visual contrast against the pale cream filling and golden crumble topping.
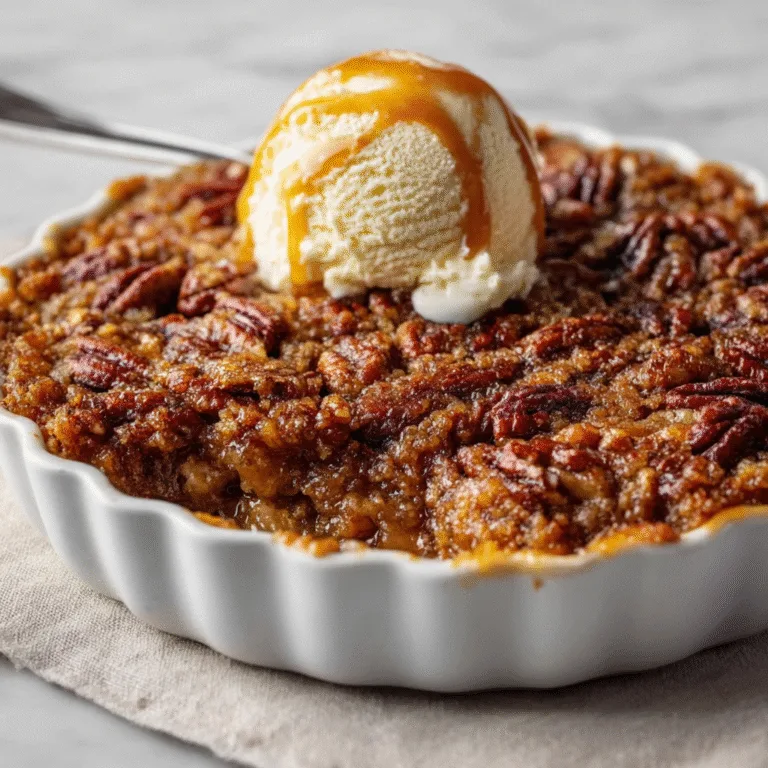
The crumble topping brings this dessert to the next level by adding textural interest and a butter-rich flavor component that complements both the cheesecake and strawberries. Made from a simple mixture of flour, butter, sugar, and often a pinch of salt, the crumble should have a sandy, pebble-like texture before baking. Some recipes incorporate oats for added texture and a slightly rustic appearance, while others keep it simple with just the basic trio of ingredients. The key is to work cold butter into the dry ingredients until the mixture resembles coarse crumbs – if the butter gets too warm, you’ll end up with a paste rather than that desirable crumbly texture. After sprinkling this mixture over your strawberry-topped cheesecake and giving it a quick bake or broil, you’ll achieve golden-brown, crispy-edged clusters that provide the perfect crunchy contrast to the creamy filling below.
Ingredients
Crust:
- 2 cups graham cracker crumbs
- 1/3 cup granulated sugar
- 1/2 cup unsalted butter, melted
Cheesecake Filling:
- 24 oz cream cheese, softened
- 3/4 cup granulated sugar
- 3 large eggs
- 1 teaspoon vanilla extract
- 1/4 cup heavy cream
Strawberry Topping:
- 2 cups fresh strawberries, sliced
- 1/2 cup strawberry preserves
- 2 tablespoons water
Crumble Topping:
- 1/2 cup all-purpose flour
- 1/3 cup brown sugar
- 1/4 cup cold unsalted butter, cubed
- Pinch of salt
Instructions
- Preheat your oven to 325°F and prepare a 9-inch springform pan by greasing the sides and bottom.
- Combine graham cracker crumbs, sugar, and melted butter in a bowl, mixing until the texture resembles wet sand.
- Press the graham cracker mixture firmly and evenly into the bottom of the prepared springform pan, creating a compact base layer.
- Beat the softened cream cheese with an electric mixer until completely smooth and fluffy, about 2-3 minutes.
- Add sugar to the cream cheese and continue beating until well combined and creamy.
- Add eggs one at a time, beating well after each addition but avoiding overmixing.
- Mix in vanilla extract and heavy cream until the filling is smooth and homogeneous.
- Pour the cream cheese filling over the prepared crust, spreading it evenly and smoothing the top surface.
- Bake the cheesecake for 45-55 minutes until the edges are set but the center still has a slight jiggle when gently shaken.
- Turn off the oven, crack the door open slightly, and let the cheesecake cool inside for one hour.
- Remove from oven and cool completely at room temperature, then refrigerate for at least 4 hours or overnight.
- Prepare the strawberry topping by warming the strawberry preserves with water until slightly thinned.
- Arrange fresh strawberry slices over the chilled cheesecake surface in your desired pattern.
- Drizzle or spread the warmed strawberry preserves over the fresh strawberries, creating a glossy coating.
- Make the crumble topping by combining flour, brown sugar, and salt in a bowl.
- Cut cold butter into the flour mixture using a pastry cutter or your fingers until it resembles coarse crumbs.
- Sprinkle the crumble mixture generously over the strawberry layer.
- Place the cheesecake under the broiler for 2-3 minutes, watching carefully, until the crumble turns golden brown.
- Return the cheesecake to the refrigerator for at least 30 minutes to set the topping before serving.
- Run a knife around the edge of the springform pan before releasing the sides for clean removal and beautiful presentation.
Strawberry Crumble Cheesecake
Ingredients
Equipment
Method
- Preheat your oven to 325°F and prepare a 9-inch springform pan by greasing the sides and bottom.
- Combine graham cracker crumbs, sugar, and melted butter in a bowl, mixing until the texture resembles wet sand.
- Press the graham cracker mixture firmly and evenly into the bottom of the prepared springform pan, creating a compact base layer.
- Beat the softened cream cheese with an electric mixer until completely smooth and fluffy, about 2-3 minutes.
- Add sugar to the cream cheese and continue beating until well combined and creamy.
- Add eggs one at a time, beating well after each addition but avoiding overmixing.
- Mix in vanilla extract and heavy cream until the filling is smooth and homogeneous.
- Pour the cream cheese filling over the prepared crust, spreading it evenly and smoothing the top surface.
- Bake the cheesecake for 45-55 minutes until the edges are set but the center still has a slight jiggle when gently shaken.
- Turn off the oven, crack the door open slightly, and let the cheesecake cool inside for one hour.
- Remove from oven and cool completely at room temperature, then refrigerate for at least 4 hours or overnight.
- Prepare the strawberry topping by warming the strawberry preserves with water until slightly thinned.
- Arrange fresh strawberry slices over the chilled cheesecake surface in your desired pattern.
- Drizzle or spread the warmed strawberry preserves over the fresh strawberries, creating a glossy coating.
- Make the crumble topping by combining flour, brown sugar, and salt in a bowl.
- Cut cold butter into the flour mixture using a pastry cutter or your fingers until it resembles coarse crumbs.
- Sprinkle the crumble mixture generously over the strawberry layer.
- Place the cheesecake under the broiler for 2-3 minutes, watching carefully, until the crumble turns golden brown.
- Return the cheesecake to the refrigerator for at least 30 minutes to set the topping before serving.
- Run a knife around the edge of the springform pan before releasing the sides for clean removal and beautiful presentation.
Notes
Pro Tips for Cheesecake Success Every Single Time
Achieving cheesecake perfection requires attention to several important details that can make the difference between a good dessert and an extraordinary one. First and foremost, ingredient temperature matters tremendously – all your dairy ingredients, especially cream cheese and eggs, should be at room temperature before you begin mixing. Cold cream cheese will never fully smooth out, leaving you with lumps in your filling, while cold eggs don’t incorporate as evenly and can lead to a dense, heavy texture. Plan ahead by setting out your cream cheese, eggs, and any other refrigerated ingredients at least one hour before you start baking, or use the quick method of placing sealed cream cheese packages in warm water for 10-15 minutes.
Avoiding cracks in your cheesecake requires understanding what causes them in the first place. Cracks typically result from dramatic temperature changes, overbaking, or overmixing the batter. When you beat the filling, mix just until each ingredient is incorporated – excessive mixing introduces too much air, which expands during baking and can cause cracks as it escapes. Similarly, overbaking creates a dry, firm texture that’s prone to cracking as it cools and contracts. The gentle cooling method described in the instructions – turning off the oven and letting the cheesecake cool gradually – prevents the sudden temperature drop that often causes surface cracks. If you do end up with cracks, don’t worry – the strawberry topping and crumble will cover them beautifully, making your dessert look intentionally rustic and homemade in the best possible way.
Storage and serving considerations also impact your final result. Cheesecake actually tastes better after it’s had time to chill and set properly in the refrigerator – ideally overnight. This resting period allows the flavors to develop and meld together while the texture firms up to that perfect sliceable consistency. When you’re ready to serve, use a sharp knife dipped in hot water and wiped clean between each slice for the cleanest cuts and most professional-looking portions. The contrast of the cold, creamy cheesecake against your palate creates part of the enjoyment, so serve it well-chilled. Leftover cheesecake stores beautifully in the refrigerator for up to five days when covered properly, and you can even freeze individual slices wrapped tightly in plastic wrap and foil for up to two months.
Variations and Creative Twists on the Classic Recipe
While this Strawberry Crumble Cheesecake is absolutely delicious as written, the basic formula provides endless opportunities for customization based on your preferences or what you have on hand. For a more intense strawberry flavor throughout, consider adding strawberry puree or freeze-dried strawberry powder directly into the cheesecake filling, which will create a beautiful pink hue and distribute berry flavor in every bite. You can also experiment with different berry combinations – try mixed berries with strawberries, blueberries, and raspberries for a more complex fruit flavor profile, or swap strawberries entirely for other fruits like peaches, cherries, or even tropical options like mango or passion fruit.
The crumble topping also invites creativity and personalization. Add chopped nuts like pecans, almonds, or walnuts to the crumble mixture for extra crunch and a more sophisticated flavor profile. Incorporate spices such as cinnamon, cardamom, or ginger to complement the fruit and add warmth and depth. For a more decadent version, mix mini chocolate chips into the crumble or drizzle the finished cheesecake with melted chocolate or caramel sauce. You could even make individual mini cheesecakes in a muffin tin using the same recipe components, which offers the advantage of built-in portion control and eliminates the need for slicing when serving.
Bringing It All Together: Your Strawberry Crumble Cheesecake Journey
Creating a Strawberry Crumble Cheesecake from scratch represents more than just following a recipe – it’s about crafting a memorable dessert experience that brings joy to everyone who tastes it. The combination of creamy, tangy cheesecake with sweet-tart strawberries and buttery crumble creates layers of flavor and texture that satisfy on every level. This recipe proves that impressive desserts don’t require professional training or complicated techniques, just quality ingredients, a little patience, and attention to a few key details. Whether you’re baking for a special occasion or simply because you’re craving something extraordinary, this cheesecake delivers every single time with its stunning appearance and irresistible taste that will have everyone asking when you’ll make it again.