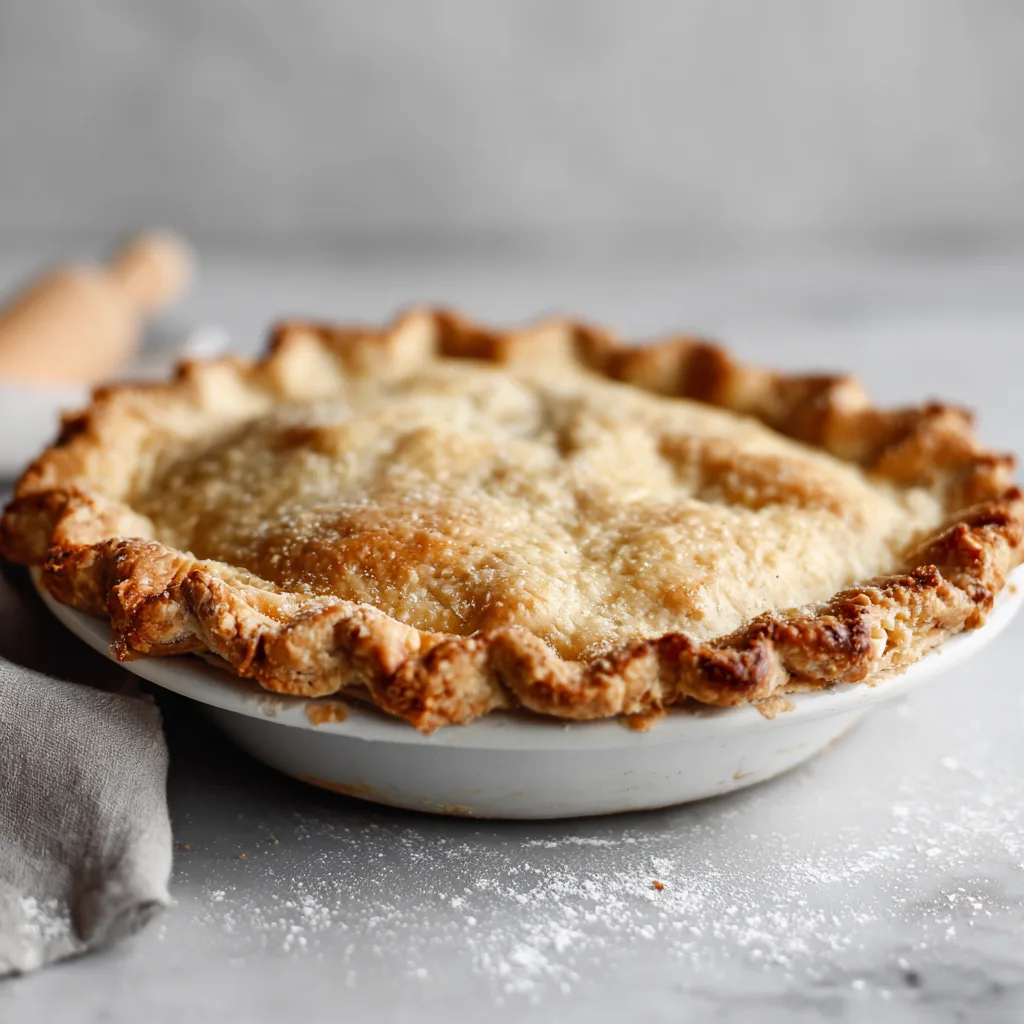
The Ultimate Gluten-Free Pie Crust (Flaky & No-Fail!)
If you’ve ever struggled with crumbly dough, tough texture, or a gluten-free crust that simply refuses to hold together, you’re not alone. Making a truly flaky, tender, and reliable gluten-free pie crust can feel intimidating — but it doesn’t have to be. This recipe for The Ultimate Gluten-Free Pie Crust (Flaky & No-Fail!) is designed to give you bakery-quality results every single time.
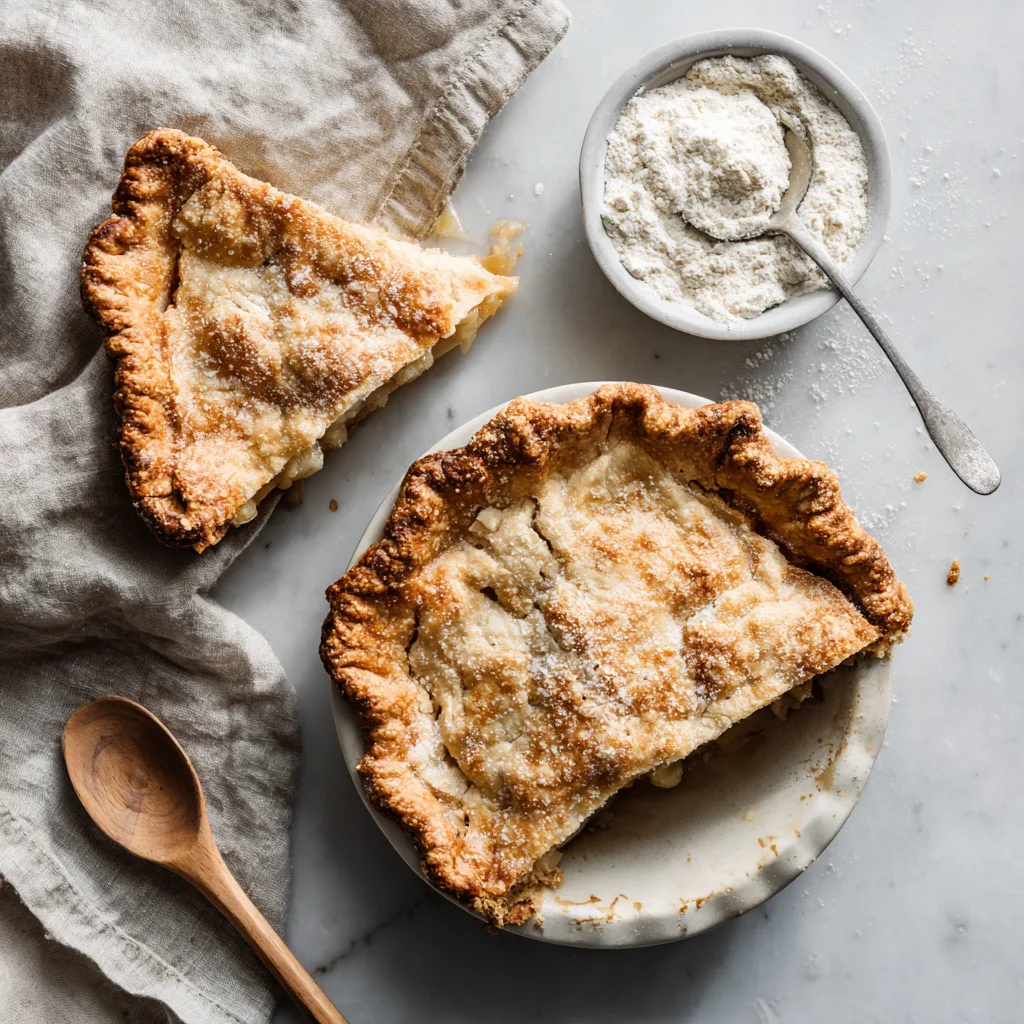
Whether you’re baking a classic apple pie, silky pumpkin pie, savory quiche, or a rustic galette, this gluten-free pie crust delivers everything you love about traditional pastry: buttery layers, crisp edges, and that satisfying snap when you cut into it. The best part? No complicated techniques, no special tricks — just simple, smart steps that work.
Let’s dive into the secrets behind a flaky gluten-free crust that truly lives up to its name.
Why This Gluten-Free Pie Crust Actually Works
Traditional pie crust relies on gluten to create structure and elasticity. Without gluten, dough can become fragile, sandy, or difficult to roll. The key to success is balancing moisture, fat distribution, and binding.
This recipe works because:
- It uses a high-quality gluten-free flour blend with a balanced starch-to-protein ratio.
- Cold butter creates steam pockets during baking for flakiness.
- A touch of vinegar improves tenderness and helps prevent crumbling.
- Proper chilling ensures the dough rolls smoothly without cracking.
The result? A crust that behaves like classic pastry — but without the gluten.
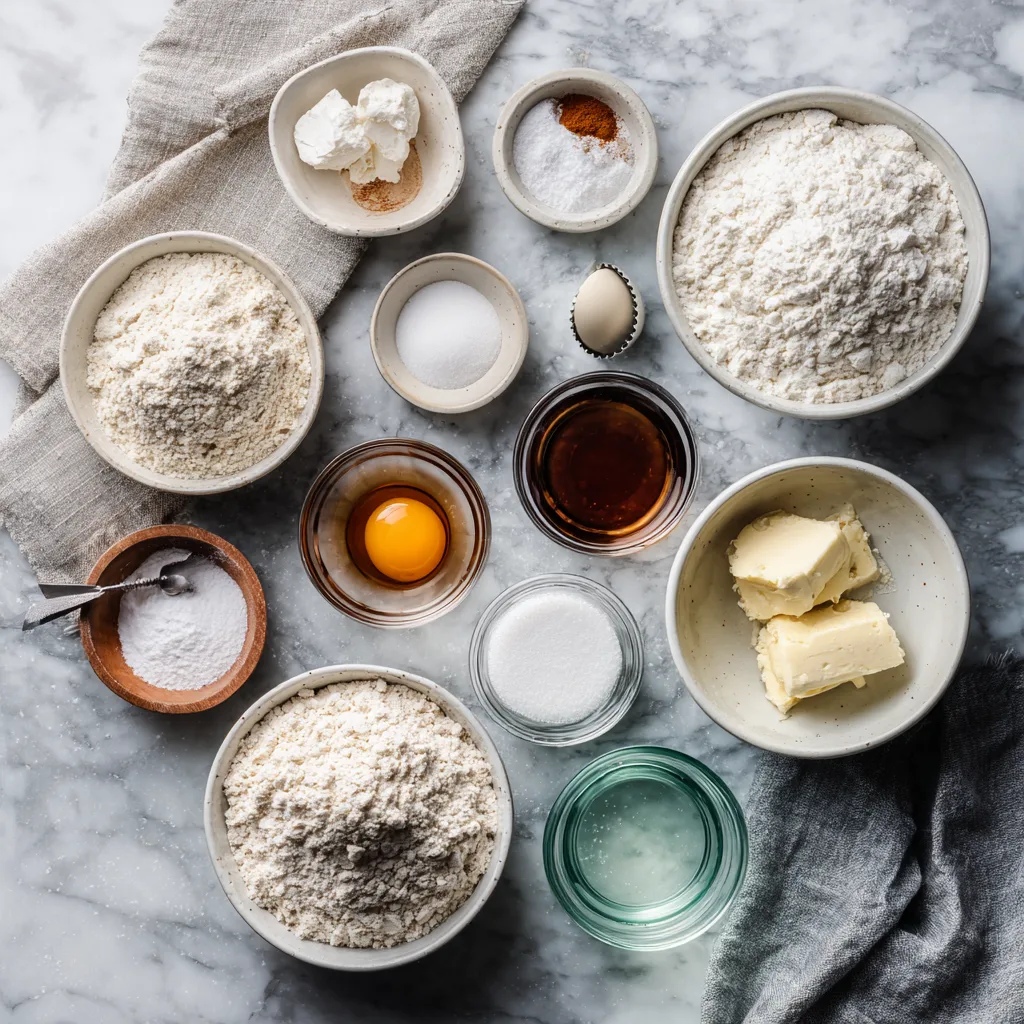
Ingredients
- 2 ½ cups gluten-free all-purpose flour blend (with xanthan gum)
- 1 tablespoon granulated sugar (omit for savory pies if desired)
- 1 teaspoon fine sea salt
- 1 cup (2 sticks) unsalted butter, very cold and cubed
- 1 tablespoon apple cider vinegar (or white vinegar)
- 6–8 tablespoons ice water (as needed)
Why Each Ingredient Matters
Gluten-Free Flour Blend
Choose a blend labeled “cup-for-cup” or “1:1 baking flour.” It should already contain xanthan gum for structure.
Cold Butter
Cold fat is essential for flakiness. As it melts during baking, it creates steam pockets that form layers.
Vinegar
This small addition tenderizes the dough and prevents excessive crumbling — a crucial trick in gluten-free baking.
Ice Water
Keeps the butter cold and helps hydrate the flour without making the dough sticky.
Instructions
- Whisk the Dry Ingredients
In a large mixing bowl, whisk together the gluten-free flour blend, sugar, and salt until evenly combined. - Cut in the Butter
Add the cold, cubed butter to the flour mixture. Using a pastry cutter or your fingertips, work the butter into the flour until the mixture resembles coarse crumbs with pea-sized pieces of butter still visible. - Add Vinegar and Ice Water
Stir in the apple cider vinegar. Add ice water one tablespoon at a time, gently mixing after each addition. Stop when the dough holds together when pressed — it should not feel sticky. - Form and Chill
Divide the dough into two equal discs. Wrap tightly in plastic wrap and refrigerate for at least 60 minutes. - Roll the Dough
Place chilled dough between two sheets of parchment paper. Roll gently from the center outward until about ⅛-inch thick. - Transfer to Pie Dish
Peel off the top parchment layer and carefully flip the crust into your pie dish. Remove the second parchment layer and press gently into place. - Trim and Crimp
Trim excess dough and crimp edges as desired. - Chill Again
For best results, chill the crust in the pie dish for 20–30 minutes before baking. - Blind Bake (If Needed)
For pre-baked crusts, line with parchment and pie weights. Bake at 375°F (190°C) for 15 minutes, remove weights, and bake another 10–12 minutes until lightly golden.
The Ultimate Gluten-Free Pie Crust (Flaky & No-Fail!)
Ingredients
Equipment
Method
- Whisk together flour, sugar, and salt in a large bowl.
- Cut in cold butter until mixture resembles coarse crumbs with pea-sized pieces.
- Whisk egg and vinegar together, then mix into flour mixture.
- Add ice water one tablespoon at a time until dough holds together.
- Form dough into a disk, wrap, and refrigerate at least 1 hour.
- Roll dough between parchment paper and transfer to pie dish.
- Chill crust 20–30 minutes before baking.
- Blind bake at 375°F for 15 minutes with weights, then 10–15 minutes without until golden.
Notes
Expert Tips for Perfect Results
1. Keep Everything Cold
Warm butter melts too early, leading to a dense crust. Chill tools if your kitchen is warm.
2. Don’t Overwork the Dough
Overmixing can make gluten-free crust tough and gummy.
3. Roll Between Parchment
This prevents sticking and eliminates the need for excess flour.
4. Patch with Confidence
If cracks form, simply press dough together gently — gluten-free pastry is forgiving.
Sweet vs. Savory Variations
For Sweet Pies
Add:
- ½ teaspoon cinnamon
- 1 tablespoon powdered sugar
Perfect for fruit pies, custard pies, and holiday desserts.
For Savory Pies
Omit sugar and add:
- ½ teaspoon dried thyme
- ¼ teaspoon black pepper
Ideal for quiche, chicken pot pie, or vegetable tarts.
How to Use This Crust
This no-fail pie crust works beautifully for:
- Double-crust fruit pies
- Lattice tops
- Hand pies
- Galettes
- Quiches
- Tart shells
It browns beautifully and holds its shape without collapsing.
Storage & Make-Ahead Tips
- Refrigerator: Dough keeps for up to 3 days.
- Freezer: Wrap tightly and freeze up to 3 months.
- Pre-baked Crust: Store at room temperature for 1 day or freeze for later use.
Common Gluten-Free Pie Crust Mistakes (And How to Avoid Them)
Problem: Crumbly Dough
Solution: Add a teaspoon of water at a time until it holds together.
Problem: Tough Texture
Solution: Avoid overmixing and overbaking.
Problem: Pale Crust
Solution: Brush edges lightly with egg wash or milk before baking.
Serving Suggestions
This flaky gluten-free crust pairs perfectly with:
- Classic apple pie
- Pumpkin pie
- Lemon meringue
- Chocolate silk pie
- Spinach and feta quiche
The neutral flavor makes it incredibly versatile.
Fun Fact: The Evolution of Pie Crust
Pie crusts date back centuries and were originally used as edible containers rather than the main focus of the dish. Modern pastry evolved to prioritize tenderness and flavor — and today, gluten-free baking techniques allow everyone to enjoy those same comforting traditions.
Frequently Asked Questions
Can I make this dairy-free?
Yes. Substitute cold vegan butter sticks for similar results.
Can I use coconut oil?
You can, but texture will be less flaky and more crumbly.
Do I need xanthan gum?
Yes, unless your flour blend already includes it.
Can I use this for hand pies?
Absolutely — it holds together beautifully when sealed properly.
Why This Is Truly a No-Fail Gluten-Free Pie Crust
With simple ingredients, clear technique, and smart chilling steps, this recipe eliminates the guesswork. It’s flaky, buttery, tender, and strong enough to hold fillings without falling apart.
Once you try this homemade gluten-free pastry, you’ll never go back to store-bought crusts again.