The Ultimate Healthy Sesame Chicken Recipe: Better Than Takeout
Are you craving that irresistible combination of crispy chicken coated in a glossy, sweet-savory sesame sauce but want to skip the greasy takeout version? This healthy sesame chicken recipe delivers all the flavors you love while being much better for you. By baking instead of deep-frying and using wholesome ingredients, you can enjoy this beloved Asian-inspired dish guilt-free right in your own kitchen.
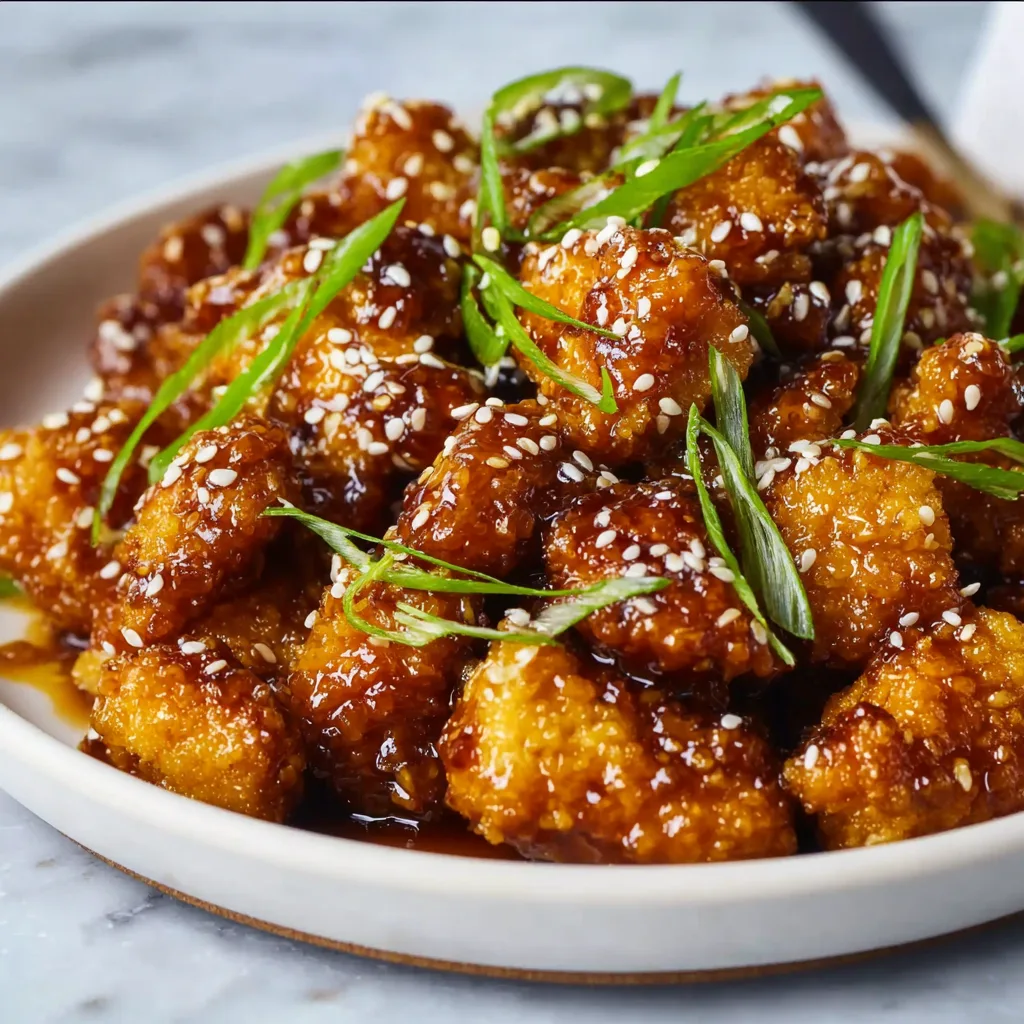
Traditional sesame chicken from restaurants is often loaded with excessive oil, refined sugars, and artificial ingredients that can leave you feeling sluggish afterward. This homemade version transforms the classic dish into a nutritious meal that doesn’t compromise on taste. The chicken emerges from the oven perfectly crispy on the outside while staying tender and juicy inside, all thanks to a smart coating technique that creates maximum crunch without the need for deep frying.
What makes this recipe truly special is the balance of flavors in the sauce. The combination of sesame oil, soy sauce, honey, and rice vinegar creates that signature glossy coating that clings beautifully to each piece of chicken. Fresh ginger and garlic add aromatic depth, while a touch of sriracha provides just the right amount of heat to complement the sweetness.
The beauty of making sesame chicken at home lies in the control you have over every ingredient. You can adjust the sweetness level, choose high-quality chicken, and ensure that no unnecessary additives make their way into your meal. This recipe uses chicken thighs for maximum flavor and tenderness, though chicken breast works equally well if you prefer a leaner option.
Preparation is straightforward and doesn’t require any special equipment beyond what most home cooks already have. The chicken gets coated in a mixture of cornstarch and seasonings, which creates that coveted crispy exterior when baked at high heat. Meanwhile, the sauce comes together quickly in a single pan, allowing the flavors to meld and develop complexity.
One of the most satisfying aspects of this recipe is watching the transformation happen in your oven. As the chicken bakes, it develops a beautiful golden-brown color and crispy texture that rivals any restaurant version. The sauce, when tossed with the hot chicken, creates that characteristic glossy sheen that makes sesame chicken so visually appealing.
This healthy version doesn’t just taste better than takeout—it’s also significantly more nutritious. By controlling the oil content and using natural sweeteners, you’re getting more protein and fewer empty calories. The addition of fresh scallions provides a pop of color and a mild onion flavor that perfectly complements the rich sauce.
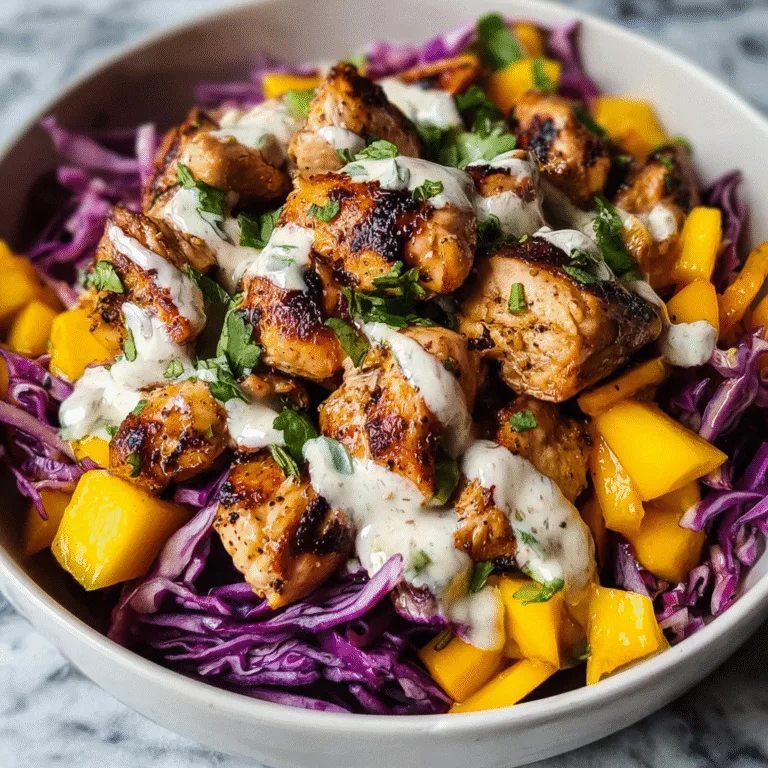
Serving suggestions are endless with this versatile dish. While it’s delicious over steamed rice, you can also pair it with quinoa, cauliflower rice, or Asian-style noodles for a complete meal. A side of steamed broccoli or snap peas adds fresh vegetables and creates a well-rounded dinner that the whole family will love.
The leftovers, if there are any, reheat beautifully in the oven or air fryer, maintaining their crispiness much better than microwave reheating. This makes it an excellent meal prep option for busy weeknights when you want something satisfying and flavorful without the hassle of extensive cooking.
For those with dietary restrictions, this recipe is easily adaptable. It can be made gluten-free by using tamari instead of soy sauce and ensuring your cornstarch is certified gluten-free. The honey can be replaced with maple syrup for a vegan version, though you’d need to substitute the chicken with cauliflower or tofu.

The key to achieving restaurant-quality results at home lies in a few important techniques. First, don’t overcrowd the baking sheet, as this will cause the chicken to steam rather than crisp up. Second, make sure your oven is fully preheated before adding the chicken. Finally, toss the hot chicken with the sauce immediately after baking to ensure maximum flavor absorption and that gorgeous glossy coating.
What sets this recipe apart from others is the attention to achieving the perfect sauce consistency. The cornstarch slurry added at the end creates that thick, clingy texture that coats each piece of chicken beautifully. This technique is what gives the dish its signature restaurant-style appearance while keeping the preparation simple and approachable for home cooks.
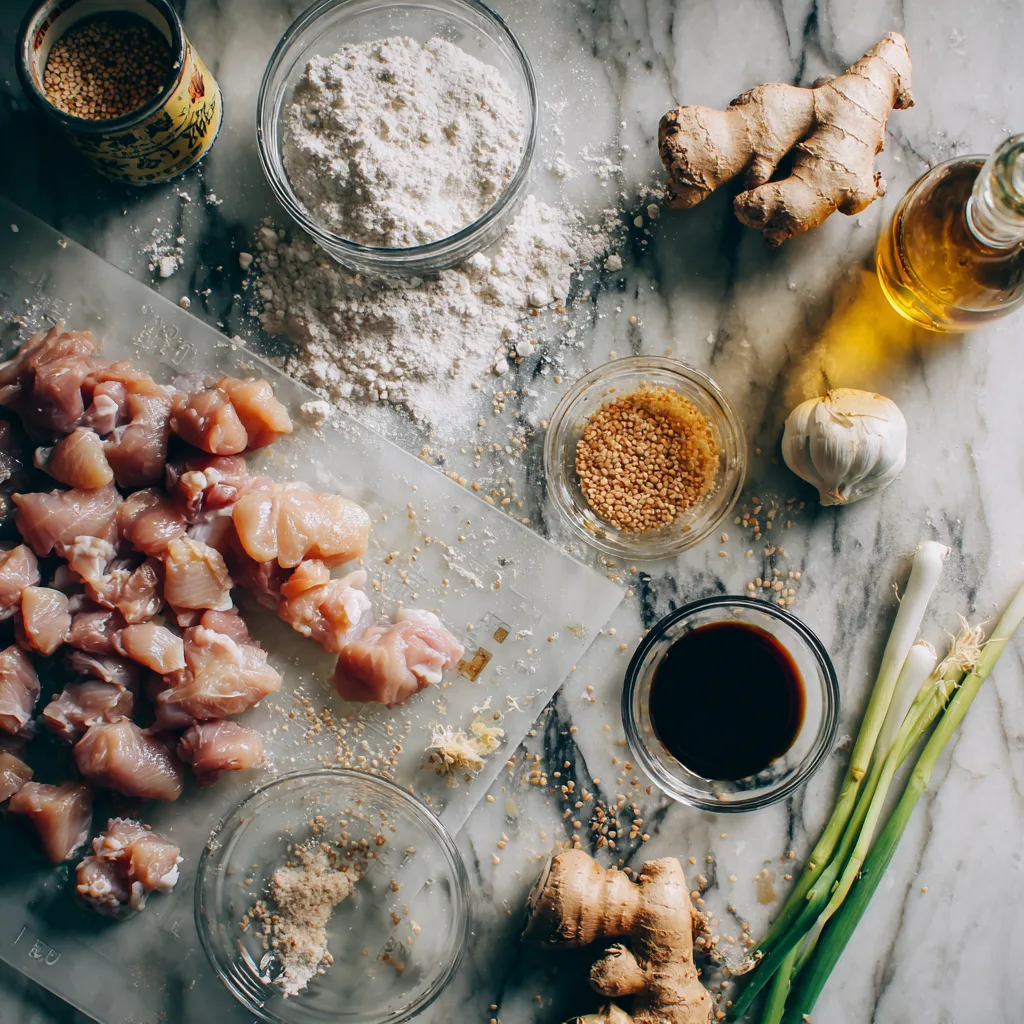
Ingredients
For the Chicken:
- 2 pounds boneless, skinless chicken thighs, cut into bite-sized pieces
- 1/2 cup cornstarch
- 1/2 teaspoon salt
- 1/4 teaspoon black pepper
- 1/4 teaspoon garlic powder
- 2 tablespoons vegetable oil
For the Sesame Sauce:
- 1/3 cup low-sodium soy sauce
- 1/4 cup honey
- 3 tablespoons rice vinegar
- 2 tablespoons sesame oil
- 2 cloves garlic, minced
- 1 tablespoon fresh ginger, grated
- 1 teaspoon sriracha (optional)
- 1 tablespoon cornstarch mixed with 2 tablespoons water
For Garnish:
- 2 tablespoons sesame seeds
- 3 green onions, sliced thin
Instructions
- Preheat your oven to 425°F (220°C) and line a large baking sheet with parchment paper.
- In a large bowl, combine cornstarch, salt, pepper, and garlic powder. Add the chicken pieces and toss until evenly coated.
- Drizzle the vegetable oil over the coated chicken and toss again to ensure all pieces are lightly oiled.
- Arrange chicken pieces in a single layer on the prepared baking sheet, making sure they don’t touch each other.
- Bake for 18-20 minutes, flipping halfway through, until chicken is golden brown and crispy.
- While chicken bakes, prepare the sauce by combining soy sauce, honey, rice vinegar, sesame oil, minced garlic, grated ginger, and sriracha in a small saucepan.
- Bring the sauce mixture to a simmer over medium heat and cook for 2-3 minutes until fragrant.
- Stir the cornstarch slurry and add it to the simmering sauce, whisking constantly until thickened, about 1-2 minutes.
- Remove the crispy chicken from the oven and immediately toss with the hot sauce in a large bowl until evenly coated.
- Transfer to serving dish and garnish with sesame seeds and sliced green onions before serving immediately.
Pro Tips for Perfect Results
The secret to achieving maximum crispiness lies in properly coating the chicken and not overcrowding the pan. Make sure each piece has space around it for proper air circulation. If you have a convection setting on your oven, use it for even crispier results.
For the glossiest sauce, make sure to add the cornstarch slurry while the sauce is actively simmering and whisk constantly to prevent lumps. The sauce should coat the back of a spoon when it’s ready.
Nutritional Benefits
This healthier version of sesame chicken provides lean protein while significantly reducing the oil and sodium content found in restaurant versions. The baking method eliminates the need for deep frying, cutting calories while maintaining that beloved crispy texture.
Healthy Sesame Chicken
Ingredients
Equipment
Method
- Preheat oven to 425°F (220°C) and line a large baking sheet with parchment paper.
- In a large bowl, combine cornstarch, salt, pepper, and garlic powder. Add chicken pieces and toss until evenly coated.
- Drizzle vegetable oil over coated chicken and toss again to ensure all pieces are lightly oiled.
- Arrange chicken pieces in single layer on prepared baking sheet, making sure they don’t touch each other.
- Bake for 18-20 minutes, flipping halfway through, until chicken is golden brown and crispy.
- While chicken bakes, combine soy sauce, honey, rice vinegar, sesame oil, garlic, ginger, and sriracha in small saucepan.
- Bring sauce mixture to simmer over medium heat and cook 2-3 minutes until fragrant.
- Add cornstarch slurry to simmering sauce, whisking constantly until thickened, about 1-2 minutes.
- Remove crispy chicken from oven and immediately toss with hot sauce in large bowl until evenly coated.
- Transfer to serving dish and garnish with sesame seeds and sliced green onions before serving immediately.
Notes
Storage and Reheating
Store leftovers in the refrigerator for up to 3 days. For best results, reheat in a 350°F oven for 8-10 minutes to restore crispiness, rather than using the microwave which can make the coating soggy.