The Ultimate Italian Stromboli: Your Guide to Perfect Stuffed Bread
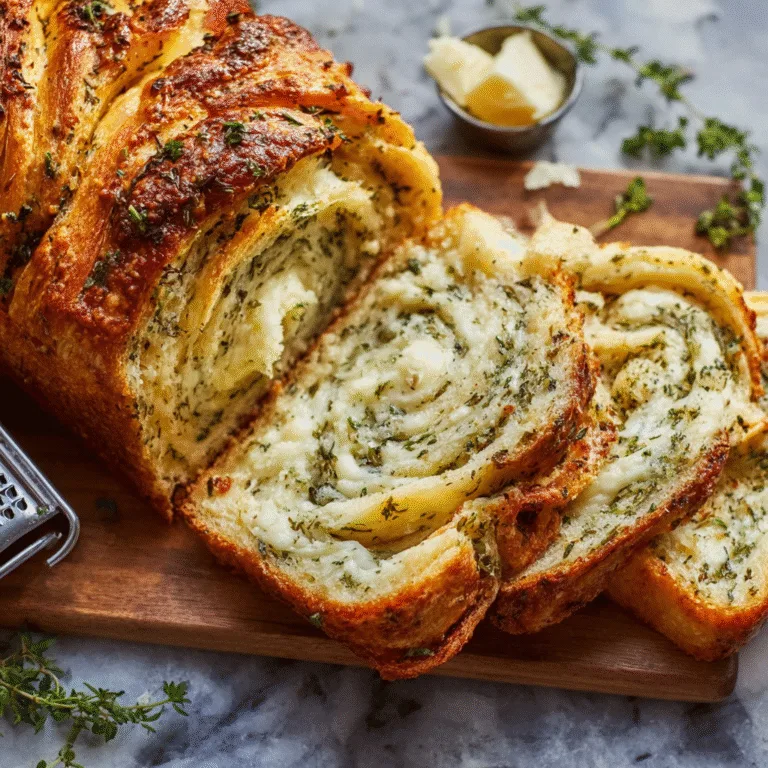
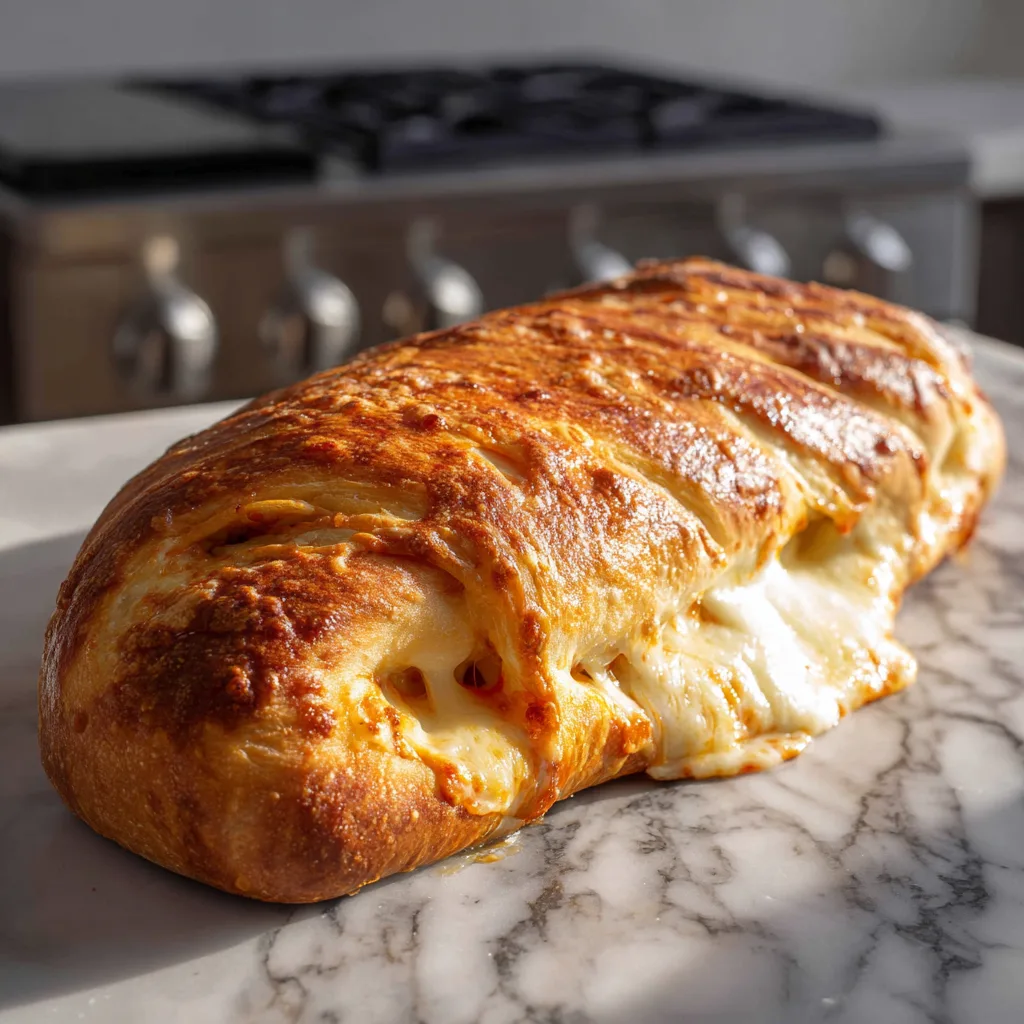
There’s something magical about pulling a golden-brown stromboli from your oven, watching the cheese stretch as you slice through the crispy crust, and inhaling that intoxicating aroma of Italian herbs and melted mozzarella. This beloved Italian-American creation has been winning hearts and satisfying appetites for generations, and today, I’m sharing everything you need to know to master this incredible stuffed bread at home.
What Makes Stromboli the King of Stuffed Breads
Unlike its cousin the calzone, which is folded into a half-moon shape and often contains ricotta, stromboli is rolled into a magnificent spiral that creates beautiful layers of dough, cheese, and savory fillings. This rolling technique isn’t just for show – it ensures every single bite delivers the perfect ratio of crispy exterior to gooey, flavorful interior. The origins of stromboli are actually American, despite its Italian-sounding name, created by Italian immigrants who wanted to put their own spin on traditional pizza flavors in a portable, shareable format.
The beauty of stromboli lies in its versatility and forgiveness. Even if your rolling technique isn’t perfect, or your dough tears slightly, the final product will still taste absolutely incredible. The key is understanding how the layers work together: the dough provides structure and that essential chewiness, the cheese acts as both flavor enhancer and binding agent, and the meats and vegetables contribute bursts of savory goodness throughout. When these elements combine in the heat of your oven, they create a harmonious blend that’s greater than the sum of its parts.
The Secret Foundation: Choosing Your Dough Wisely
While you can absolutely use store-bought pizza dough for convenience (and there’s no shame in that time-saving choice), understanding what makes great stromboli dough will elevate your results significantly. The ideal dough should be elastic enough to stretch and roll without tearing, yet sturdy enough to contain all those delicious fillings without becoming soggy. A slightly higher protein content than standard pizza dough helps achieve this balance, which is why bread flour often works better than all-purpose flour if you’re making dough from scratch.
The temperature of your dough matters tremendously when it comes to rolling. Cold dough straight from the refrigerator will fight you every step of the way, springing back and potentially tearing when stretched. Room temperature dough, on the other hand, becomes pliable and cooperative, stretching smoothly into that perfect rectangle. This is why letting your dough rest at room temperature for 30-45 minutes before rolling is such a crucial step that many recipes gloss over. During this time, the gluten relaxes, making your job infinitely easier and your results more professional.
Ingredients
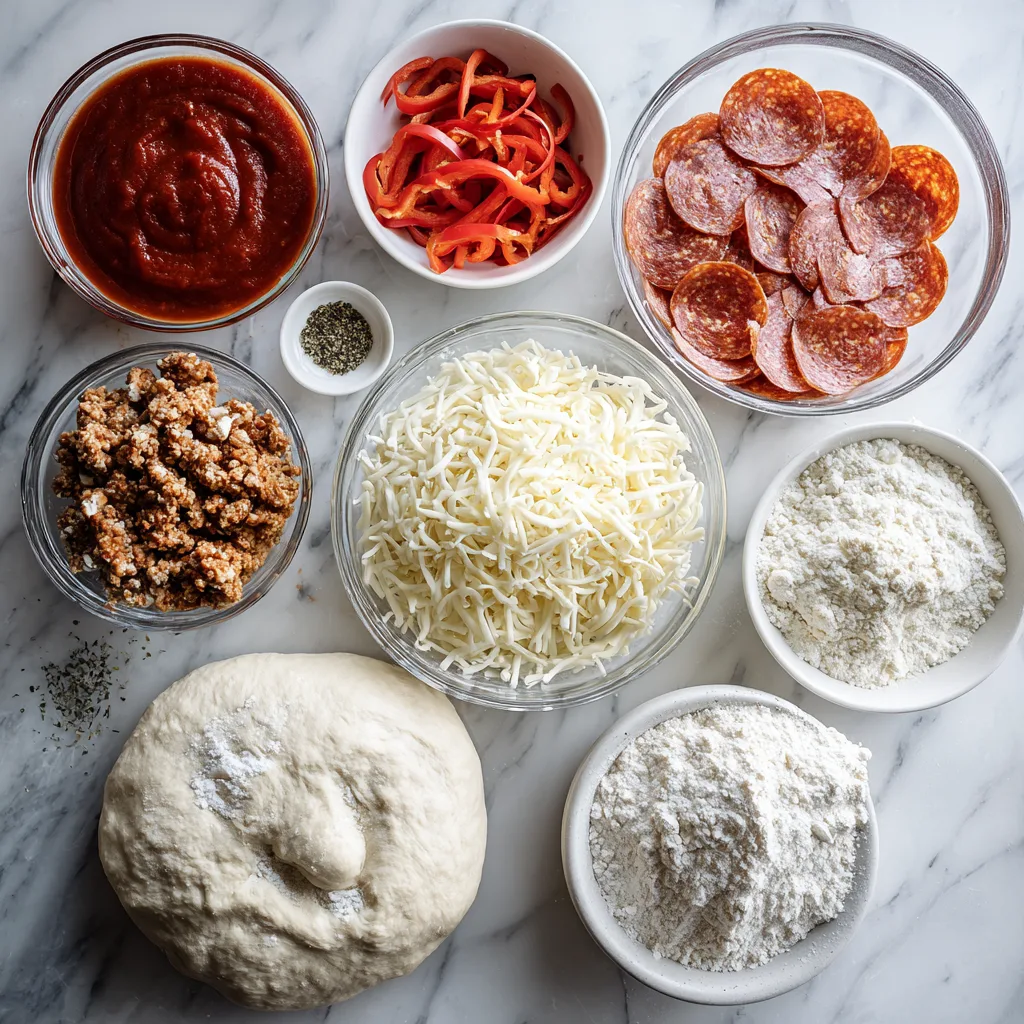
- 1 pound pizza dough (store-bought or homemade)
- 8 ounces mozzarella cheese, shredded
- 4 ounces pepperoni slices
- 4 ounces Italian sausage, cooked and crumbled
- 1/2 cup bell peppers, thinly sliced
- 1/3 cup marinara sauce (plus extra for serving)
- 2 tablespoons grated Parmesan cheese
- 1 tablespoon Italian seasoning
- 1 teaspoon garlic powder
- 1/2 teaspoon red pepper flakes (optional)
- 1 egg, beaten (for egg wash)
- 2 tablespoons olive oil
- 1 teaspoon coarse salt for topping
- Fresh basil leaves (optional)
- All-purpose flour for dusting
Instructions
- Remove pizza dough from refrigerator and let it rest at room temperature for 30-45 minutes until pliable and easy to work with.
- Preheat your oven to 375°F (190°C) and line a large baking sheet with parchment paper, ensuring it extends slightly up the sides.
- Lightly dust your work surface with flour and roll the dough into a rectangle approximately 14×10 inches, maintaining even thickness throughout.
- Spread marinara sauce over the dough, leaving a 1-inch border on all sides to prevent leaking during rolling.
- Layer half the mozzarella cheese evenly over the sauce, followed by pepperoni slices arranged in slightly overlapping rows.
- Distribute the cooked Italian sausage crumbles and bell pepper strips evenly across the surface.
- Sprinkle with Italian seasoning, garlic powder, red pepper flakes, and remaining mozzarella cheese.
- Starting from the long side closest to you, tightly roll the dough into a log, tucking in any escaping fillings as you go.
- Pinch the seam firmly to seal, then tuck and pinch both ends under to completely enclose the filling.
- Carefully transfer the stromboli to your prepared baking sheet, placing it seam-side down.
- Brush the entire surface generously with beaten egg, ensuring you cover all visible dough.
- Using a sharp knife, cut 4-5 diagonal slits across the top, each about 1 inch deep, to allow steam to escape.
- Sprinkle with coarse salt and additional Italian seasoning if desired.
- Bake for 25-30 minutes until the crust is deep golden brown and the cheese is bubbling through the slits.
- Remove from oven and immediately brush with olive oil for extra flavor and shine.
- Let rest for 5-10 minutes before slicing to allow the cheese to set slightly.
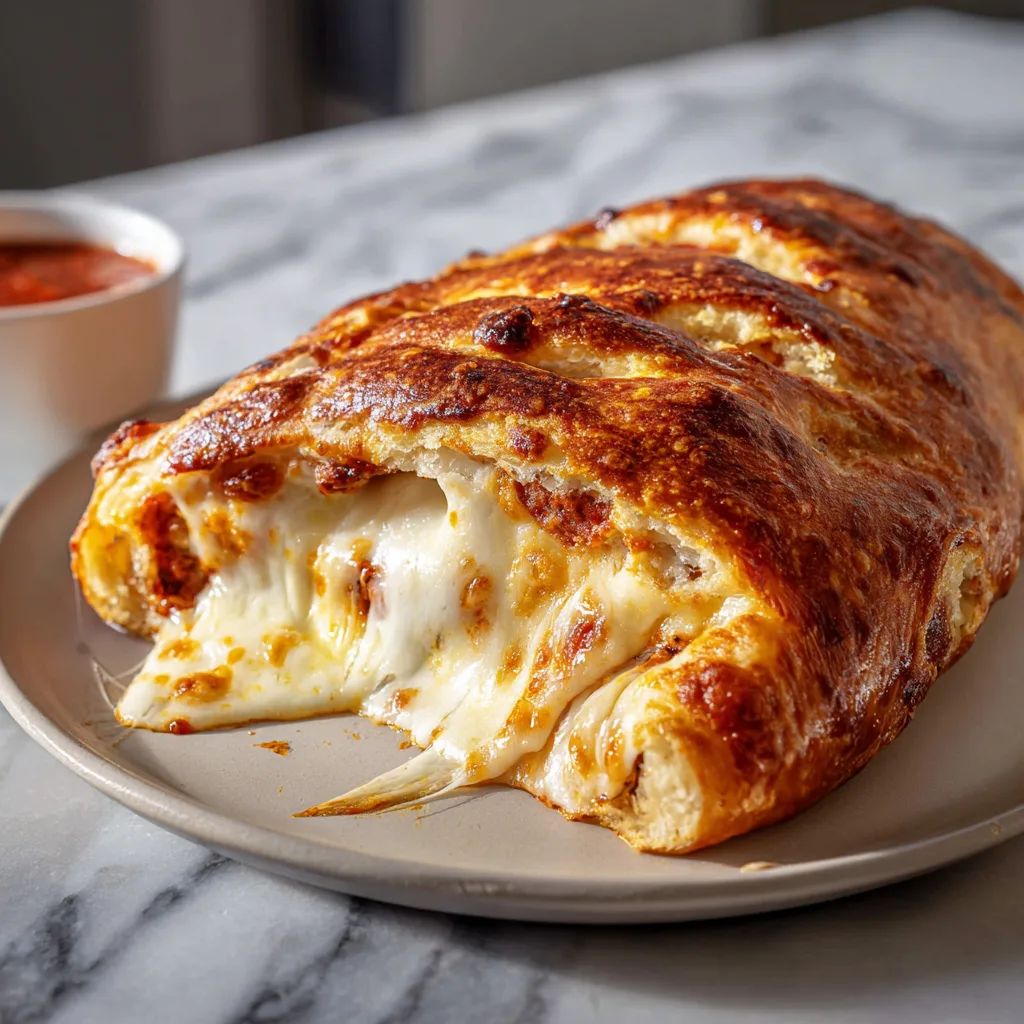
- Slice into thick portions using a sharp serrated knife and serve with warm marinara sauce for dipping.
Italian Stromboli Stuffed Bread
Ingredients
Equipment
Method
- Let pizza dough rest at room temperature for 30-45 minutes until pliable.
- Preheat oven to 375°F (190°C) and line baking sheet with parchment paper.
- Roll dough into 14×10 inch rectangle on floured surface.
- Spread marinara sauce over dough, leaving 1-inch border on all sides.
- Layer half the mozzarella, then pepperoni, sausage, peppers, seasonings, and remaining cheese.
- Roll tightly from long side, pinch seam and ends to seal completely.
- Place seam-side down on baking sheet, brush with egg wash.
- Cut 4-5 diagonal slits on top, sprinkle with salt.
- Bake 25-30 minutes until golden brown and cheese bubbles through slits.
- Brush with olive oil, rest 5-10 minutes before slicing and serving.
Notes
Mastering the Art of Filling Distribution
The biggest mistake people make with stromboli is overloading it with fillings, which seems counterintuitive because we all want maximum flavor in every bite. However, too much filling prevents proper sealing, causes excessive leaking during baking, and can result in a soggy bottom that nobody wants. The trick is strategic layering with restraint. Think of building flavor through quality rather than quantity – using highly flavorful ingredients like good quality pepperoni, aged cheeses, and properly seasoned sausage means you need less of each to achieve spectacular results.
Another crucial technique is managing moisture content in your fillings. Vegetables like mushrooms, spinach, or bell peppers release water when heated, which can make your stromboli soggy from the inside out. Pre-cooking these ingredients and allowing them to cool completely before adding them to your stromboli helps eliminate excess moisture. Similarly, if using fresh mozzarella instead of low-moisture mozzarella, pat it dry thoroughly and consider using less sauce to compensate for the additional moisture the fresh cheese will release.
The Golden Rules of Rolling and Sealing
Rolling stromboli is an art form that becomes second nature with practice, but knowing the fundamentals sets you up for success from the start. Always roll from the long side for the classic spiral effect, maintaining even pressure to avoid thin spots that might tear under the weight of the fillings. As you roll, use your fingers to gently tuck any escaping ingredients back into the spiral. This isn’t just about neatness – exposed fillings on the outside will burn during baking, creating bitter spots and potentially causing smoke in your oven.
The sealing process is absolutely critical for keeping all that delicious filling where it belongs. After rolling, the seam should be pinched firmly along its entire length, almost like you’re creating a sealed envelope. Don’t be gentle here – a firm pinch is necessary to ensure the dough bonds to itself. The ends require special attention too. Fold them under like you’re wrapping a present, creating multiple layers of dough that act as barriers against leaking cheese. Some cooks even use a fork to crimp the edges for extra security and a decorative touch.
Achieving That Perfect Golden-Brown Crust
The visual appeal of stromboli comes largely from its beautifully bronzed exterior, and achieving this requires more than just time in the oven. The egg wash is your secret weapon here, creating not just color but also a glossy sheen that makes your stromboli look professionally made. Don’t skimp on this step or rush through it – make sure every visible surface gets coated, including the sides and any crevices where the dough folds. Some bakers add a tablespoon of water or milk to their egg wash for extra shine, while others prefer using just the egg yolk for a deeper golden color.
The strategic slashing of the top serves multiple purposes beyond just allowing steam to escape. These cuts provide windows into the delicious filling, creating visual appeal and allowing cheese to bubble through dramatically during baking. They also help prevent the stromboli from splitting randomly along weak points, which would create messy leaks. Make your cuts confident and decisive – tentative shallow cuts won’t be effective. Angle your knife at 45 degrees and cut about an inch deep, spacing them evenly for the best appearance.
Troubleshooting Common Stromboli Challenges
Even experienced cooks sometimes encounter issues with stromboli, but understanding the common problems helps you prevent or fix them. If your bottom crust turns out soggy, the culprit is usually excess moisture from the fillings or insufficient oven heat from below. Using a preheated pizza stone or placing your baking sheet on the lowest oven rack can help achieve a crispier bottom. Some cooks even start their stromboli on the stovetop in an oven-safe skillet for a minute or two before transferring to the oven, creating an extra-crispy base.
When cheese leaks excessively despite careful sealing, it’s often because the internal steam pressure has nowhere to go. This is why those diagonal cuts are so important – they act as pressure release valves. If you notice cheese starting to leak from the seams during baking, don’t panic. Simply let it continue cooking, as the leaked cheese will create delicious crispy bits that many people consider the best part. You can also place a piece of parchment paper or foil under the stromboli partway through baking if leaking becomes excessive.
Serving Suggestions and Creative Variations
While marinara sauce is the classic accompaniment to stromboli, don’t limit yourself to tradition. Garlic aioli, pesto ranch, or spicy arrabbiata sauce all make excellent dipping options that can complement different filling combinations. Consider serving your stromboli as part of an Italian feast alongside Caesar salad, garlic knots, or antipasto platters. The beauty of stromboli is that it’s substantial enough to be a main course but also works beautifully as an appetizer when sliced into smaller portions for parties or game day gatherings.
The filling possibilities for stromboli are virtually endless, limited only by your imagination and what’s in your refrigerator. A vegetarian version with roasted red peppers, artichoke hearts, spinach, and multiple cheeses can be just as satisfying as the meat-loaded classic. Breakfast stromboli filled with scrambled eggs, bacon, hash browns, and cheddar cheese makes an incredible brunch centerpiece. You can even create dessert versions with Nutella, bananas, and marshmallows, though that’s venturing far from traditional Italian territory into delicious new realms of possibility.
The Make-Ahead Magic of Stromboli
One of stromboli’s best-kept secrets is how well it handles being prepared in advance, making it perfect for busy weeknights or entertaining. You can assemble your stromboli completely, wrap it tightly in plastic wrap, and refrigerate for up to 24 hours before baking. This actually improves the final product in some ways, as the dough has time to relax further and the flavors meld together beautifully. Just remember to let it sit at room temperature for about 20 minutes before baking and add a few extra minutes to the cooking time since you’re starting with a cold stromboli.
For longer storage, unbaked stromboli freezes remarkably well for up to three months when wrapped properly in plastic wrap and aluminum foil. The key to freezing success is thawing it slowly in the refrigerator overnight rather than using quick-thaw methods that can make the dough soggy. Leftover baked stromboli also reheats wonderfully in a 350°F oven for about 10 minutes, regaining much of its original crispy-outside, melty-inside texture that makes this dish so irresistible.
Final Thoughts: Embracing the Stromboli Journey
Making stromboli at home is one of those cooking experiences that delivers far more satisfaction than the effort required. It’s a dish that impresses guests, satisfies hungry families, and provides endless opportunities for creativity and personalization. Don’t be discouraged if your first attempt isn’t picture-perfect – even imperfect stromboli tastes amazing, and each time you make it, your technique will improve. The most important thing is to enjoy the process, from the therapeutic rolling of dough to the anticipation as those incredible aromas fill your kitchen, to the ultimate reward of pulling apart that first steaming, cheese-pulling slice.