The Ultimate Peanut Butter and Jelly Pie: A Nostalgic Dessert That’ll Transport You Back to Childhood 🥜
There’s something magical about the combination of peanut butter and jelly that never fails to bring a smile to our faces. While most of us grew up enjoying this classic duo between two slices of bread, have you ever imagined transforming this beloved flavor combination into an indulgent, creamy pie? The peanut butter and jelly pie is a nostalgic dessert that captures all the comfort of your favorite childhood sandwich while elevating it to a whole new level of deliciousness. This easy-to-make pie features a buttery graham cracker crust, a rich and creamy peanut butter filling with a glossy, viscous texture, and beautiful swirls of vibrant grape jelly throughout. Whether you’re looking for a show-stopping dessert for your next gathering or simply want to indulge in a sweet trip down memory lane, this peanut butter and jelly pie is guaranteed to become a family favorite.
Why This Peanut Butter and Jelly Pie Recipe Works Like Magic
What makes this particular peanut butter and jelly pie recipe so special is its perfect balance of flavors and textures. The filling achieves that ideal thick, gooey consistency that holds its shape when sliced but still melts in your mouth with every bite. Unlike traditional pies that require extensive baking time and precise temperature control, this recipe comes together quickly and easily, making it perfect for both novice bakers and experienced dessert makers alike. The heavy, viscous peanut butter mixture creates a stable base that supports the jelly swirls beautifully, while the grape jelly adds a bright, fruity contrast that cuts through the richness of the peanut butter. The result is a dessert that’s simultaneously familiar and exciting, comforting and impressive.
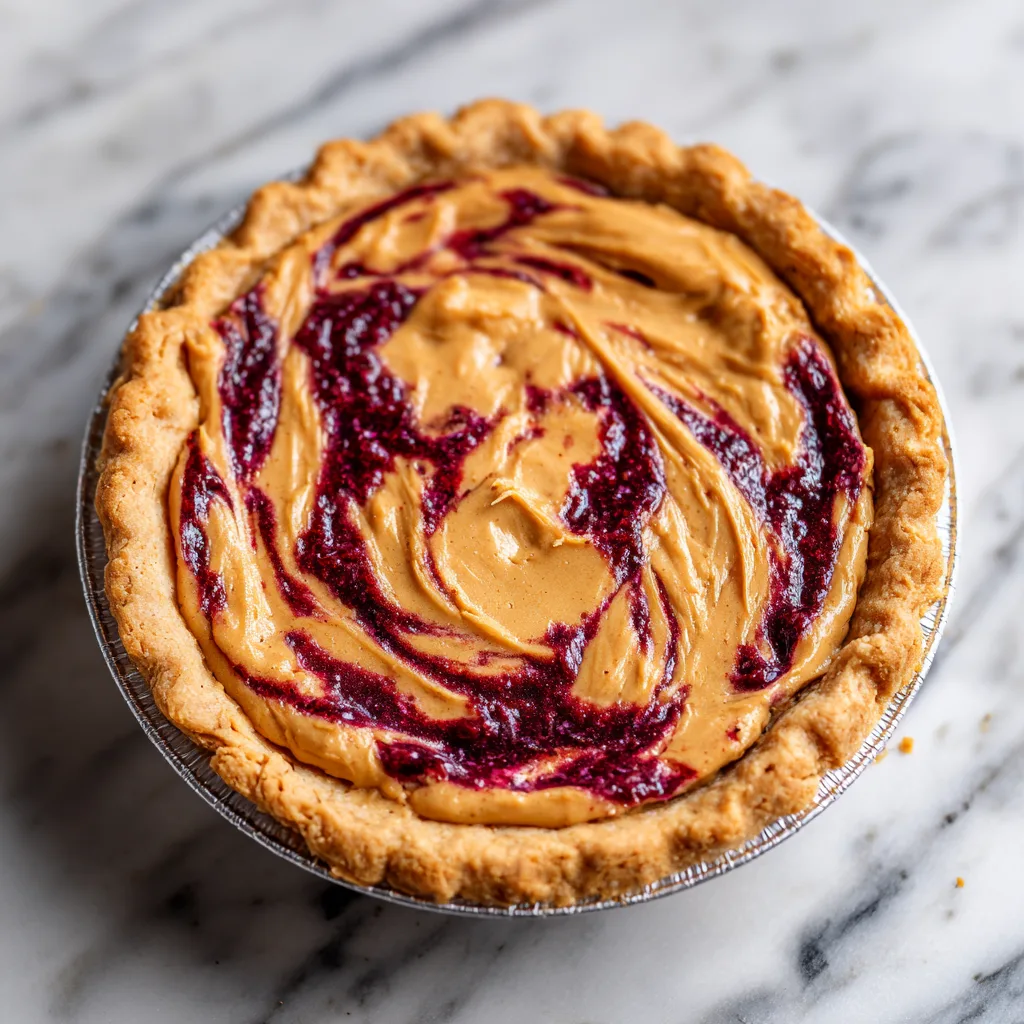
The beauty of this recipe lies in its simplicity and the quality of its ingredients. By using creamy peanut butter with a naturally thick consistency, you create a filling that has that authentic, homemade texture with a glossy reflective surface that catches the light beautifully. The jelly swirls throughout the pie aren’t just visually stunning—they provide bursts of sweet, tangy flavor that complement the nutty richness perfectly. Every slice reveals a beautiful marbled pattern of deep burgundy jelly threading through the creamy peanut butter base, creating an Instagram-worthy dessert that tastes even better than it looks.
Understanding the Perfect Pie Crust Foundation
The foundation of any great pie starts with the crust, and for this peanut butter and jelly pie, a classic graham cracker crust is the perfect choice. Graham crackers provide a slightly sweet, honey-flavored base that doesn’t compete with the star flavors of peanut butter and jelly. When combined with melted butter and a touch of sugar, the crumbs transform into a crust that’s both sturdy enough to hold the thick, gooey filling and tender enough to cut cleanly with a fork. The golden brown color of the baked crust provides a beautiful contrast to the pale peanut butter filling and creates that authentic homemade appearance with slight variations in color and texture throughout.
Creating the perfect graham cracker crust is all about achieving the right consistency. The crumbs should be fine enough to pack together firmly but not so pulverized that they turn to powder. When you press the mixture into your pie tin, you want to create an even layer that extends up the sides, forming a sturdy vessel for your filling. Some bakers prefer to pre-bake their graham cracker crust for a few minutes to set it, which creates an even firmer base and enhances the toasted flavor of the graham crackers. Don’t worry if your crust looks slightly uneven or shows natural cracking—these imperfections are part of the charm of homemade baking and add to the authentic, rustic appearance of your finished pie.
Mastering the Creamy Peanut Butter Filling
The heart and soul of this pie is undoubtedly the peanut butter filling. Achieving that perfect thick, gooey consistency with a glossy surface requires understanding how the ingredients work together. The base starts with creamy peanut butter—not the natural kind that separates, but the standard processed variety that maintains a stable, smooth texture. This type of peanut butter creates that heavy, viscous consistency that defines the filling and gives it structure. When combined with cream cheese, the mixture becomes even more luscious and develops a slight tanginess that balances the sweetness beautifully.
The addition of powdered sugar serves multiple purposes in this recipe. First, it sweetens the filling to the perfect level, ensuring the pie isn’t overly rich or cloying. Second, it helps stabilize the mixture and contributes to that thick, slow-dripping consistency that makes each slice hold its shape beautifully on the plate. When you beat the cream cheese and peanut butter together with the powdered sugar, you’re incorporating air into the mixture, which creates a lighter texture while maintaining that signature gooey, viscous quality. A splash of vanilla extract rounds out the flavors and adds depth, while a bit of cream helps achieve the ideal consistency—thick enough to hold swirls of jelly but smooth enough to spread evenly in the pie crust.
The Art of Creating Perfect Jelly Swirls
One of the most visually striking aspects of this peanut butter and jelly pie is the beautiful swirls of vibrant grape jelly throughout the filling. Creating these swirls is easier than it looks, but there’s a technique to achieving that perfect marbled pattern. The key is to work with jelly that has a heavy, viscous consistency—not too thin or it will sink and blend completely into the peanut butter, and not too thick or it won’t swirl smoothly. Most standard grape jellies have exactly the right texture, with that characteristic translucent gooey appearance and sticky quality that makes them perfect for this application.
To create the swirls, you’ll dollop spoonfuls of jelly across the surface of the peanut butter filling, spacing them somewhat evenly but not perfectly uniform—after all, this is rustic home baking, not pastry school! Using a butter knife, wooden skewer, or the handle of a spoon, gently drag through the jelly and peanut butter in a swirling motion. You can create figure-eight patterns, straight lines pulled perpendicular to each other, or spirals radiating from the center. The goal is to create a marbled effect where the deep burgundy jelly threads through the pale peanut butter, creating contrast and visual interest. Don’t overmix or you’ll lose the definition of the swirls—a few gentle passes with your tool is all you need to achieve that beautiful, slightly messy, amateur-style pattern that looks authentically homemade.
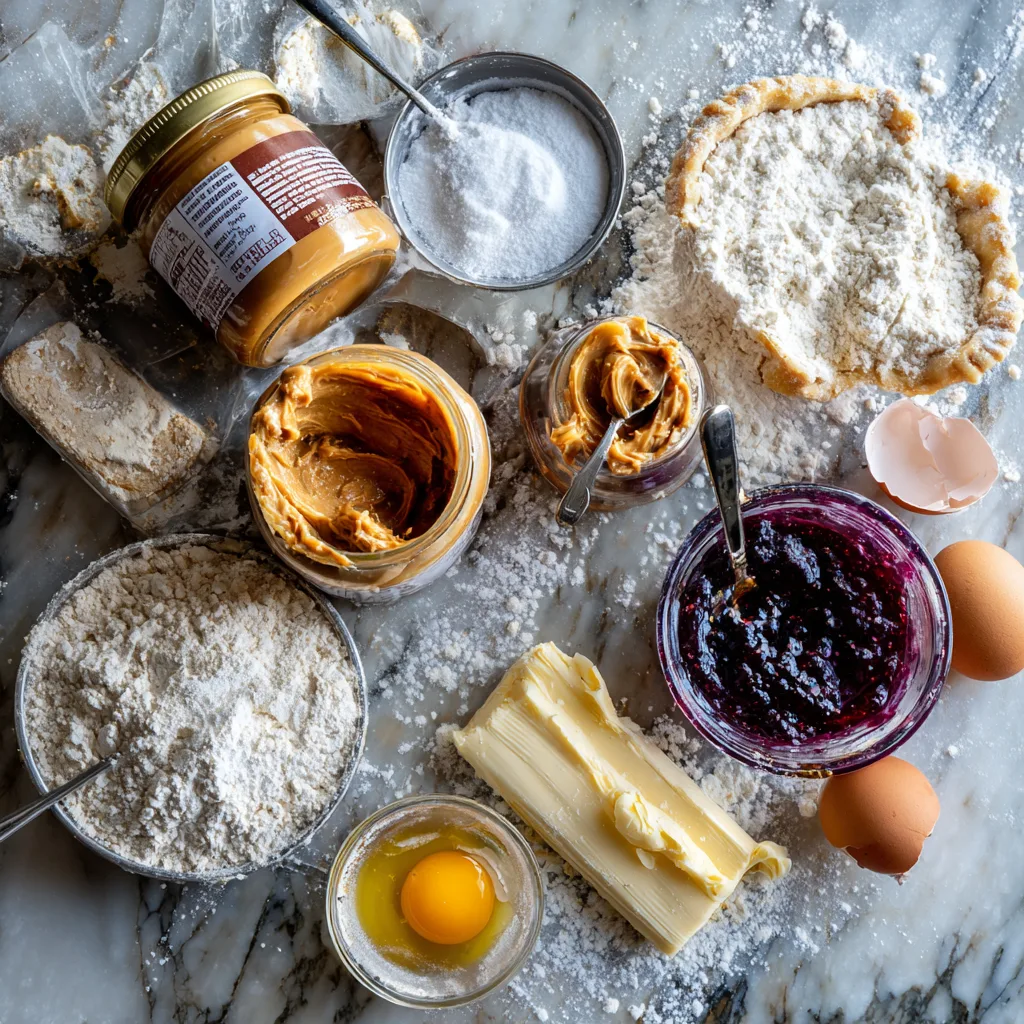
Ingredients
- Cookie Batter
- 2 cups all-purpose flour
- 1 tsp baking powder
- 0.5 tsp baking soda
- 0.5 tsp salt
- 1 tsp cinnamon
- 0.5 tsp nutmeg
- 0.25 tsp cloves (optional)
- 0.5 cup unsalted butter (softened)
- 0.75 cup brown sugar (packed)
- 1 egg (large)
- 1 tsp vanilla extract
- 0.75 cup apple cider
- Filling
- 0.5 cup unsalted butter (softened)
- 1.5 cups powdered sugar
- 1 tsp vanilla extract
- 2-3 tbsp cream or milk
Instructions
- Preheat your oven to 350°F (175°C) and prepare your pie tin by lightly greasing it with butter or non-stick spray to ensure easy removal of slices later.
- In a medium mixing bowl, combine graham cracker crumbs with melted butter and granulated sugar, stirring until the mixture resembles wet sand and holds together when pressed.
- Press the graham cracker mixture firmly into the bottom and up the sides of your pie tin, creating an even layer that will serve as the foundation for your filling.
- Bake the crust for 8-10 minutes until it’s lightly golden and set, then remove from oven and allow to cool completely on a wire rack before adding the filling.
- In a large mixing bowl, beat together cream cheese and creamy peanut butter using a hand mixer or stand mixer until the mixture is smooth and well combined with no lumps.
- Gradually add powdered sugar to the peanut butter mixture, beating continuously until fully incorporated and the filling achieves a thick, creamy consistency.
- Mix in vanilla extract and enough cream to reach your desired consistency—the filling should be thick and viscous but spreadable, with a glossy surface texture.
- Pour the peanut butter filling into your cooled graham cracker crust, using a spatula to spread it evenly and smooth the top surface.
- Dollop spoonfuls of grape jelly across the surface of the peanut butter filling, spacing them somewhat evenly but maintaining that rustic, imperfect placement.
- Using a butter knife or wooden skewer, gently swirl the jelly through the peanut butter filling in decorative patterns, being careful not to overmix.
- Refrigerate the pie for at least 4 hours or overnight until the filling is completely set and has achieved that perfect thick, gooey consistency throughout.
- When ready to serve, remove the pie from the refrigerator and let it sit at room temperature for 10-15 minutes to make slicing easier and allow the flavors to develop fully.
Peanut Butter and Jelly Pie
Ingredients
Equipment
Method
- Preheat oven to 350°F (175°C). Grease a 9-inch pie tin lightly with butter or non-stick spray.
- In a medium bowl, combine graham cracker crumbs, sugar, and melted butter until mixture resembles wet sand.
- Press crumb mixture firmly into bottom and up sides of pie tin. Bake for 8-10 minutes until lightly golden. Cool completely.
- In a large bowl, beat cream cheese and peanut butter with mixer until smooth and creamy with no lumps.
- Gradually add powdered sugar, beating until fully incorporated and mixture is thick and smooth.
- Mix in vanilla extract and heavy cream until filling reaches a thick, spreadable consistency with glossy appearance.
- Pour peanut butter filling into cooled crust, spreading evenly with spatula to create smooth surface.
- Dollop spoonfuls of grape jelly across surface of filling in random pattern.
- Using butter knife or wooden skewer, gently swirl jelly through peanut butter filling to create marbled pattern. Do not overmix.
- Refrigerate pie for at least 4 hours or overnight until completely set and firm.
- Let pie sit at room temperature for 10-15 minutes before slicing and serving.
Notes
Achieving the Perfect Texture and Consistency
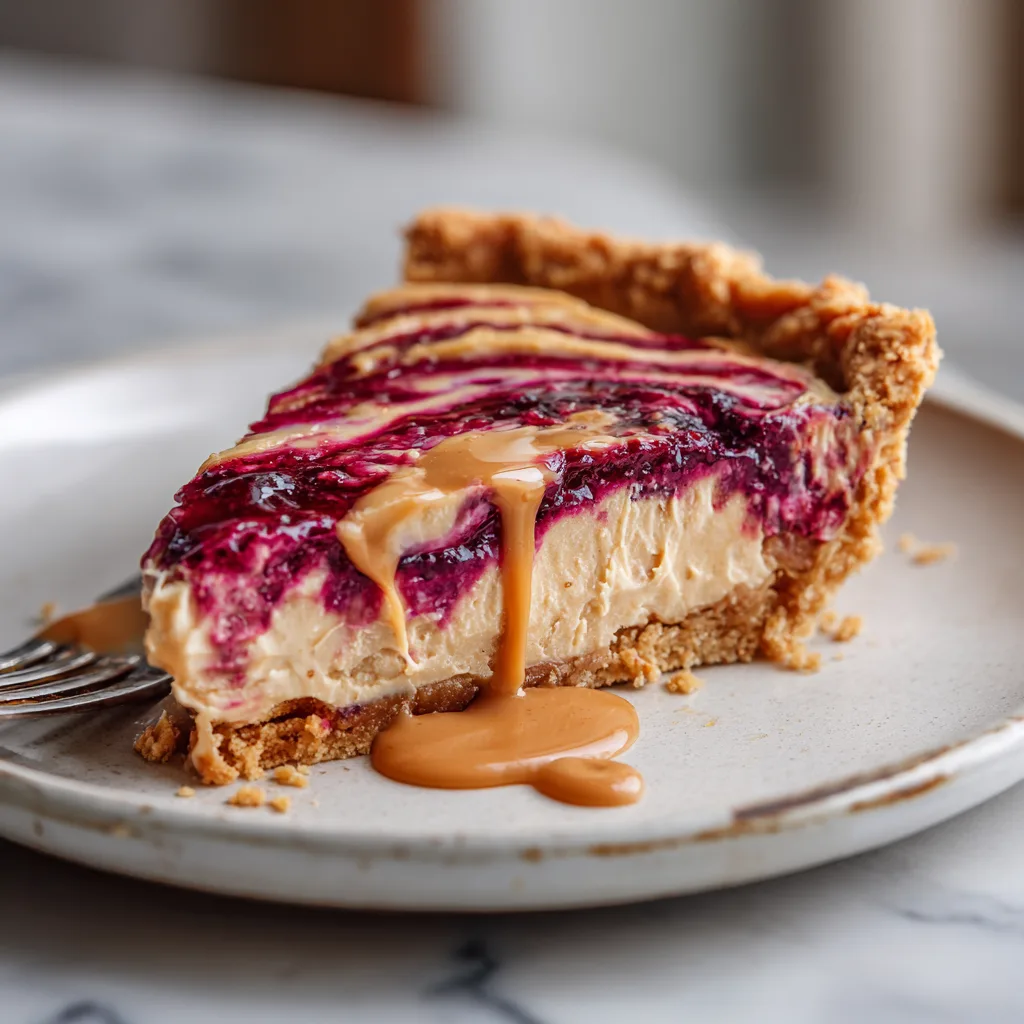
The texture of your peanut butter and jelly pie is what sets it apart from ordinary desserts. When properly prepared, each slice should reveal distinct layers—a crisp, slightly crumbly graham cracker crust on the bottom, a thick layer of creamy peanut butter filling with that characteristic heavy, viscous consistency, and beautiful swirls of translucent, gooey jelly throughout. The filling should be firm enough to hold its shape when sliced but still soft and creamy when you take a bite. That glossy, reflective surface on top catches the light beautifully and indicates that you’ve achieved the perfect balance of ingredients.
As the pie chills in the refrigerator, the filling sets up and develops its signature texture. The cold temperature causes the cream cheese and peanut butter to firm slightly while maintaining their smooth, creamy quality. The jelly swirls retain their distinct color and translucent appearance, creating striking visual contrast against the pale peanut butter base. When you cut into the pie, you should see clean edges with perhaps a slight oozing of the thick filling—this is exactly what you want. Some of the peanut butter mixture might drip slowly onto the plate in thick, viscous drops with that gorgeous glossy appearance, pooling slightly around the base of the slice.
Serving Suggestions and Presentation Tips
While this peanut butter and jelly pie is undeniably delicious on its own, there are several ways to elevate your presentation and add complementary flavors. For a simple but elegant touch, top each slice with a small dollop of freshly whipped cream. The light, airy texture of the cream provides a nice contrast to the dense, rich filling, and adds a touch of sophistication to this nostalgic dessert. You could also drizzle a little extra grape jelly that’s been slightly warmed to loosen its consistency across the top of each slice, creating additional visual interest and intensifying the jelly flavor.
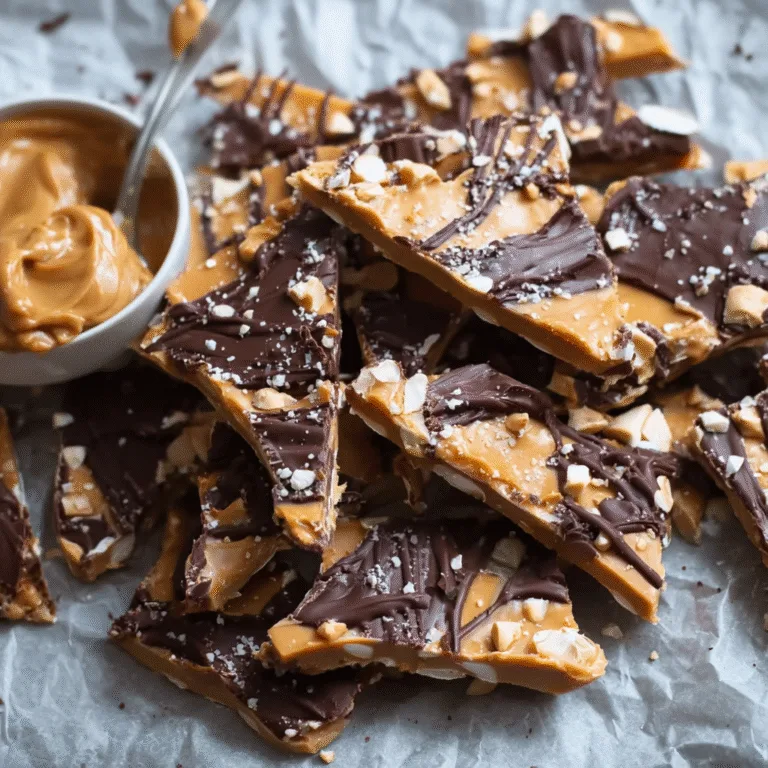
For those who love texture contrast, consider sprinkling crushed peanuts over the top of the pie before serving. This adds a delightful crunch that plays beautifully against the smooth, creamy filling. You could also crumble a few extra graham crackers over individual slices for added texture and visual appeal. If you’re serving this pie at a children’s party or casual gathering, don’t be afraid to embrace the playful nature of the peanut butter and jelly theme—garnish with actual peanut butter sandwich cookies or serve alongside glasses of cold milk for the ultimate nostalgic experience.
Storage and Make-Ahead Tips
One of the best features of this peanut butter and jelly pie is how well it stores, making it perfect for make-ahead entertaining. Once the pie is fully set, you can cover it tightly with plastic wrap or aluminum foil and store it in the refrigerator for up to five days. The flavors actually develop and meld together beautifully over time, so don’t hesitate to make this pie a day or two in advance of when you plan to serve it. The thick, gooey consistency of the filling is maintained throughout storage, and the graham cracker crust stays remarkably crisp thanks to the barrier created by the dense peanut butter mixture.
If you want to freeze portions for future enjoyment, this pie freezes surprisingly well. Wrap individual slices tightly in plastic wrap, then place them in an airtight freezer bag or container. Frozen slices will keep for up to three months and can be thawed overnight in the refrigerator or at room temperature for a few hours. The texture might be slightly softer after freezing, but the flavor remains excellent. This makes it easy to always have a special dessert on hand for unexpected guests or when you’re craving a sweet treat without having to start from scratch.
Troubleshooting Common Issues
Even with a straightforward recipe like this peanut butter and jelly pie, you might encounter a few challenges. If your filling seems too thick and difficult to spread, you can thin it slightly by adding a tablespoon or two more of cream, mixing thoroughly until you achieve a better consistency. Conversely, if your filling seems too thin and doesn’t hold its shape, try adding more powdered sugar or refrigerating it for 20-30 minutes before pouring it into the crust—this will help it firm up slightly and make spreading easier.
If your jelly swirls disappear or blend too completely into the peanut butter filling, your jelly might have been too thin or you might have swirled too vigorously. Next time, try using slightly less warm jelly or make fewer passes with your swirling tool. Remember, the goal is to create definition and contrast, not to fully blend the two components. Some people find it helpful to chill the peanut butter filling for about 15 minutes before adding the jelly—the slightly firmer base helps the jelly sit on top rather than sinking in immediately.
Variations and Creative Twists
While the classic peanut butter and grape jelly combination is undeniably delicious, don’t be afraid to experiment with different flavors and variations. Strawberry jam creates a lighter, fresher flavor profile and adds beautiful pink swirls throughout the filling. Raspberry preserves offer a more sophisticated taste with their slight tartness that cuts through the rich peanut butter beautifully. For chocolate lovers, try swirling in some melted chocolate or chocolate fudge sauce instead of jelly—this creates a peanut butter cup inspired pie that’s absolutely decadent.
You can also play with the crust by using chocolate graham crackers instead of regular ones, or try a pretzel crust for a sweet and salty variation that’s incredibly addictive. Adding a layer of chocolate ganache between the crust and peanut butter filling creates an extra element of richness and visual appeal when sliced. For a fun twist on presentation, try making mini versions in a muffin tin lined with paper cups—these individual peanut butter and jelly pies are perfect for parties and portion control.
Conclusion: A Dessert That Celebrates Simple Pleasures
The peanut butter and jelly pie represents everything we love about comfort food desserts—it’s familiar yet special, simple yet impressive, nostalgic yet completely satisfying. This recipe proves that you don’t need complicated techniques or exotic ingredients to create a memorable dessert that will have everyone asking for seconds. The thick, gooey peanut butter filling with its glossy surface, the vibrant swirls of translucent jelly, and the crisp graham cracker crust come together to create a pie that’s greater than the sum of its parts. Whether you’re serving it at a casual family dinner, bringing it to a potluck, or simply indulging in a slice as an afternoon treat, this peanut butter and jelly pie is sure to bring smiles and spark conversations about childhood memories. The beauty of authentic homemade baking shines through in every imperfect swirl and slightly uneven slice, reminding us that the best desserts are made with love and enjoyed with the people who matter most.