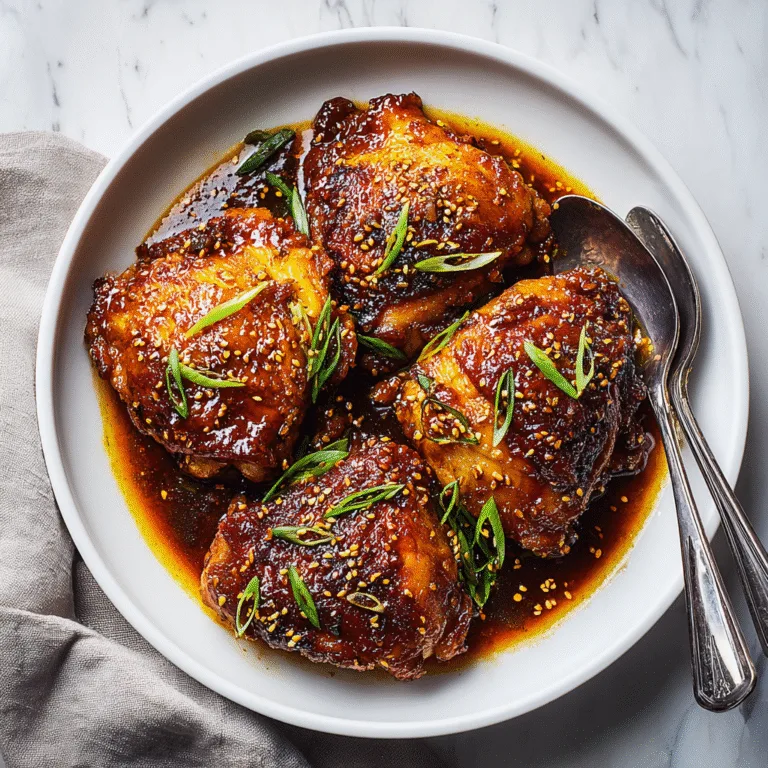
Air Fryer Chicken Breast – Juicy, Tender & Flavorful Every Time
Cooking chicken breast has a reputation problem. Too often it turns out dry, bland, or chewy — especially when you’re trying to keep things healthy. But the air fryer completely changes the game. With the right seasoning, timing, and technique, air fryer chicken breast becomes incredibly juicy, tender, and packed with flavor every single time.
This recipe is designed for real life: busy weeknights, meal prep Sundays, and those moments when you want something comforting but still nutritious. No marinades that take hours. No complicated steps. Just simple pantry spices, fresh chicken, and an air fryer doing what it does best — locking in moisture while creating a lightly crisp, golden exterior.
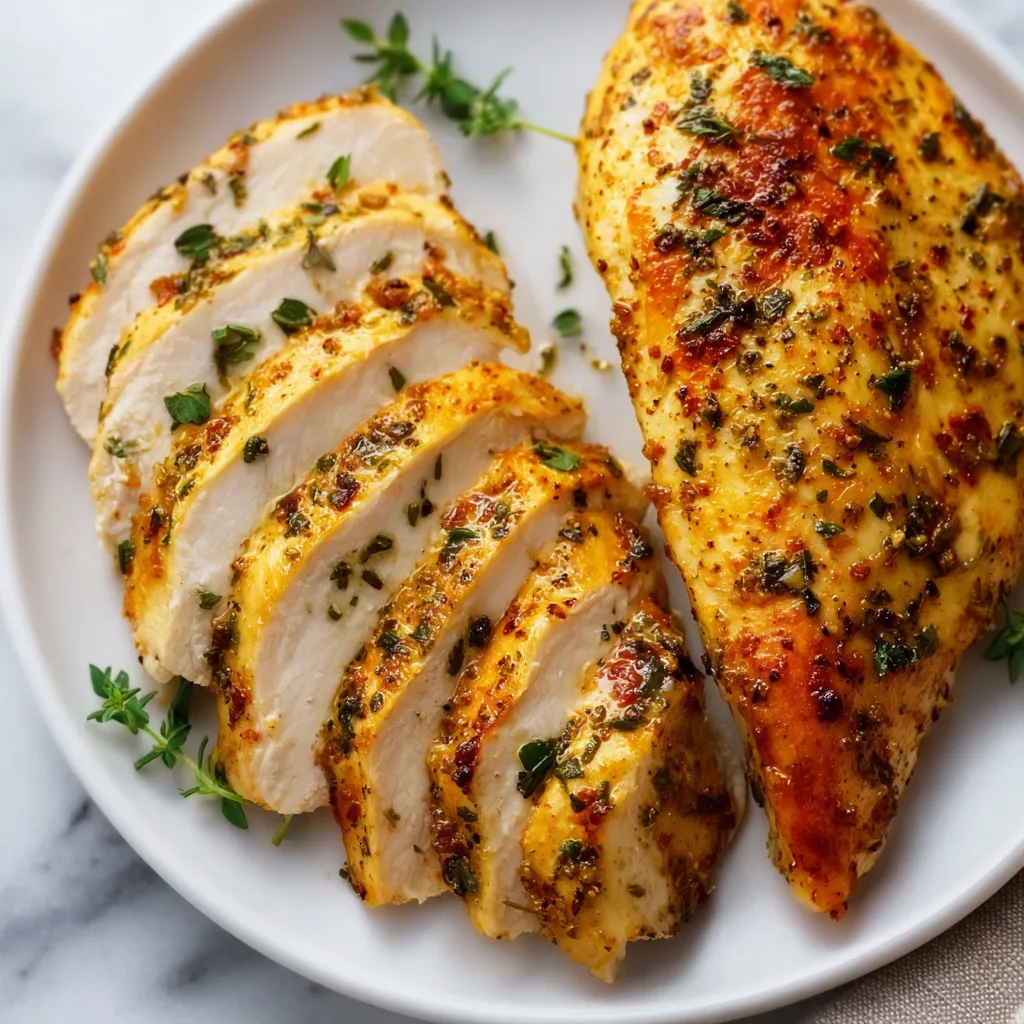
Whether you’re new to air frying or already obsessed, this recipe will become your go-to. It’s endlessly customizable, naturally gluten-free, high in protein, and perfect for salads, wraps, grain bowls, or a classic dinner plate.
Why the Air Fryer Is Perfect for Chicken Breast
Chicken breast is lean by nature, which means it dries out quickly with traditional cooking methods. The air fryer solves this problem by circulating hot air evenly around the meat, cooking it quickly without stripping away moisture.
Unlike baking, which can overcook the outside before the center is done, or pan-searing, which requires constant attention, the air fryer delivers consistent results with minimal effort. You get:
- Even cooking from edge to center
- A lightly crisp exterior without breading
- Juicy meat thanks to shorter cook times
- No need for excess oil
Once you learn this method, you’ll never go back to dry chicken again.
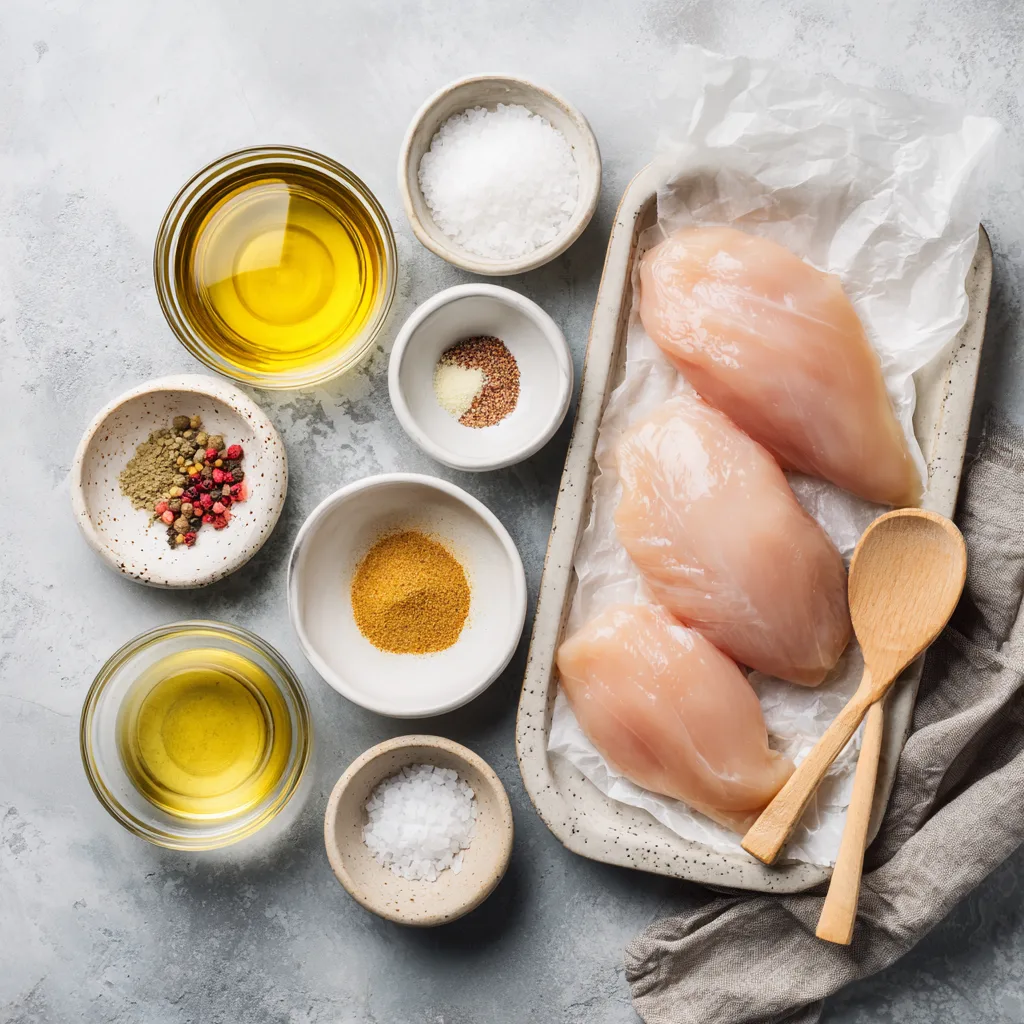
Ingredients
- 2 boneless, skinless chicken breasts
- 1 tablespoon olive oil
- 1 teaspoon paprika
- 1 teaspoon garlic powder
- ½ teaspoon onion powder
- ½ teaspoon dried oregano or Italian seasoning
- ½ teaspoon salt
- ¼ teaspoon black pepper
- Optional: pinch of cayenne or chili flakes for heat
Instructions
- Preheat the air fryer to 380°F (193°C) for 3 minutes. Preheating ensures even cooking and better browning.
- Pat the chicken breasts dry with paper towels. This helps the seasoning stick and promotes a better outer texture.
- Brush both sides of the chicken breasts with olive oil.
- Mix all spices in a small bowl, then rub evenly over both sides of each chicken breast.
- Place chicken in the air fryer basket in a single layer, leaving space between pieces.
- Cook for 10–12 minutes, flipping halfway through, until the internal temperature reaches 165°F (74°C).
- Remove and rest the chicken for 5 minutes before slicing. This locks in juices.
- Slice, serve, and enjoy perfectly juicy chicken every time.
Air Fryer Chicken Breast – Juicy, Tender & Flavorful Every Time
Ingredients
Equipment
Method
- Preheat air fryer to 380°F (193°C).
- Pat chicken breasts dry and brush with olive oil.
- Mix spices and rub evenly over chicken.
- Place chicken in air fryer basket in a single layer.
- Cook 10–12 minutes, flipping halfway, until internal temperature reaches 165°F.
- Rest chicken 5 minutes before slicing and serving.
Notes
The Secret to Juicy Chicken Breast
The most overlooked step in cooking chicken breast is resting. Cutting into chicken immediately releases all the juices you worked so hard to keep inside. Letting it rest for just five minutes allows the fibers to relax and redistribute moisture.
Another key factor is thickness. If your chicken breasts are very thick on one end and thin on the other, lightly pounding them to an even thickness ensures consistent cooking and prevents dry edges.
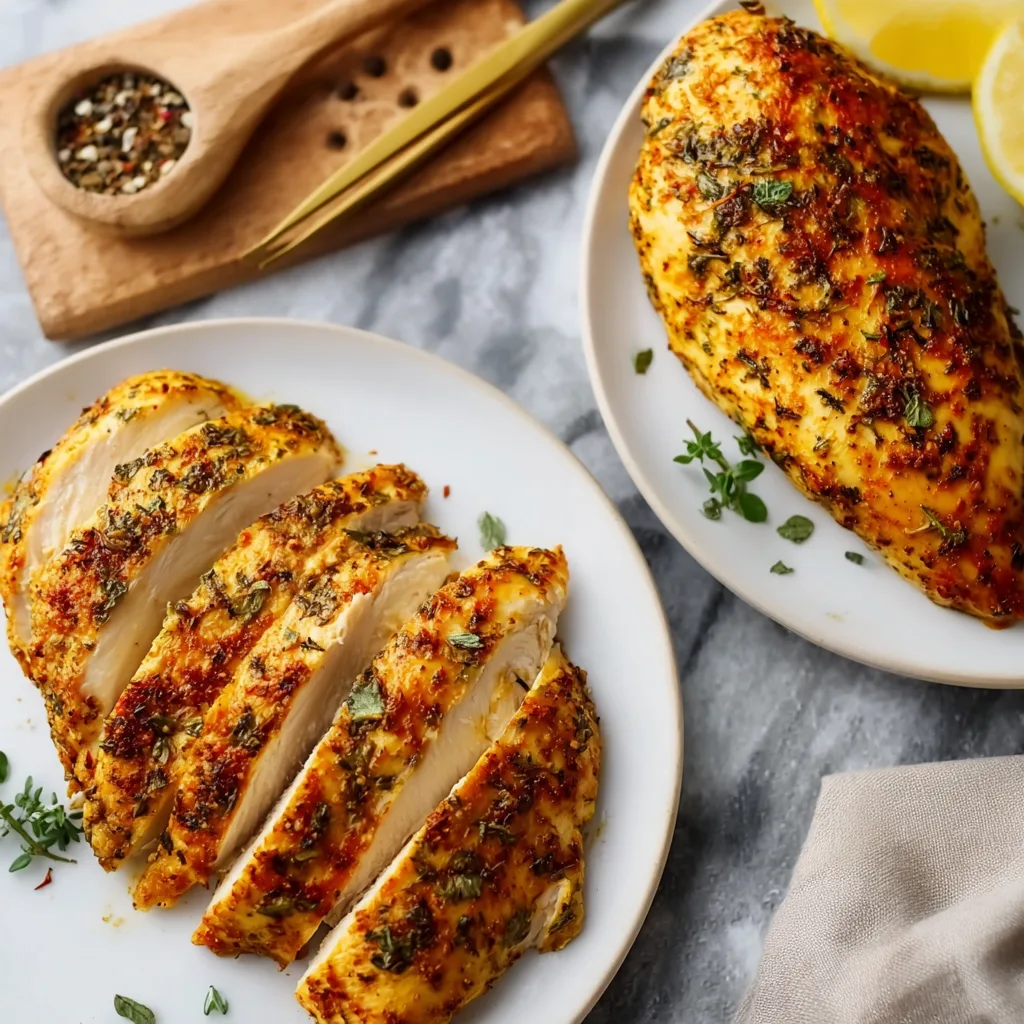
Flavor Variations You’ll Love
This air fryer chicken breast recipe is a blank canvas. Try these easy variations:
Lemon Herb Chicken
Add lemon zest and dried thyme to the seasoning mix. Finish with fresh lemon juice.
Smoky BBQ
Swap paprika for smoked paprika and add a pinch of brown sugar to the rub.
Garlic Parmesan
Add grated parmesan and extra garlic powder after cooking, letting the residual heat melt the cheese.
Mediterranean Style
Use oregano, basil, and a touch of cumin. Serve with olives and tomatoes.
Serving Suggestions
This chicken works beautifully in so many meals:
- Sliced over a fresh green salad
- Stuffed into wraps or pita bread
- Served with roasted vegetables
- Added to rice or quinoa bowls
- Meal prepped with steamed broccoli and sweet potatoes
Because it’s seasoned but neutral, it pairs well with almost any sauce — from yogurt-based dressings to spicy hot sauce.
Meal Prep & Storage Tips
Air fryer chicken breast is ideal for meal prep:
- Store cooked chicken in an airtight container in the fridge for up to 4 days.
- Reheat gently in the air fryer at 350°F for 3–4 minutes to avoid drying out.
- Slice only what you plan to eat; keep the rest whole for better moisture retention.
Common Mistakes to Avoid
- Skipping preheating: leads to uneven cooking
- Overcrowding the basket: causes steaming instead of crisping
- Overcooking: always check internal temperature
- Skipping the rest time: results in dry chicken
Avoid these, and success is guaranteed.
Why This Recipe Works Every Time
This method balances heat, seasoning, and timing perfectly. The air fryer cooks fast enough to prevent moisture loss while the olive oil and spices create a flavorful exterior. It’s simple, reliable, and endlessly adaptable — exactly what a staple recipe should be.