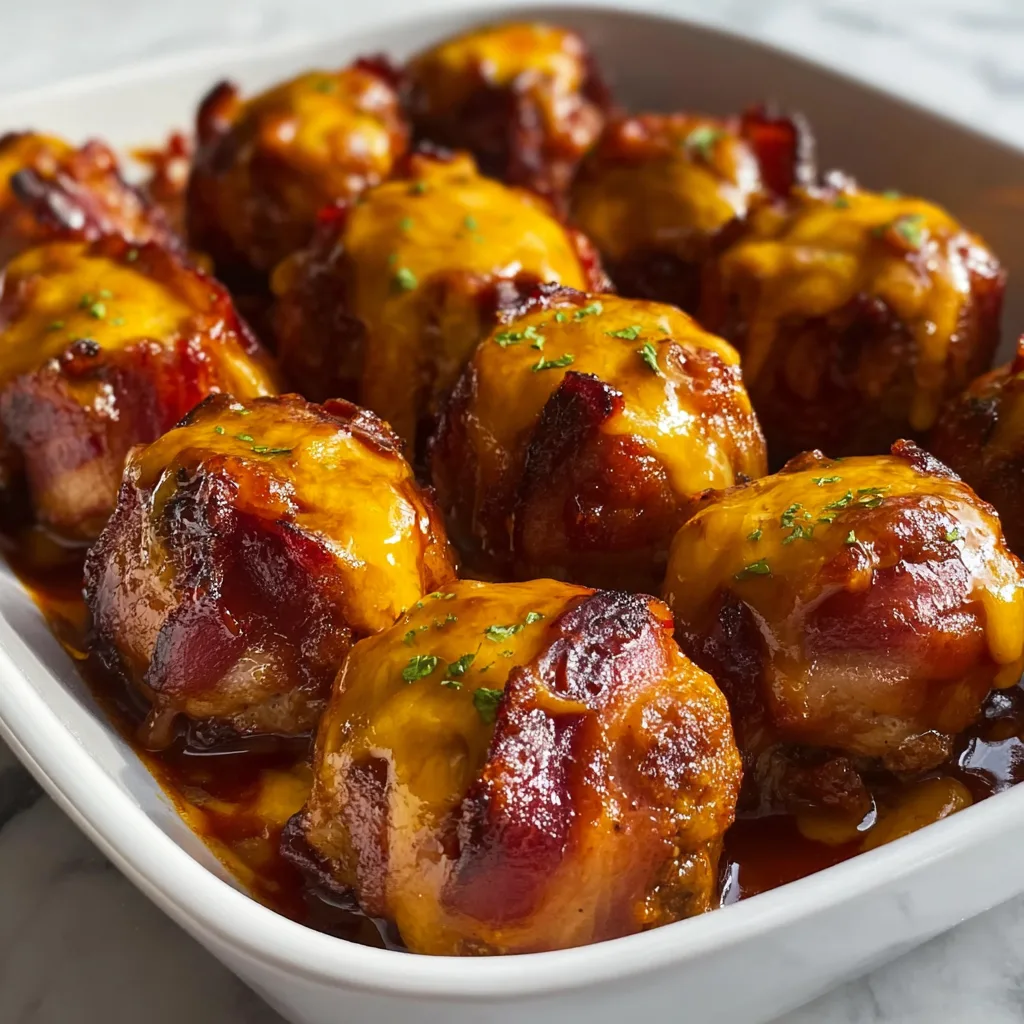
Cheddar-Stuffed BBQ Bacon Bombs: The Ultimate Comfort Food Recipe
When it comes to comfort food that delivers maximum flavor impact, nothing quite compares to the irresistible combination of bacon, cheese, and BBQ sauce. These cheddar-stuffed BBQ bacon bombs represent the perfect marriage of smoky, savory, and downright indulgent flavors that will have your taste buds singing with joy. This recipe transforms simple ground beef into extraordinary bacon-wrapped masterpieces that are guaranteed to become the star of any gathering, from casual family dinners to weekend barbecues with friends.
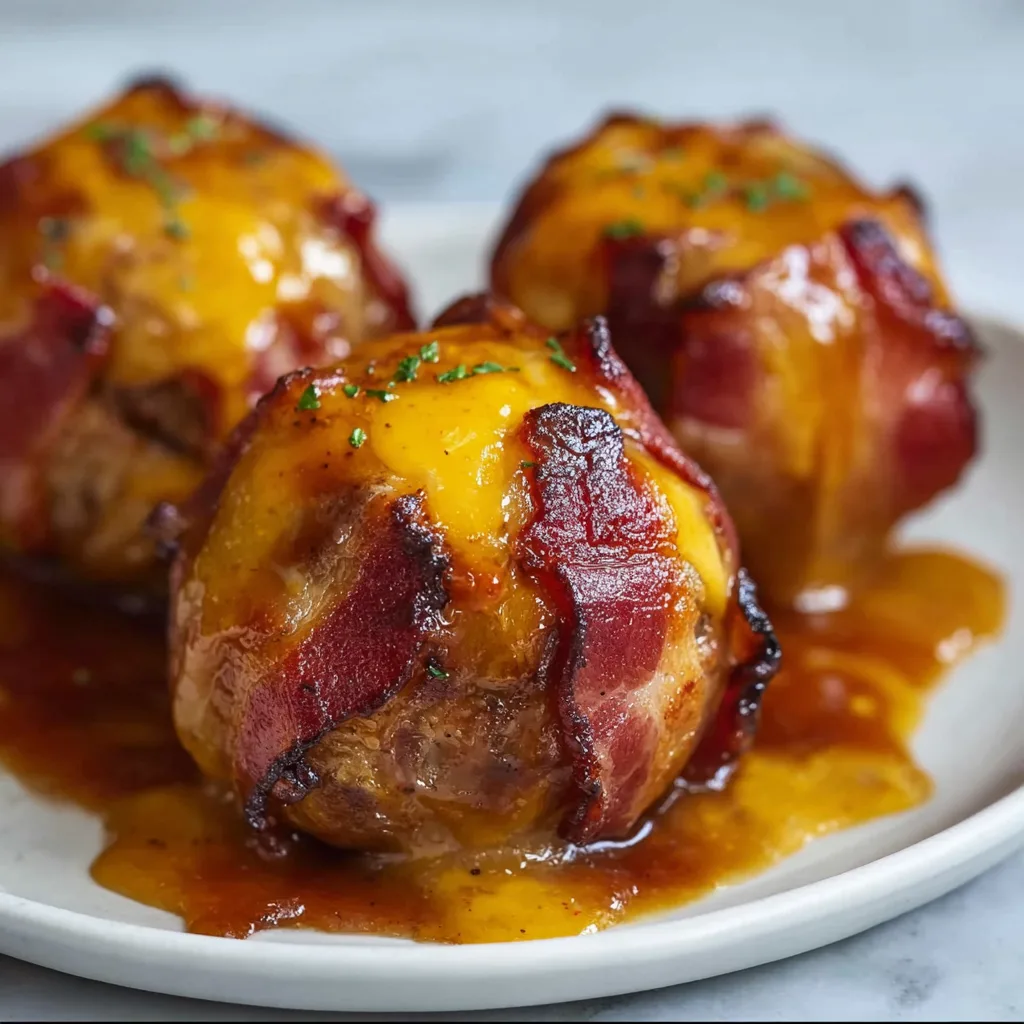
The beauty of these bacon bombs lies in their incredible versatility and the fact that they’re surprisingly easy to make, despite their impressive appearance. Each bite delivers a perfect balance of textures – the crispy, smoky exterior of perfectly cooked bacon gives way to tender, seasoned ground beef that surrounds a molten core of sharp cheddar cheese. The addition of tangy BBQ sauce not only adds a glossy, caramelized finish but also provides that essential sweet and smoky flavor profile that makes these bacon bombs absolutely irresistible.
The Art of Perfect Bacon Bomb Construction
Creating the perfect cheddar-stuffed BBQ bacon bomb requires attention to detail and a few key techniques that ensure every single bite is as delicious as the last. The foundation of any great bacon bomb starts with selecting the right ground beef – aim for an 80/20 blend that provides enough fat content to keep the meat moist and flavorful while cooking, but not so much that it becomes greasy. This fat ratio also helps the meat hold together during the wrapping process, preventing any unfortunate structural failures that could result in cheese leakage.
The cheese selection is equally crucial to the success of your bacon bombs. Sharp cheddar provides the ideal flavor profile with its tangy bite that cuts through the richness of the bacon and beef, while its excellent melting properties ensure that satisfying cheese pull we all crave. When preparing the cheese for stuffing, cut it into cubes that are substantial enough to create a molten center but not so large that they make the meat mixture difficult to shape around them.
The bacon wrapping technique requires a bit of finesse to achieve that picture-perfect appearance. Start by laying out your bacon strips on a clean work surface, ensuring they’re at room temperature for easier handling. Cold bacon tends to crack and break when wrapped, while room temperature bacon remains pliable and easy to manipulate. Wrap each bacon bomb with slight overlap between the strips, securing the ends underneath to prevent unwrapping during cooking.
Mastering the BBQ Glaze Technique
The BBQ sauce component of these bacon bombs serves multiple purposes beyond just adding flavor. It acts as a protective glaze that helps prevent the bacon from becoming overly crispy while ensuring the meat stays moist throughout the cooking process. The key to achieving that perfect glossy finish is applying the BBQ sauce in stages – a light coating before cooking helps the initial caramelization process, while a final application during the last few minutes of cooking creates that irresistible sticky, glossy exterior.
When selecting your BBQ sauce, opt for a variety that balances sweet and tangy elements without being overpowering. The sauce should complement the smoky bacon and sharp cheddar rather than dominating the overall flavor profile. For those who enjoy a bit of heat, adding a touch of hot sauce or cayenne pepper to your BBQ glaze can provide an exciting kick that elevates the entire dish.
The timing of sauce application is critical – apply too early and it may burn before the bacon properly cooks, apply too late and you miss out on that beautiful caramelized coating. The sweet spot is typically during the final 10-15 minutes of cooking time, allowing enough time for the sugars in the sauce to caramelize without burning.
Ingredients
- 2 pounds ground beef (80/20 blend)
- 12 strips thick-cut bacon
- 8 oz sharp cheddar cheese, cut into 1-inch cubes
- 1 cup BBQ sauce, divided
- 2 teaspoons garlic powder
- 2 teaspoons onion powder
- 1 teaspoon smoked paprika
- 1 teaspoon black pepper
- 1 teaspoon salt
- 1/2 teaspoon cayenne pepper (optional)
- 2 tablespoons Worcestershire sauce
- 1 large egg, beaten
- 1/2 cup breadcrumbs

Instructions
- Preheat your oven to 375°F (190°C) and line a large baking sheet with parchment paper or aluminum foil for easy cleanup.
- In a large mixing bowl, combine the ground beef, garlic powder, onion powder, smoked paprika, black pepper, salt, cayenne pepper, Worcestershire sauce, beaten egg, and breadcrumbs. Mix gently with your hands until just combined, being careful not to overwork the mixture.
- Divide the seasoned ground beef mixture into 12 equal portions, roughly the size of a tennis ball. Flatten each portion in your palm and place a cube of cheddar cheese in the center.
- Carefully wrap the meat mixture around the cheese cube, ensuring the cheese is completely enclosed. Roll gently between your palms to create a smooth, round shape.
- Wrap each beef ball with a strip of bacon, starting at one end and spiraling around the ball, slightly overlapping each wrap. Tuck the end of the bacon underneath to secure.
- Place the wrapped bacon bombs on the prepared baking sheet, ensuring they’re not touching each other to allow for even cooking.
- Brush each bacon bomb lightly with half of the BBQ sauce, reserving the remainder for later application.
- Bake for 25-30 minutes, or until the bacon is crispy and the internal temperature reaches 160°F (71°C).
- During the final 10 minutes of cooking, brush the remaining BBQ sauce over each bacon bomb for a glossy finish.
- Remove from oven and let rest for 5 minutes before serving to allow the cheese to set slightly and prevent burning your mouth on molten cheese.
Cheddar-Stuffed BBQ Bacon Bombs
Ingredients
Equipment
Method
- Preheat oven to 375°F (190°C) and line baking sheet with parchment paper.
- Combine ground beef, seasonings, Worcestershire sauce, beaten egg, and breadcrumbs in large bowl. Mix gently until just combined.
- Divide beef mixture into 12 equal portions. Flatten each portion and place cheese cube in center.
- Wrap meat mixture around cheese cube, ensuring cheese is completely enclosed. Roll into smooth balls.
- Wrap each beef ball with bacon strip, spiraling around and tucking end underneath to secure.
- Place bacon bombs on prepared baking sheet, not touching each other.
- Brush each bacon bomb lightly with half the BBQ sauce, reserving remainder.
- Bake 25-30 minutes until bacon is crispy and internal temperature reaches 160°F (71°C).
- During final 10 minutes, brush with remaining BBQ sauce for glossy finish.
- Remove from oven and let rest 5 minutes before serving.
Notes
Pro Tips for Bacon Bomb Success
Achieving bacon bomb perfection requires mastering a few professional techniques that can make the difference between good and absolutely extraordinary results. Temperature control is paramount – using a meat thermometer ensures your bacon bombs reach the safe internal temperature of 160°F while preventing overcooking that can result in dry, tough meat. The resting period after cooking is equally important, as it allows the internal juices to redistribute and the cheese to reach the ideal consistency for that perfect cheese pull moment.
For those looking to add extra flavor complexity, consider incorporating finely minced fresh herbs like rosemary or thyme into your ground beef mixture. These aromatic additions complement the smoky bacon beautifully while adding a sophisticated touch that elevates the overall dish. Similarly, experimenting with different cheese varieties can create unique flavor profiles – try pepper jack for heat, gouda for smokiness, or even cream cheese for extra richness.
The cooking surface also impacts the final result significantly. Using a wire rack set over your baking sheet allows excess grease to drain away, preventing the bottom of your bacon bombs from becoming soggy while ensuring even cooking on all sides. This technique also helps achieve that coveted crispy bacon exterior that provides such a delightful textural contrast to the tender interior.
Creative Variations and Serving Suggestions
The basic bacon bomb recipe serves as an excellent foundation for countless creative variations that can suit different tastes and dietary preferences. For those who enjoy international flavors, try incorporating taco seasoning and pepper jack cheese for a Mexican-inspired twist, or use Italian seasoning with mozzarella for a more Mediterranean approach. The versatility of this base recipe makes it perfect for experimenting with different flavor combinations.
Serving suggestions for bacon bombs are virtually limitless, making them suitable for various occasions and meal types. As appetizers, they pair beautifully with classic sides like coleslaw, potato salad, or roasted vegetables. For a more substantial meal, consider serving them over creamy mashed potatoes or alongside buttery corn on the cob. The rich, indulgent nature of bacon bombs also makes them excellent candidates for game day spreads or casual entertainment.
For those looking to meal prep or make ahead, bacon bombs freeze exceptionally well before cooking. Simply wrap the prepared, uncooked bacon bombs individually in plastic wrap and store in freezer bags for up to three months. When ready to cook, thaw completely in the refrigerator overnight before proceeding with the baking instructions, adding a few extra minutes to account for the slightly lower starting temperature.
Storage and Reheating Guidelines
Proper storage techniques ensure your bacon bombs maintain their quality and safety for future enjoyment. Leftover cooked bacon bombs can be refrigerated for up to four days when stored in airtight containers. For longer storage, they can be frozen for up to three months, though the texture of the bacon may change slightly upon reheating.
When reheating bacon bombs, avoid using the microwave as it can make the bacon soggy and create uneven heating. Instead, use a 350°F oven for 10-15 minutes, or until heated through. This method helps restore some of the bacon’s crispiness while ensuring the cheese melts properly. For best results, brush with a little additional BBQ sauce before reheating to refresh the glaze and prevent drying out.
Conclusion: Your New Go-To Crowd Pleaser
These cheddar-stuffed BBQ bacon bombs represent everything we love about comfort food – they’re indulgent, flavorful, and guaranteed to satisfy even the most demanding appetites. The combination of smoky bacon, seasoned beef, melted cheese, and tangy BBQ sauce creates a symphony of flavors that’s impossible to resist. Whether you’re hosting a casual backyard barbecue, planning a game day spread, or simply looking to treat your family to something special, these bacon bombs deliver maximum impact with surprisingly minimal effort. The recipe’s flexibility allows for endless customization possibilities, ensuring you’ll never tire of this crowd-pleasing favorite that’s destined to become a regular feature in your cooking repertoire.