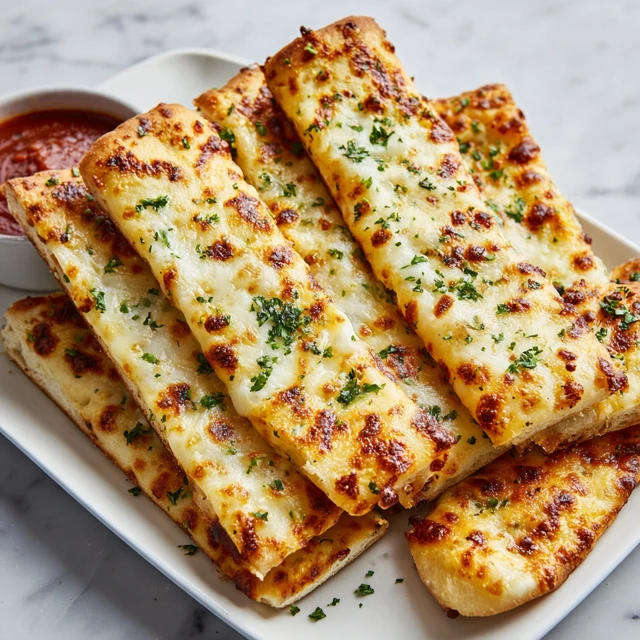
Easy Cheesy Garlic Breadsticks – Buttery, Gooey & Irresistible
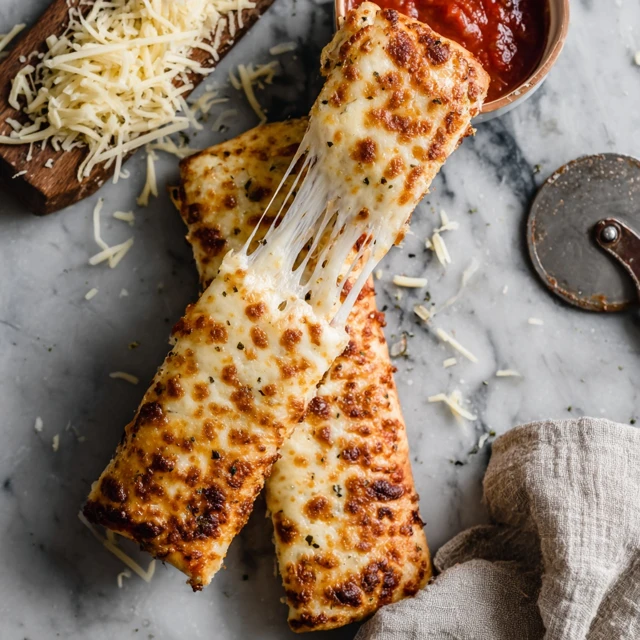
There’s something magical about pulling apart a warm, cheesy breadstick and watching the mozzarella stretch into long, gooey strands. It’s comfort food at its absolute best — simple, satisfying, and impossible to resist.
These Easy Cheesy Garlic Breadsticks are everything you want them to be: soft and fluffy inside, slightly crisp at the edges, brushed generously with buttery garlic, and topped with a blanket of melted mozzarella and Parmesan. Whether you’re serving them alongside pasta, dipping them into marinara, or enjoying them as a snack straight from the pan, they disappear fast.
The best part? They’re incredibly easy to make at home — no fancy equipment, no complicated techniques, and no need to order takeout.
Let’s make bakery-style cheesy garlic breadsticks in your own kitchen.
Why You’ll Love These Garlic Breadsticks
- Soft, fluffy interior with crisp golden edges
- Loaded with gooey melted mozzarella
- Rich garlic butter flavor in every bite
- Perfect for dipping
- Ready in under 30 minutes
If you’ve ever craved cheesy breadsticks from your favorite pizza place, this homemade version will absolutely satisfy that craving — and maybe even outshine it.
Ingredients
- 1 pound pizza dough (store-bought or homemade)
- 3 tablespoons unsalted butter, melted
- 3 cloves garlic, minced
- 1 ½ cups shredded mozzarella cheese
- ¼ cup grated Parmesan cheese
- 1 teaspoon dried Italian seasoning
- ½ teaspoon salt
- 1 tablespoon chopped fresh parsley (optional, for garnish)
- Marinara sauce for dipping

Instructions
1. Preheat the Oven
Preheat your oven to 425°F (220°C). Line a baking sheet with parchment paper.
2. Prepare the Garlic Butter
In a small bowl, combine melted butter and minced garlic. Let it sit for a few minutes so the garlic infuses the butter.
3. Roll Out the Dough
On a lightly floured surface, roll the pizza dough into a rectangle about ¼-inch thick. Transfer to the prepared baking sheet.
4. Brush with Garlic Butter
Brush the entire surface of the dough generously with the garlic butter, making sure to coat evenly.
5. Add the Cheese
Sprinkle shredded mozzarella evenly over the dough. Follow with grated Parmesan, Italian seasoning, and salt.
6. Bake
Bake for 12–15 minutes, or until the cheese is melted, bubbly, and lightly golden, and the edges of the dough are crisp.
7. Slice into Breadsticks
Remove from the oven and let cool for 2–3 minutes. Use a pizza cutter or sharp knife to slice into sticks.
8. Garnish & Serve
Sprinkle with fresh parsley and serve warm with marinara sauce for dipping.
Easy Cheesy Garlic Breadsticks
Ingredients
Equipment
Method
- Preheat oven to 425°F (220°C). Line baking sheet with parchment.
- Mix melted butter with minced garlic.
- Roll dough into rectangle and place on baking sheet.
- Brush with garlic butter.
- Top with mozzarella, Parmesan, seasoning, and salt.
- Bake 12–15 minutes until golden and bubbly.
- Slice into sticks and garnish with parsley.
Notes
The Secret to Perfectly Gooey Breadsticks
The key to irresistible cheesy breadsticks is balance:
The Dough:
Using good-quality pizza dough makes a huge difference. Fresh dough gives you that airy, tender interior.
The Cheese Blend:
Mozzarella provides the stretch and melt. Parmesan adds sharp, salty depth. Together, they create the perfect cheesy topping.
The Garlic Butter:
Letting minced garlic sit in melted butter enhances its flavor without overpowering the bread.
Tips for the Best Homemade Garlic Breadsticks
Don’t overbake.
You want golden edges, not dark brown bottoms.
Use freshly shredded cheese.
Pre-shredded cheese contains anti-caking agents that can affect melting.
Add extra flavor.
A pinch of red pepper flakes gives subtle heat.
For extra crisp edges:
Brush the edges with a little extra butter before baking.
Variations to Try
Extra Cheesy Version
Add provolone or Monterey Jack for an even richer flavor.
Stuffed Garlic Breadsticks
Fold the dough over cheese before baking to create stuffed breadsticks.
Herb Lovers
Mix fresh basil or oregano into the butter.
Spicy Kick
Add minced jalapeños or crushed red pepper flakes.
Serving Suggestions
These cheesy garlic breadsticks pair beautifully with:
- Spaghetti and meatballs
- Creamy Alfredo pasta
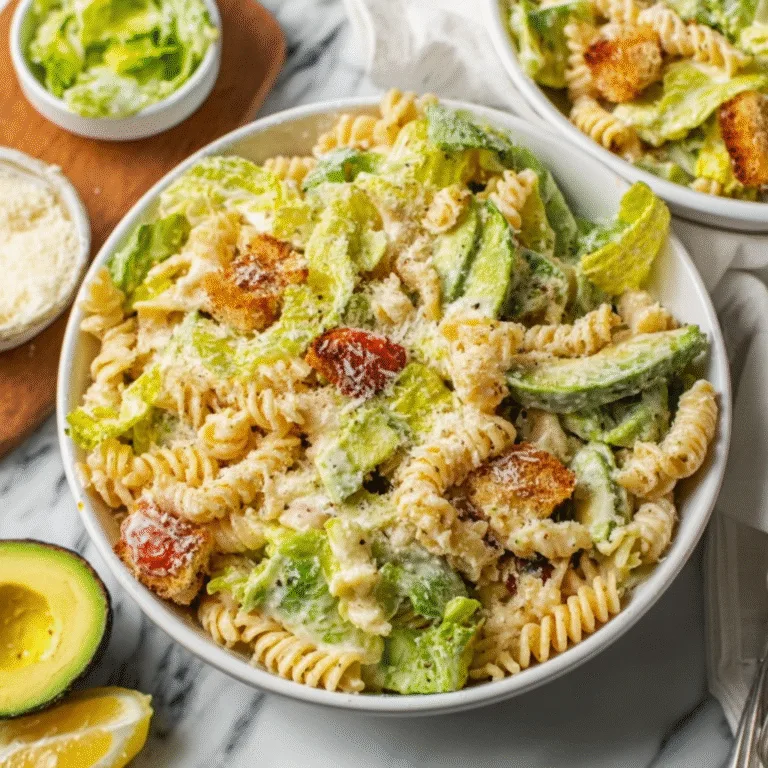
- Caesar salad
- Tomato basil soup
- As a party appetizer platter
They’re also perfect for game nights, movie nights, and casual gatherings.
Make-Ahead & Storage
- Store leftovers in an airtight container for up to 3 days.
- Reheat in the oven at 350°F for 5–7 minutes to restore crispness.
- Avoid microwaving if possible — it softens the crust.
You can also freeze baked breadsticks and reheat directly from frozen.
Why Homemade Is Better
When you make cheesy garlic breadsticks at home, you control everything:
- The quality of the ingredients
- The amount of garlic
- The thickness of the dough
- The cheese-to-bread ratio
And let’s be honest — loading on extra cheese is half the fun.
Final Thoughts
Easy Cheesy Garlic Breadsticks are one of those recipes that feel indulgent but require minimal effort. Buttery. Gooey. Golden. Completely irresistible.
Whether you’re serving them alongside your favorite pasta or enjoying them straight from the tray with marinara sauce, these breadsticks are guaranteed to disappear quickly.
Make them once, and you’ll keep coming back to this recipe again and again.