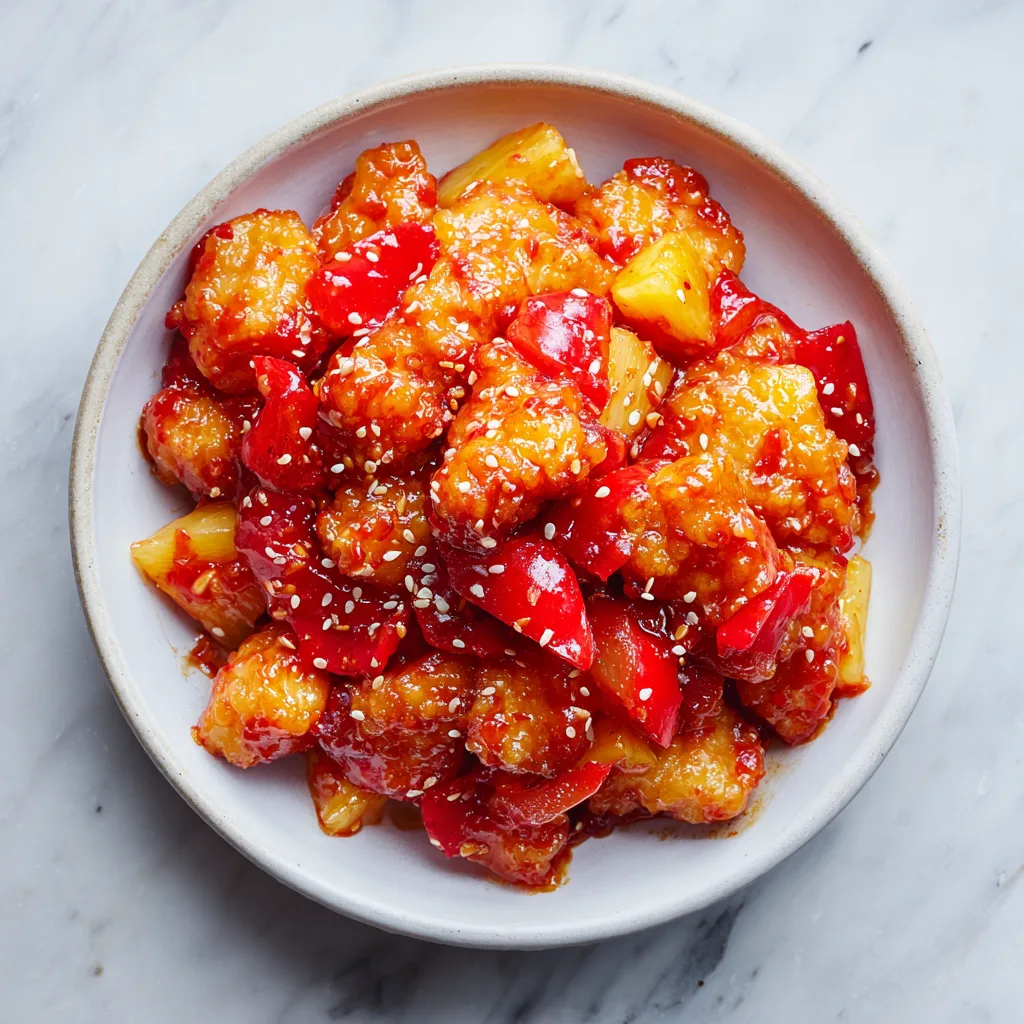
Easy Sweet and Sour Chicken — Takeout Flavor at Home
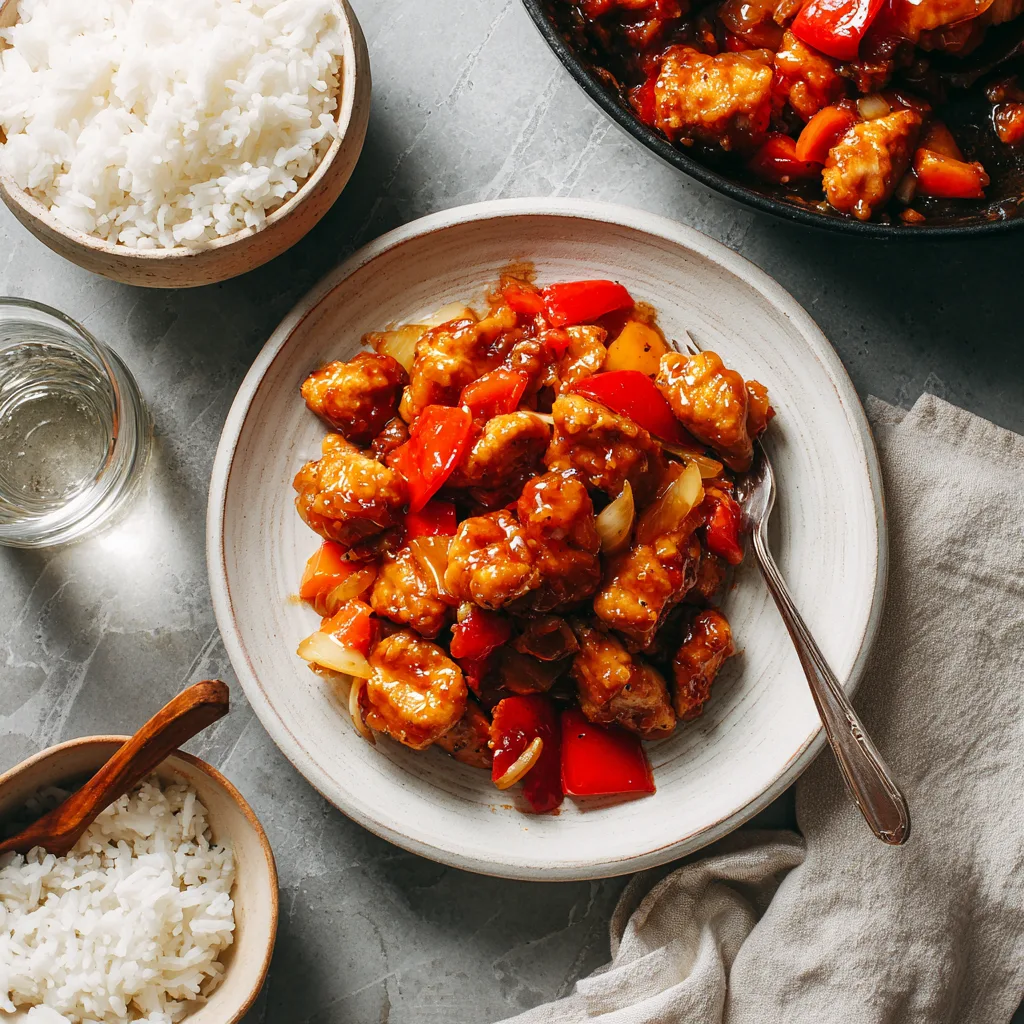
There’s something undeniably comforting about opening that familiar white takeout box and seeing glossy, bright red sweet and sour chicken nestled beside fluffy white rice. The aroma alone — tangy vinegar, sweet pineapple, savory soy sauce — feels like Friday night comfort in its purest form.
But here’s the secret: you don’t need delivery to enjoy that same bold flavor and crispy texture.
This Easy Sweet and Sour Chicken brings all the classic takeout flavor home, with fresher ingredients, a perfectly balanced sauce, and that irresistible crispy coating that holds up beautifully under the glaze. It’s sweet, tangy, slightly savory, and packed with vibrant bell peppers and juicy pineapple chunks.
The best part? It’s surprisingly simple to make.
Whether you’re cooking for your family, meal prepping for the week, or just craving your favorite Chinese-American dish, this homemade sweet and sour chicken recipe delivers restaurant-quality results right from your own kitchen.
Why You’ll Love This Recipe
- Crispy, golden chicken pieces
- Perfectly balanced sweet and tangy sauce
- Simple pantry-friendly ingredients
- Ready in about 40 minutes
- Better than takeout (and fresher!)
This recipe uses a light batter and quick fry method to create crispy chicken that doesn’t turn soggy once coated in sauce. The sauce itself is glossy, vibrant, and thick enough to cling beautifully to every bite.
Ingredients
For the Chicken
- 2 large boneless, skinless chicken breasts, cut into bite-sized pieces
- 1 teaspoon salt
- ½ teaspoon black pepper
- 1 cup all-purpose flour
- ½ cup cornstarch
- 2 large eggs, beaten
- Oil for frying
For the Sweet and Sour Sauce
- ½ cup ketchup
- ⅓ cup rice vinegar
- ¼ cup brown sugar
- 2 tablespoons soy sauce
- 1 tablespoon cornstarch
- ½ cup pineapple juice (from canned pineapple)
- 1 teaspoon minced garlic

For the Stir-Fry
- 1 red bell pepper, chopped
- 1 green bell pepper, chopped
- 1 cup pineapple chunks
- 1 tablespoon oil
Instructions
1. Prepare the Chicken
- Pat the chicken pieces dry and season with salt and pepper.
- In one bowl, place the beaten eggs.
- In another bowl, mix flour and cornstarch.
- Dip each chicken piece into the egg, then coat thoroughly in the flour mixture.
2. Fry Until Crispy
- Heat oil in a deep skillet or pot to 350°F (175°C).
- Fry chicken in batches for 4–5 minutes until golden brown and crispy.
- Remove and drain on paper towels.
3. Make the Sauce
- In a bowl, whisk together ketchup, rice vinegar, brown sugar, soy sauce, cornstarch, pineapple juice, and garlic.
- Heat 1 tablespoon oil in a large skillet.
- Add bell peppers and sauté for 2–3 minutes until slightly tender but still crisp.
- Add pineapple chunks.
4. Combine Everything
- Pour the sauce into the skillet with vegetables.
- Cook until thickened and glossy, about 3–4 minutes.
- Add crispy chicken pieces and toss gently until evenly coated.
- Serve immediately over steamed rice.
Easy Sweet and Sour Chicken
Equipment
Notes
The Secret to Crispy Sweet and Sour Chicken
The key lies in the flour-cornstarch blend. Cornstarch creates a light, crisp coating, while flour adds structure. Frying at the correct temperature ensures the coating seals quickly, preventing excess oil absorption.
If you want extra crunch, you can double fry the chicken — fry once until lightly golden, rest for 5 minutes, then fry again briefly until deep golden brown.
How to Balance Sweet and Sour Flavor
A good sweet and sour sauce isn’t just sugary — it’s balanced.
- Ketchup provides tangy tomato sweetness
- Vinegar adds sharp acidity
- Brown sugar gives warmth
- Pineapple juice adds fruity brightness
- Soy sauce brings umami depth
If you prefer it more tangy, add an extra teaspoon of vinegar. If you love it sweeter, add a bit more brown sugar.
Variations to Try
Baked Version
Toss coated chicken pieces in oil spray and bake at 400°F (200°C) for 20–25 minutes until crisp.
Air Fryer Option
Air fry at 380°F (193°C) for 12–15 minutes, flipping halfway.
Spicy Sweet and Sour Chicken
Add red chili flakes or a teaspoon of sriracha to the sauce for heat.
Swap the Protein
Try this recipe with shrimp, tofu, or even cauliflower for a vegetarian twist.
Serving Suggestions
Serve your sweet and sour chicken with:
- Steamed jasmine rice
- Fried rice
- Chow mein noodles
- Simple cucumber salad
For a full takeout-style spread, pair it with egg rolls or spring rolls.
Storage and Reheating
- Store leftovers in an airtight container for up to 3 days.
- Reheat in a skillet to maintain crispness.
- Avoid microwaving too long to prevent soggy texture.
Frequently Asked Questions
Can I make the sauce ahead of time?
Yes! Store it in the refrigerator for up to 5 days.
Can I use chicken thighs instead?
Absolutely — they’re even juicier and more flavorful.
Can I freeze it?
Freeze fried chicken separately from the sauce for best texture.
Why This Homemade Sweet and Sour Chicken Is Better Than Takeout
When you make it at home, you control the ingredients. No mystery additives. No excess grease. Just crisp chicken, bright vegetables, and perfectly balanced sauce.
The texture is fresher. The flavor is cleaner. And it’s incredibly satisfying to recreate a classic favorite in your own kitchen.
That glossy, tangy, sweet bite — paired with fluffy rice — feels just as indulgent as takeout night. But this time, it’s homemade.
And once you try it, you may never go back to delivery again.