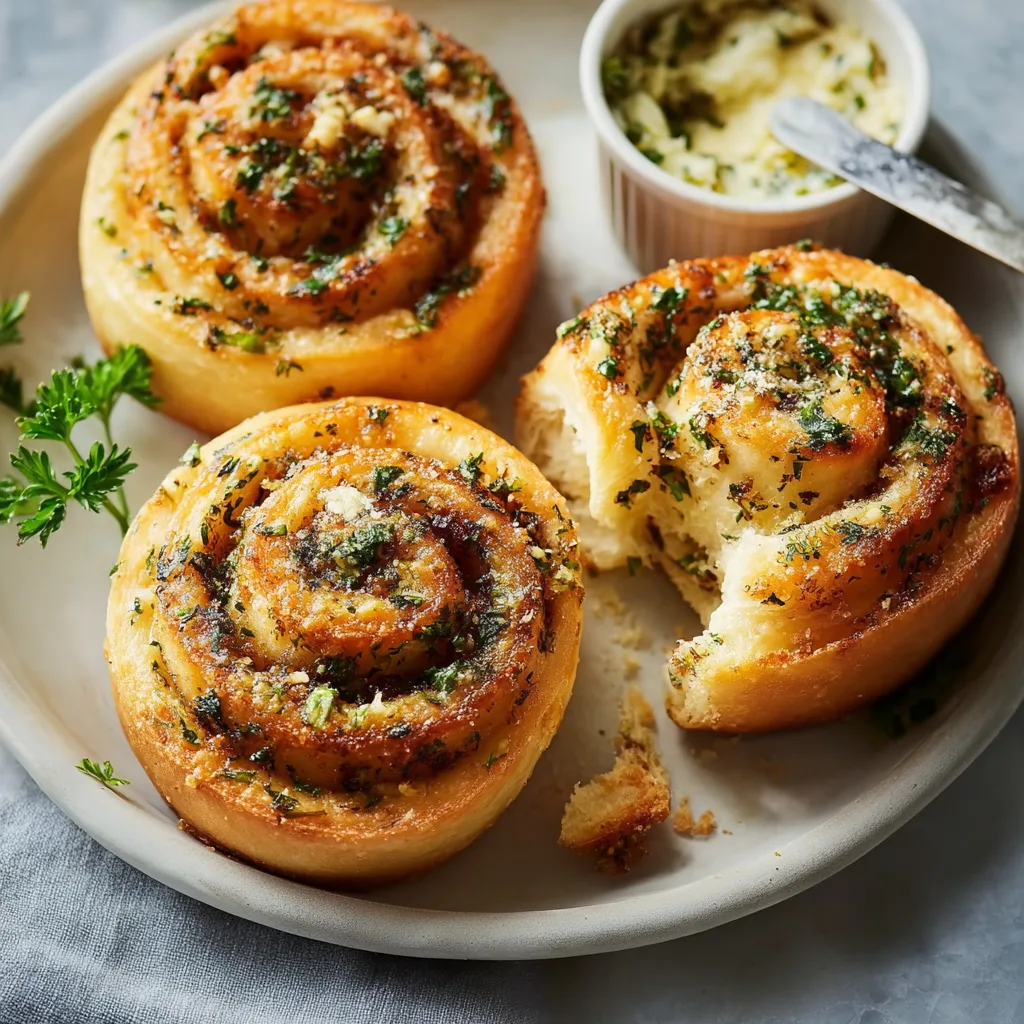
Garlic Swirl Rolls – Buttery, Fluffy, and Infused with Garlic Love
If there’s one smell that makes everyone instantly hungry, it’s the aroma of freshly baked garlic rolls. Warm, golden, buttery rolls swirled with minced garlic and herbs — these Garlic Swirl Rolls are the ultimate comfort bake.
They’re everything you love about garlic bread, but softer, fluffier, and far more impressive. Imagine a tender yeast dough rolled up with a buttery garlic filling, baked until golden brown, and brushed with more melted butter right out of the oven. One bite, and you’ll never go back to store-bought garlic bread again.
Whether served as a dinner side, a party appetizer, or enjoyed on their own with a steaming bowl of soup, these rolls are an irresistible showstopper that feels fancy but comes together simply.
Why You’ll Love These Garlic Swirl Rolls
- 🧈 Soft and Fluffy: Pillowy texture that melts in your mouth.
- 🧄 Garlic Lovers’ Dream: Every swirl is infused with buttery garlic flavor.
- 🍞 Beginner-Friendly Yeast Dough: Easy to make with simple pantry staples.
- 🌿 Customizable: Add cheese, herbs, or spices for your own twist.
- 👩🍳 Crowd Favorite: Perfect for holidays, potlucks, or cozy dinners.
A Roll with a Purpose: The Story Behind the Swirls
The beauty of swirl rolls lies in their structure — each layer captures flavor. By spreading garlic butter across rolled-out dough before shaping, the buttery mixture melts during baking, seeping into every layer. The result? Rolls that are light yet rich, simple yet indulgent.
They take a bit of patience (thanks to the yeast), but the reward is bread perfection. The aroma alone feels like a warm hug.
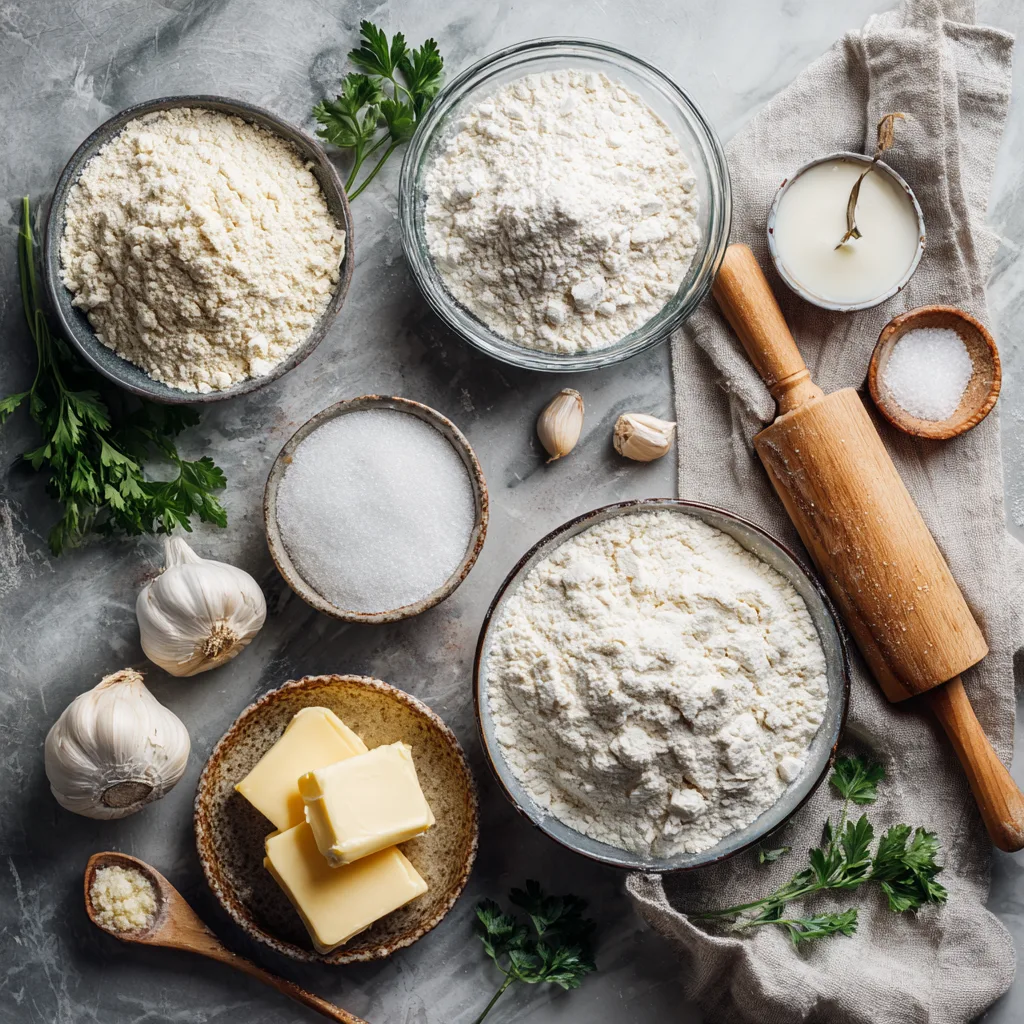
Ingredients You’ll Need
For the Dough:
- 3 cups all-purpose flour (plus more for dusting)
- 2 ¼ teaspoons active dry yeast (1 packet)
- 1 tablespoon sugar
- 1 teaspoon salt
- ¾ cup warm milk (about 100–110°F / 38–43°C)
- ¼ cup unsalted butter, melted
- 1 large egg
For the Garlic Butter Filling:
- ¼ cup unsalted butter, softened
- 4 cloves garlic, minced
- 2 tablespoons chopped fresh parsley (or 1 teaspoon dried)
- ¼ teaspoon salt
- Optional: pinch of chili flakes for subtle heat
For Brushing After Baking:
- 2 tablespoons melted butter
- 1 garlic clove, grated
- Pinch of sea salt and fresh herbs for garnish
Step-by-Step Instructions
1. Activate the Yeast
In a small bowl, combine warm milk, sugar, and yeast. Stir and let it sit for 5–10 minutes until frothy. This means your yeast is alive and ready.
2. Make the Dough
In a large mixing bowl, whisk together flour and salt. Add melted butter, egg, and the yeast mixture. Mix until a soft dough begins to form.
Knead the dough for 8–10 minutes on a lightly floured surface (or use a stand mixer with a dough hook) until smooth and elastic.
If the dough feels sticky, add flour one tablespoon at a time — it should be soft but not clingy.
3. First Rise
Place dough in a greased bowl, cover with a clean towel, and let it rise in a warm spot for 60–75 minutes, or until doubled in size.
4. Prepare the Garlic Butter Filling
While the dough rises, mix softened butter, minced garlic, parsley, salt, and chili flakes (if using). Set aside — your kitchen should already smell amazing.
5. Shape the Rolls
Punch down the risen dough to release air. Roll it into a rectangle about 12×15 inches.
Spread the garlic butter mixture evenly across the surface. Starting from the long side, roll it up tightly like a jelly roll.
Slice into 12 equal pieces and place them cut-side up in a greased 9×13-inch baking dish or round pan.
6. Second Rise
Cover loosely with plastic wrap or a towel and let rolls rise again for 25–30 minutes, until puffy and doubled.
7. Bake
Preheat oven to 375°F (190°C). Bake for 18–22 minutes, or until rolls are golden brown and fragrant.
8. Brush & Serve
While still warm, brush with melted butter mixed with grated garlic. Sprinkle with a pinch of sea salt and fresh herbs for that bakery-style finish.
Garlic Swirl Rolls
Ingredients
Equipment
Method
- Activate yeast in warm milk with sugar for 10 minutes.
- Mix flour and salt in a bowl. Add melted butter, egg, and yeast mixture. Knead until smooth.
- Let rise 60–75 minutes until doubled.
- Mix garlic butter filling ingredients. Roll out dough and spread filling evenly.
- Roll up tightly, slice into 12 pieces, and place in greased baking pan.
- Let rise 25–30 minutes, then bake at 375°F (190°C) for 18–22 minutes.
- Brush hot rolls with melted garlic butter and serve warm.
Tips for Success
- Use warm (not hot) milk: Too hot and it’ll kill the yeast; too cold and it won’t activate.
- Don’t rush the rise: Yeast needs time to work its magic.
- Roll evenly: This ensures each roll bakes uniformly.
- Fresh garlic > garlic powder: The flavor difference is massive.
- For a shiny finish: Brush with butter immediately after baking.
Flavor Variations
1. Cheesy Garlic Rolls:
Sprinkle shredded mozzarella or Parmesan over the filling before rolling.
2. Herb Explosion:
Add chopped basil, rosemary, or thyme for an aromatic twist.
3. Spicy Garlic Rolls:
Mix crushed red pepper flakes into the butter filling.
4. Cheddar Jalapeño Swirls:
Add diced jalapeños and cheddar for a zesty version.
5. Sweet-Savory Combo:
Drizzle with a touch of honey butter before serving — trust us, it’s divine.
Serving Suggestions
Garlic Swirl Rolls are incredibly versatile. Try them with:
- Pasta dishes like Creamy Alfredo or Lasagna
- Soups such as Tomato Basil or Creamy Mushroom
- Grilled meats or roasted chicken
- Or simply with a bowl of olive oil and balsamic vinegar for dipping
They’re also perfect for holiday spreads — from Thanksgiving feasts to Easter brunches.
Storage & Reheating
To Store:
Keep in an airtight container at room temperature for up to 2 days or in the fridge for 5 days.
To Reheat:
Warm in a 300°F oven for 5–7 minutes or microwave for 15–20 seconds with a damp paper towel.
To Freeze:
Freeze unbaked rolls after shaping; thaw and let rise before baking.
Troubleshooting Tips
- Rolls didn’t rise? Check your yeast freshness. It should foam within 10 minutes of activation.
- Dough too sticky? Add small amounts of flour while kneading.
- Tough rolls? Don’t overbake — remove as soon as they’re golden.
Nutrition (Per Roll)
Calories: 210 | Carbs: 25g | Protein: 5g | Fat: 10g | Sugar: 2g | Sodium: 180mg
The Magic of Homemade Bread
Making bread from scratch may seem old-fashioned, but it’s deeply satisfying. Watching the dough rise, rolling it with buttery garlic, and pulling apart the warm spirals from the oven is pure joy.
These Garlic Swirl Rolls aren’t just food — they’re an experience. Each soft layer carries a whisper of garlic and a touch of buttery bliss. Serve them once, and they’ll quickly become your signature bake.
Fun Fact
Garlic rolls trace back to Italian-American cuisine, inspired by garlic bread served alongside pasta. Over time, bakers began twisting and rolling the dough to create layers of buttery flavor — giving birth to the modern swirl roll. Today, it’s a staple at pizza parlors and fine dining alike.
In Summary
If comfort had a scent, it would be these rolls baking in your oven.
They’re:
- Fluffy
- Buttery
- Perfectly garlicky
- Made for sharing (though you might not want to!)
From weeknight dinners to special celebrations, Garlic Swirl Rolls are the heartwarming side dish you didn’t know you needed.