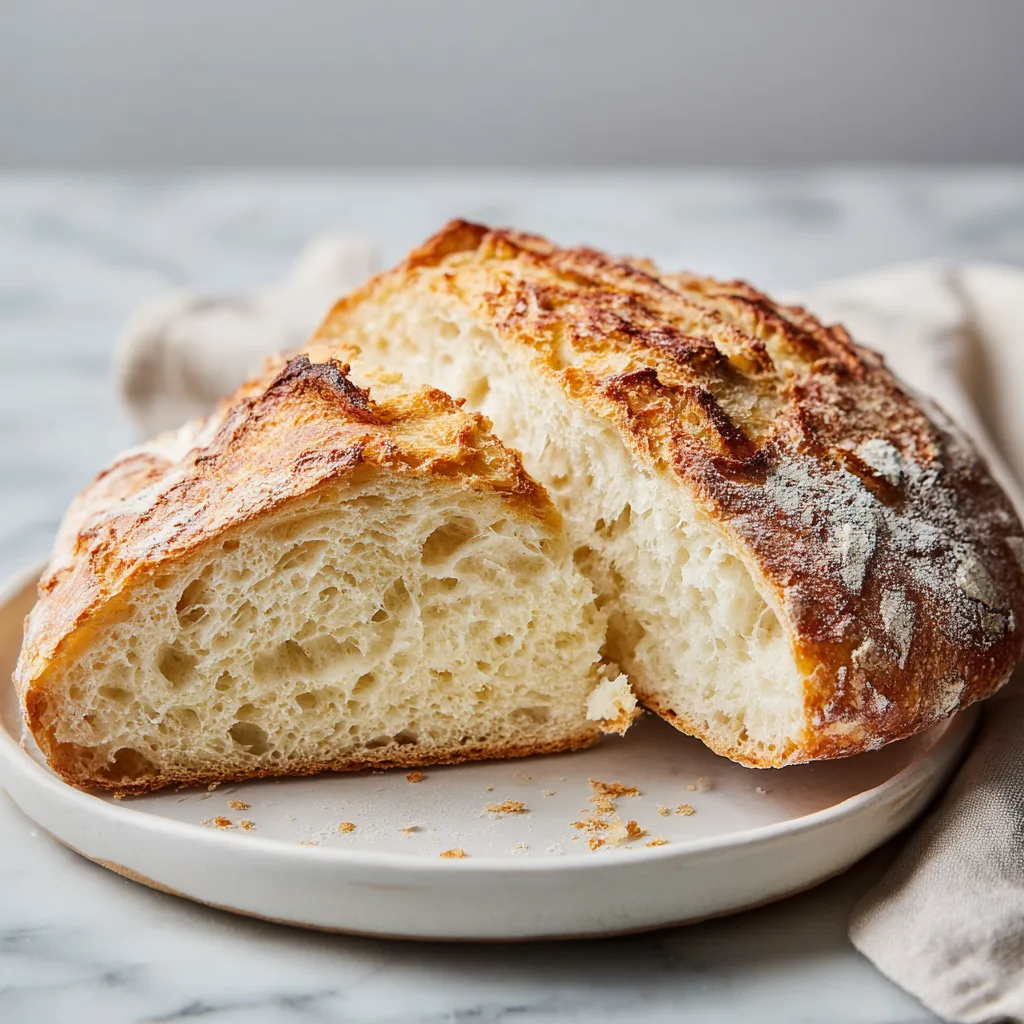
Gluten-Free No-Knead Artisan Bread (Soft, Squishy & Truly Amazing)
If you’ve ever baked gluten-free bread and ended up with something dense, crumbly, or oddly gummy, you’re not alone. Gluten-free baking has a reputation for being tricky — but this Gluten-Free No-Knead Artisan Bread changes everything.
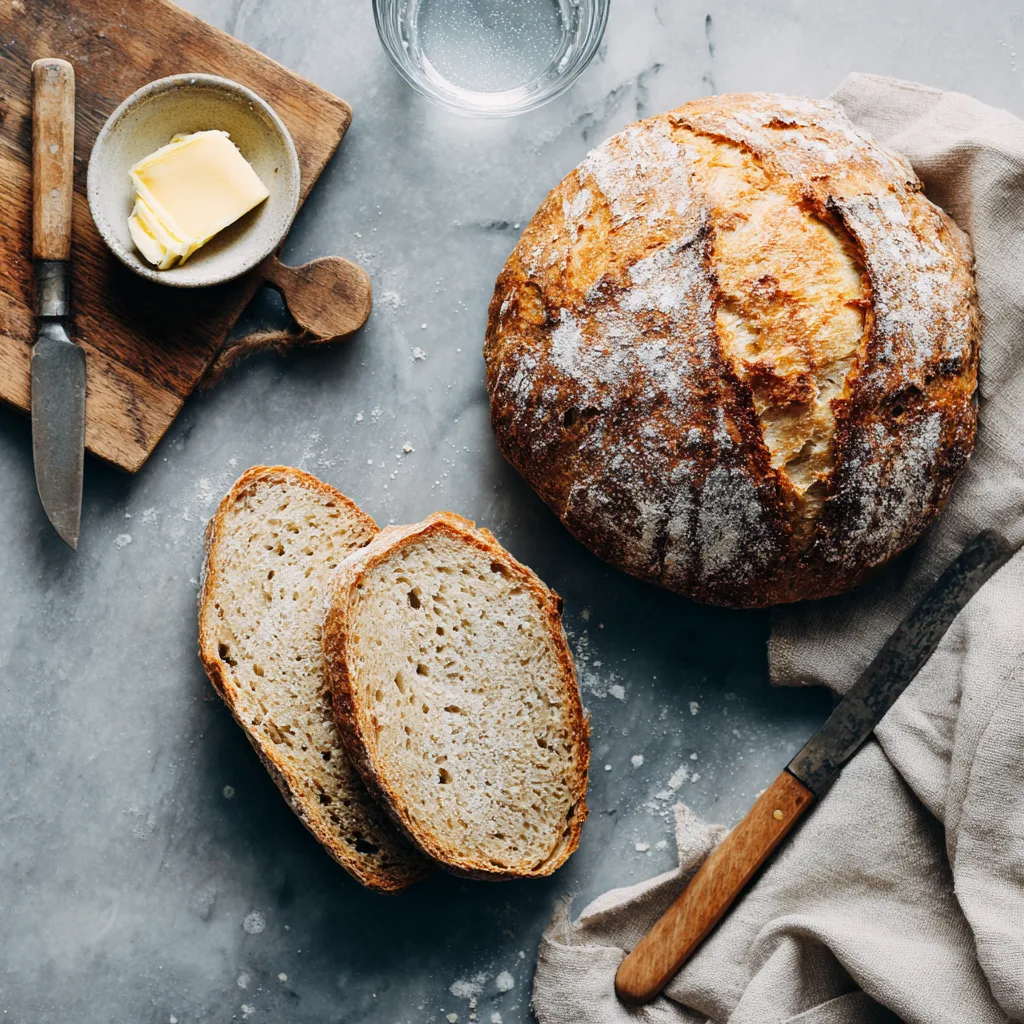
This recipe delivers what many gluten-free breads promise but rarely achieve: a soft, squishy interior, a beautifully golden crust, and that rustic, bakery-style look you expect from artisan bread — all without kneading, special equipment, or complicated steps.
Designed for both beginners and experienced gluten-free bakers, this bread relies on time, hydration, and the right balance of ingredients to build structure naturally. The result is a loaf that slices cleanly, toasts beautifully, and tastes amazing with everything from butter and jam to soups, sandwiches, and olive oil dips.
Whether you’re newly gluten-free or simply searching for a reliable homemade loaf, this is the recipe that finally makes gluten-free bread feel normal again.
Why No-Knead Works for Gluten-Free Bread
Traditional bread depends on gluten development through kneading. Gluten-free dough, however, behaves more like a thick batter. Instead of kneading, this recipe uses high hydration and fermentation time to allow starches and binders to hydrate fully and create structure.
No kneading means:
- No sticky mess on your counter
- No guessing if the dough is “developed enough”
- Consistently soft, tender results
The dough rests, hydrates, and rises slowly, creating flavor and texture naturally — just like classic artisan bread, but gluten-free.
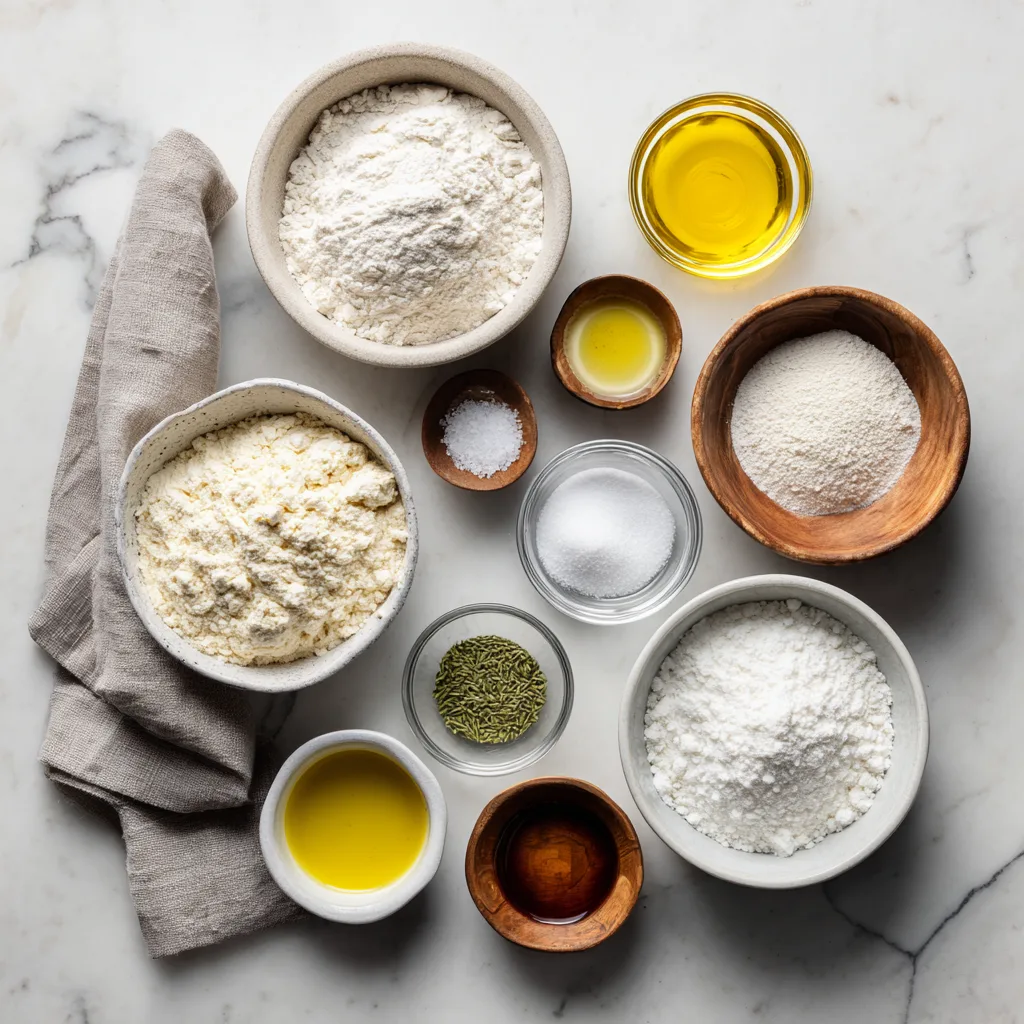
Ingredients
- Gluten-free all-purpose flour blend (with xanthan gum)
- Warm water
- Active dry yeast
- Salt
- Olive oil
- Honey or maple syrup (optional, for yeast activation)
- Apple cider vinegar (for structure and flavor)
Instructions
- In a large mixing bowl, whisk together the gluten-free flour and salt.
- In a separate bowl, combine warm water, yeast, and honey or maple syrup. Let sit for 5 minutes until foamy.
- Add yeast mixture, olive oil, and apple cider vinegar to the flour. Stir with a spoon until a thick, sticky dough forms.
- Cover the bowl loosely and let the dough rise at room temperature for 2–3 hours, until puffed and airy.
- Preheat oven to 450°F (230°C). Place a Dutch oven inside to heat.
- Scrape dough onto parchment paper and gently shape into a round loaf using wet hands.
- Carefully transfer dough into hot Dutch oven. Cover and bake for 35 minutes.
- Remove lid and bake an additional 10–15 minutes until golden brown.
- Cool completely on a wire rack before slicing.
Gluten-Free No-Knead Artisan Bread
Ingredients
Equipment
Method
- Mix gluten-free flour and salt in a large bowl.
- Combine warm water, yeast, and honey. Let foam for 5 minutes.
- Add yeast mixture, olive oil, and vinegar to flour. Stir until sticky dough forms.
- Cover and let rise 2–3 hours at room temperature.
- Preheat oven to 450°F (230°C) with Dutch oven inside.
- Shape dough with wet hands and transfer to parchment paper.
- Bake covered 35 minutes, uncover and bake 10–15 minutes more.
- Cool completely before slicing.
Notes
What Makes This Gluten-Free Bread So Soft
The secret lies in hydration and balance. Gluten-free flour needs more liquid than wheat flour, and this dough is intentionally wet. That extra moisture creates steam during baking, giving the bread its open crumb and tender interior.
Apple cider vinegar improves structure and neutralizes any raw flour taste, while olive oil adds softness without heaviness.
Flavor Variations
Once you’ve mastered the base loaf, try these easy add-ins:
- Rosemary & Sea Salt: Add chopped fresh rosemary and flaky salt
- Garlic Herb: Mix in garlic powder and Italian seasoning
- Seeded Crust: Sprinkle sesame or sunflower seeds before baking
- Cheesy Bread: Fold in shredded dairy-free or regular cheese
Serving Suggestions
This bread is incredibly versatile:
- Toasted with butter or dairy-free spread
- Dipped in olive oil and balsamic vinegar
- Used for sandwiches and paninis
- Served alongside soups and stews
- Topped with avocado, eggs, or honey
It stays soft for days and freezes beautifully.
Storage Tips
- Store at room temperature for up to 2 days
- Refrigerate up to 5 days in airtight container
- Freeze sliced bread for easy toasting later
Always cool completely before storing to avoid excess moisture.
Common Mistakes to Avoid
- Cutting while hot (causes gummy texture)
- Using flour without xanthan gum
- Skipping the vinegar
- Adding too much flour during shaping
Gluten-free bread rewards patience — let it cool!
Why This Recipe Is Perfect for Beginners
No stand mixer. No kneading. No shaping skills required. If you can stir and wait, you can bake this bread successfully.
It’s forgiving, flexible, and incredibly satisfying — exactly what gluten-free baking should be.