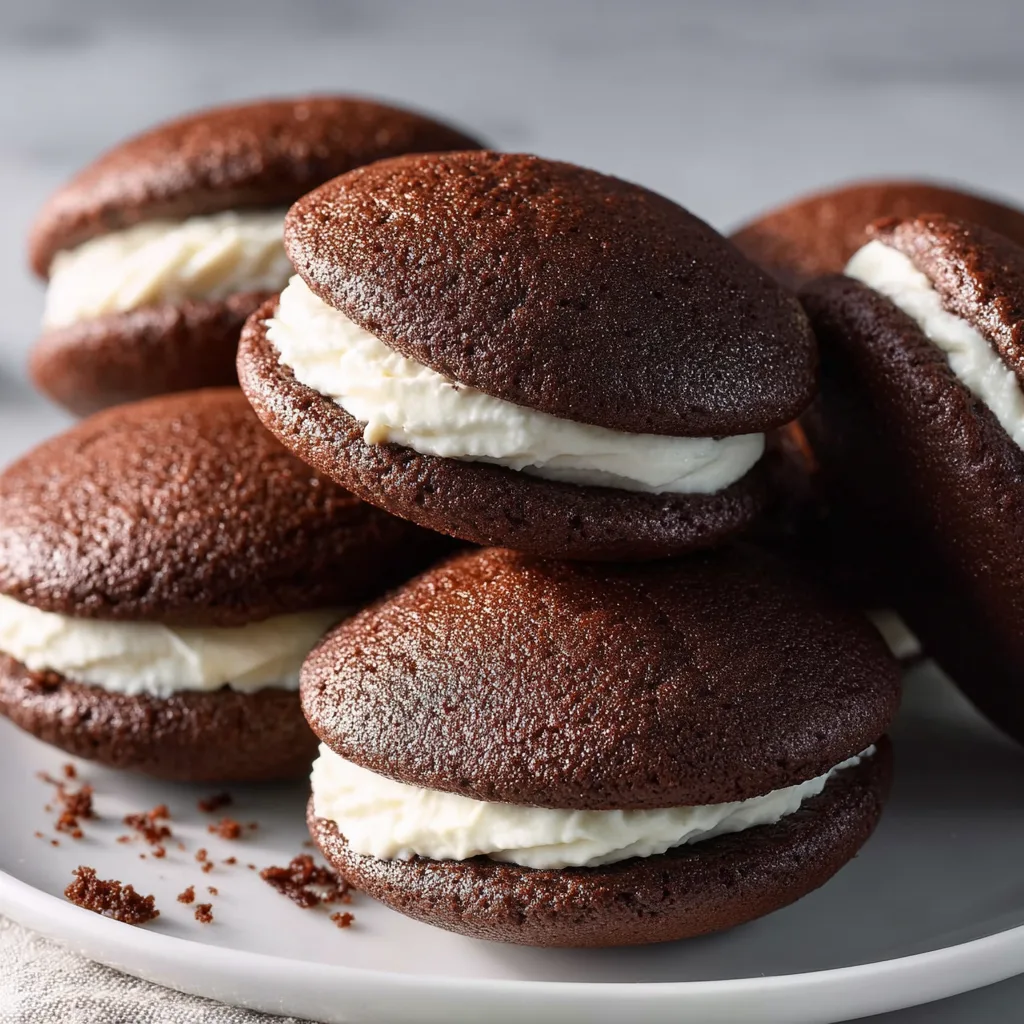
Irresistible Whoopie Pie Cookies Recipe (Soft, Fluffy & Filled with Cream!)
Whoopie pies are one of those nostalgic American treats that give instant joy from the very first bite. Soft, cakey chocolate cookies sandwiched around a sweet, fluffy cream filling — they’re like the perfect cross between a cookie, a cake, and a dessert sandwich. And this Irresistible Whoopie Pie Cookies Recipe brings them to life in the most delicious way possible: pillowy soft, deeply chocolatey, perfectly sweet, and unbelievably satisfying.
Originating from Amish and New England baking traditions, whoopie pies have been loved for generations. They were first made as a treat for lunchboxes and special celebrations — and the excitement of seeing one in your lunch bag was unmatched. Today, whoopie pies continue to be a favorite comfort dessert because they’re fun, adorable, and incredibly delicious.
This recipe is exactly what a whoopie pie should be:
- Soft and cake-like
- Moist and chocolaty
- Sandwiched with fluffy marshmallow cream
- Easy to make
- Perfect for gifting, parties, or holidays
Whether you’re making them for a bake sale, a family dessert, or just to treat yourself, these whoopie pies will quickly become a favorite.
What Makes These Whoopie Pie Cookies Irresistible?
✔ The softest chocolate cookie-cakes ever
✔ A classic marshmallow cream filling
✔ Deep cocoa flavor balanced with sweetness
✔ No chilling required for the cookie dough
✔ Perfectly domed, bakery-style cookies
✔ Kid-friendly, freezer-friendly, crowd-friendly
They’re gorgeous, nostalgic, and deeply satisfying. Truly the dessert everyone grabs first.
Understanding the Perfect Whoopie Pie Texture
Whoopie pies are unique because they aren’t crisp like cookies and they aren’t fluffy like cupcakes — they’re a perfect in-between. You get:
- A soft cake-like outside
- A slightly chewy bite
- A creamy, sweet filling
- A handheld treat that never crumbles or falls apart
The key is using buttermilk, which reacts with baking soda to give these cookies that signature lift and soft airy texture.
Ingredients You’ll Need
For the Chocolate Cookies
- Flour
- Cocoa powder
- Baking soda
- Salt
- Butter
- Brown sugar
- Egg
- Vanilla
- Buttermilk

For the Filling
- Butter
- Powdered sugar
- Marshmallow fluff
- Vanilla
- Cream or milk
Nothing fancy — just pantry staples that transform into a magical dessert.
How to Make Irresistible Whoopie Pie Cookies
1. Make the Chocolate Cookie Batter
Cream browned sugar and butter together until light and fluffy. Add egg and vanilla. Then mix in the dry ingredients and buttermilk. The batter should be thick but pipeable/spoonable — similar to a thick cake batter.
2. Scoop Even Cookies
Use a cookie scoop to ensure even sizing. Place scoops onto a parchment-lined sheet and leave enough space for spreading.
3. Bake Just Until Set
Whoopie pies should be soft. Bake only until the tops bounce back when lightly touched.
4. Cool Completely
A cooled cookie holds onto the filling better and keeps its shape.
5. Make the Classic Filling
Beat butter, powdered sugar, marshmallow fluff, vanilla, and a splash of cream until fluffy and light.
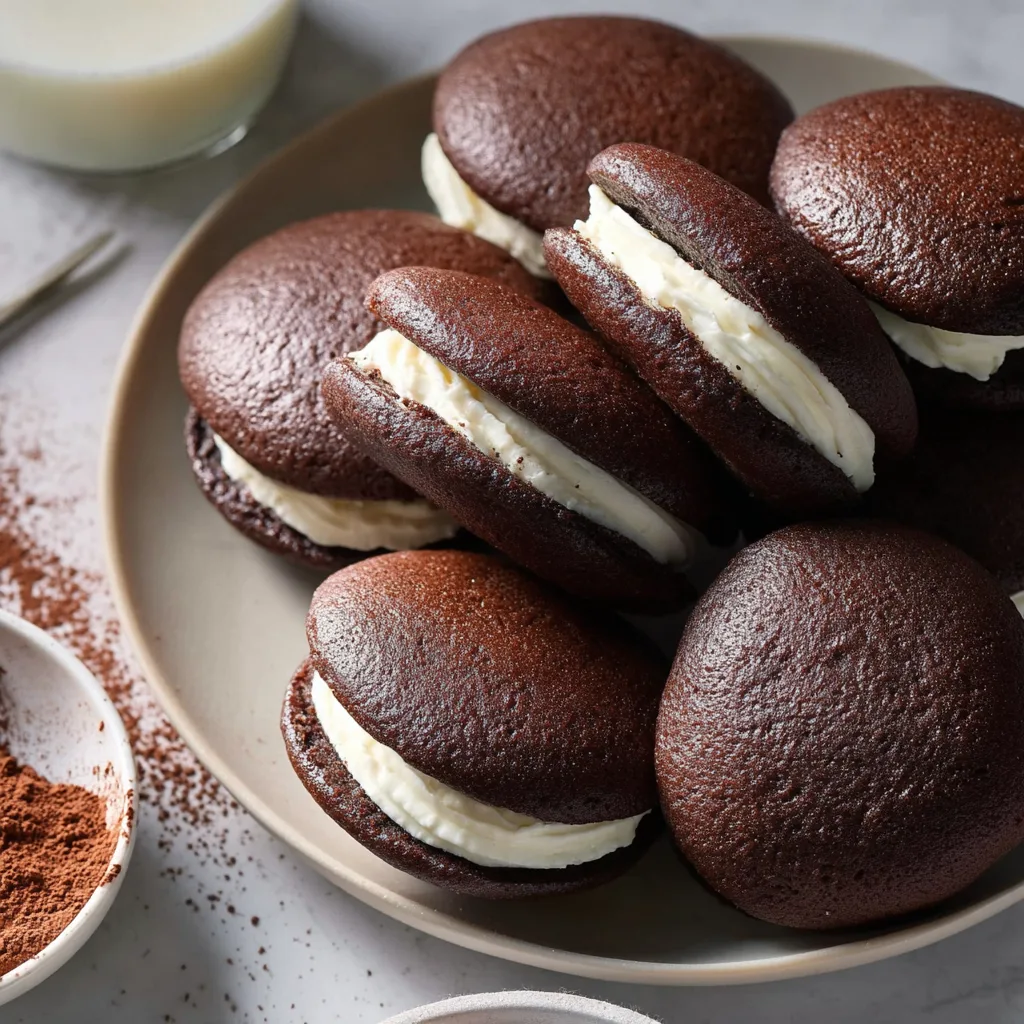
6. Assemble the Whoopie Pies
Spread or pipe filling onto the flat side of one cookie. Sandwich with another. Slightly twist as you press to help it spread evenly.
7. Serve & Enjoy
They’re perfect at room temperature and taste incredible chilled too.
Irresistible Whoopie Pie Cookies Recipe
Ingredients
Equipment
Method
- Preheat oven to 350°F (175°C) and line baking sheets with parchment paper.
- Whisk together flour, cocoa powder, baking soda, and salt.
- Beat butter and brown sugar until fluffy. Add egg and vanilla.
- Add dry ingredients alternately with buttermilk, mixing until combined.
- Scoop tablespoons of batter onto baking sheets and bake 8–10 minutes until set.
- Cool completely before filling.
- Beat butter and powdered sugar. Mix in marshmallow fluff, vanilla, and cream until fluffy.
- Pipe or spread filling onto one cookie and top with another to form a sandwich.
Notes
Tips for Perfect Results
Use buttermilk
It gives the cookies their soft, cakey structure.
Don’t overbake
Whoopie pies should be soft — pull them as soon as they spring back.
Cool before filling
Warm cookies will melt the cream.
Pipe filling for the cleanest look
A star tip or plain round tip gives bakery-style pies.
Store properly
Whoopie pies soften even more overnight, making them heavenly.
Flavor Variations
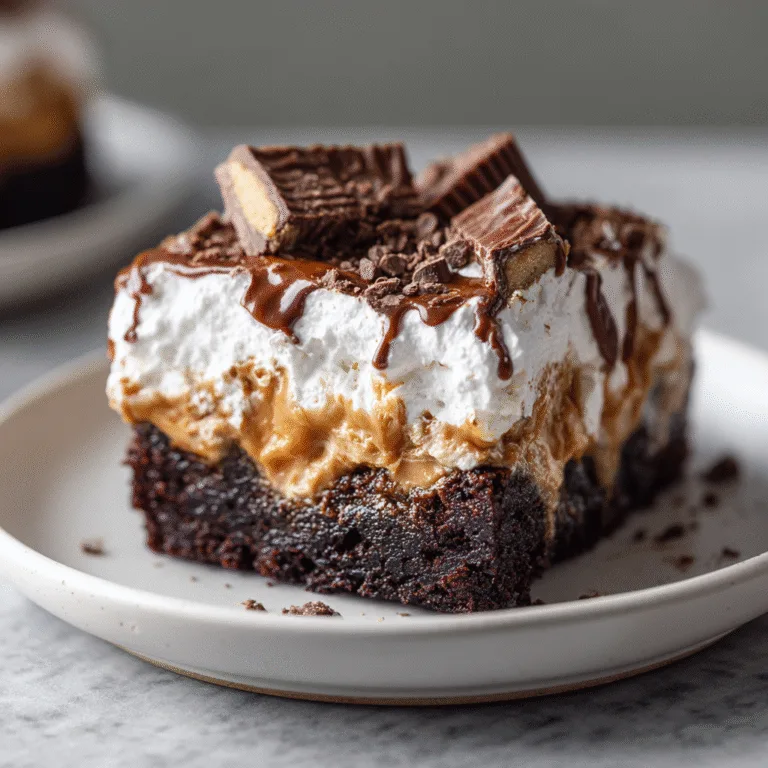
Peanut Butter Whoopie Pies
Add peanut butter to the filling — a dream combo with chocolate.
Pumpkin Whoopie Pies
Swap the cookies for pumpkin cake cookies and fill with cinnamon cream.
Salted Caramel Filling
Add a swirl of caramel to the cream and a pinch of flaky sea salt.
Chocolate-on-Chocolate
Use chocolate filling for double richness.
Red Velvet Whoopie Pies
Tint batter red and add a cocoa twist.
Serving Suggestions
Serve whoopie pies with:
- A tall glass of milk
- Hot chocolate
- A cup of coffee
- A scoop of vanilla ice cream
They’re great for:
- Bake sales
- picnics
- birthday dessert bars
- holiday cookie platters
Storage & Freezing
- Room temperature: 2 days in airtight container
- Refrigerator: 1 week
- Freezer: Up to 3 months (wrap individually)