Sheet Pan Tuna Melts: The Ultimate Easy, Comfort-Food Dinner
Few meals hit the sweet spot between nostalgic comfort and weeknight convenience quite like a tuna melt. Crispy toasted bread, creamy seasoned tuna, and gooey melted cheese come together in a way that feels both familiar and deeply satisfying. This Sheet Pan Tuna Melts recipe takes everything you love about the classic sandwich and simplifies it into a no-stress, oven-baked meal that feeds the whole family at once.

Instead of standing over a skillet flipping individual sandwiches, everything comes together on a single baking sheet. The oven does the work, giving you evenly toasted bread, perfectly warmed tuna salad, and beautifully melted cheese—all without babysitting the stove. Whether you’re cooking for a busy school night, a casual weekend lunch, or a cozy dinner at home, this recipe delivers big flavor with minimal effort.
Sheet pan meals have become a staple in modern home kitchens for good reason. They’re efficient, easy to clean up, and perfect for multitasking. Tuna melts are especially suited to this method because the oven allows the cheese to melt evenly while lightly crisping the bread without drying out the filling.
This version stays true to the classic American tuna melt, using pantry staples like canned tuna, mayonnaise, celery, and onion. The flavors are balanced, creamy without being heavy, and endlessly customizable. Add pickles for tang, swap cheeses, or use your favorite bread—the base recipe is flexible and forgiving.
Why You’ll Love These Sheet Pan Tuna Melts
One pan, no flipping
Everything bakes together on a single sheet pan, which means fewer dishes and less cleanup.
Perfect for families
Make multiple tuna melts at once, all evenly cooked and ready at the same time.
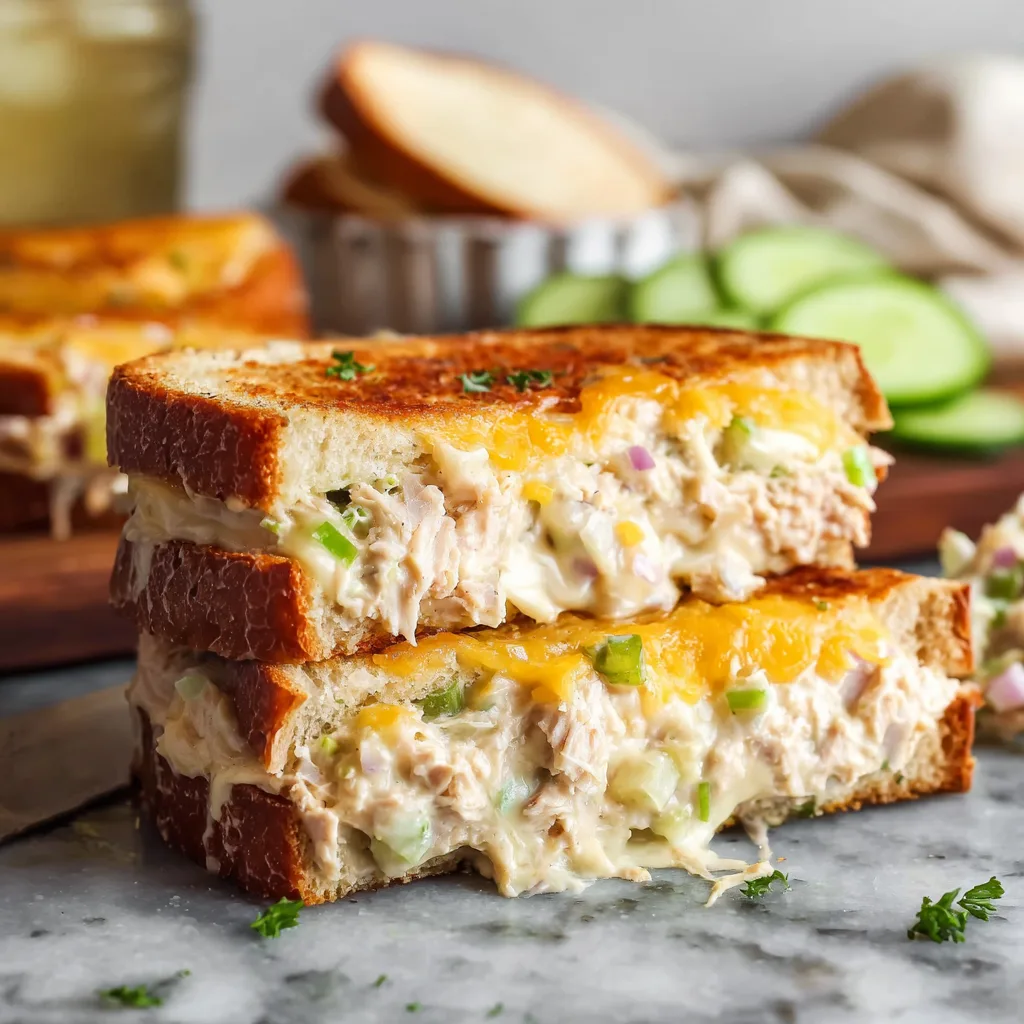
Crispy, melty, and creamy
The oven creates the ideal texture contrast: crisp toast, warm tuna filling, and bubbly cheese.
Budget-friendly and pantry-based
Canned tuna keeps this recipe affordable and accessible.
Customizable
From bread choices to cheese options and mix-ins, this recipe adapts easily to preferences.
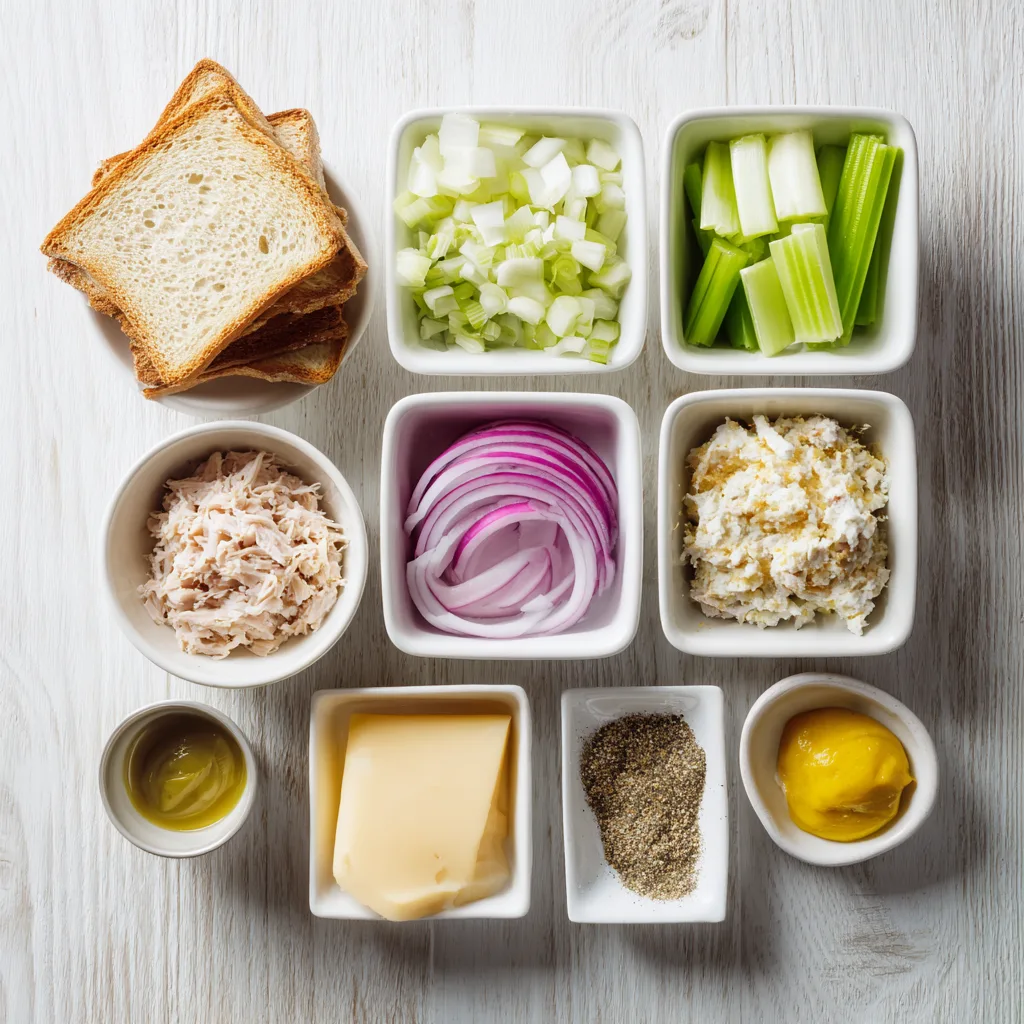
Ingredients
- 3 (5-oz) cans tuna, drained well
- ½ cup mayonnaise
- 1 tablespoon Dijon mustard
- 1 celery stalk, finely diced
- ¼ cup red onion, finely diced
- 1 tablespoon lemon juice
- Salt, to taste
- Black pepper, to taste
- 8 slices bread (sourdough, white, or whole wheat)
- 1½ cups shredded cheese (cheddar, Swiss, or a blend)
- Olive oil or softened butter, for brushing bread
- Fresh parsley, optional garnish
Instructions
- Preheat your oven to 400°F (205°C) and line a large sheet pan with parchment paper.
- In a mixing bowl, combine drained tuna, mayonnaise, Dijon mustard, celery, red onion, lemon juice, salt, and black pepper. Mix until creamy and well combined.
- Arrange bread slices on the prepared sheet pan. Lightly brush one side of each slice with olive oil or butter.
- Toast bread in the oven for 5 minutes, then remove and flip slices so the toasted side faces down.
- Spoon an even layer of tuna mixture onto each slice of bread.
- Sprinkle shredded cheese generously over the tuna.
- Return the sheet pan to the oven and bake for 8–10 minutes, until the cheese is fully melted and bubbly.
- For extra browning, broil for 1–2 minutes, watching closely.
- Remove from the oven, garnish with parsley if desired, and serve hot.
Sheet Pan Tuna Melts
Ingredients
Equipment
Method
- Preheat oven to 400°F (205°C) and line a baking sheet.
- Mix tuna, mayonnaise, mustard, celery, onion, lemon juice, salt, and pepper.
- Toast bread lightly in the oven.
- Top bread with tuna mixture and cheese.
- Bake until cheese is melted and bubbly.
Notes
The History of the Tuna Melt
The tuna melt has deep roots in American diner culture. Originally emerging in the mid-20th century, it likely evolved from tuna salad sandwiches that accidentally met a hot grill. The result—warm tuna salad topped with melted cheese—became an instant classic.
Over time, the tuna melt found its way onto menus across the country, valued for its affordability, comfort, and simplicity. Baking it on a sheet pan is a modern update that keeps the soul of the dish intact while making it more practical for today’s kitchens.
Tips for the Best Tuna Melts
- Drain tuna thoroughly to avoid a watery filling.
- Toast the bread first so it stays crisp under the tuna.
- Use freshly shredded cheese for smoother melting.
- Don’t overload—too much tuna can make the melts messy.
- Watch closely when broiling to prevent burning.
Variations to Try
- Classic Diner Style: Use white bread and American cheese.
- Sharp & Savory: Cheddar with extra black pepper.
- Mild & Creamy: Swiss cheese with a touch more mayo.
- Crunchy Pickle Tuna Melt: Add chopped dill pickles to the tuna.
- Open-Faced Deluxe: Top with sliced tomatoes before baking.
What to Serve with Sheet Pan Tuna Melts
- Simple green salad
- Tomato soup
- Roasted potatoes
- Coleslaw
- Fresh fruit
These sides keep the meal balanced while letting the tuna melts shine.
Make-Ahead & Storage Tips
You can prepare the tuna mixture up to 24 hours in advance and store it covered in the refrigerator. Assemble and bake when ready to eat.
Leftover tuna melts can be stored in an airtight container in the refrigerator for up to 2 days. Reheat in the oven to restore crispness.
Why This Recipe Works
The combination of pre-toasted bread and high oven heat ensures crispness without drying out the tuna. Baking instead of pan-frying allows even melting and consistent results every time. It’s a simple method that delivers classic flavor with modern convenience.